
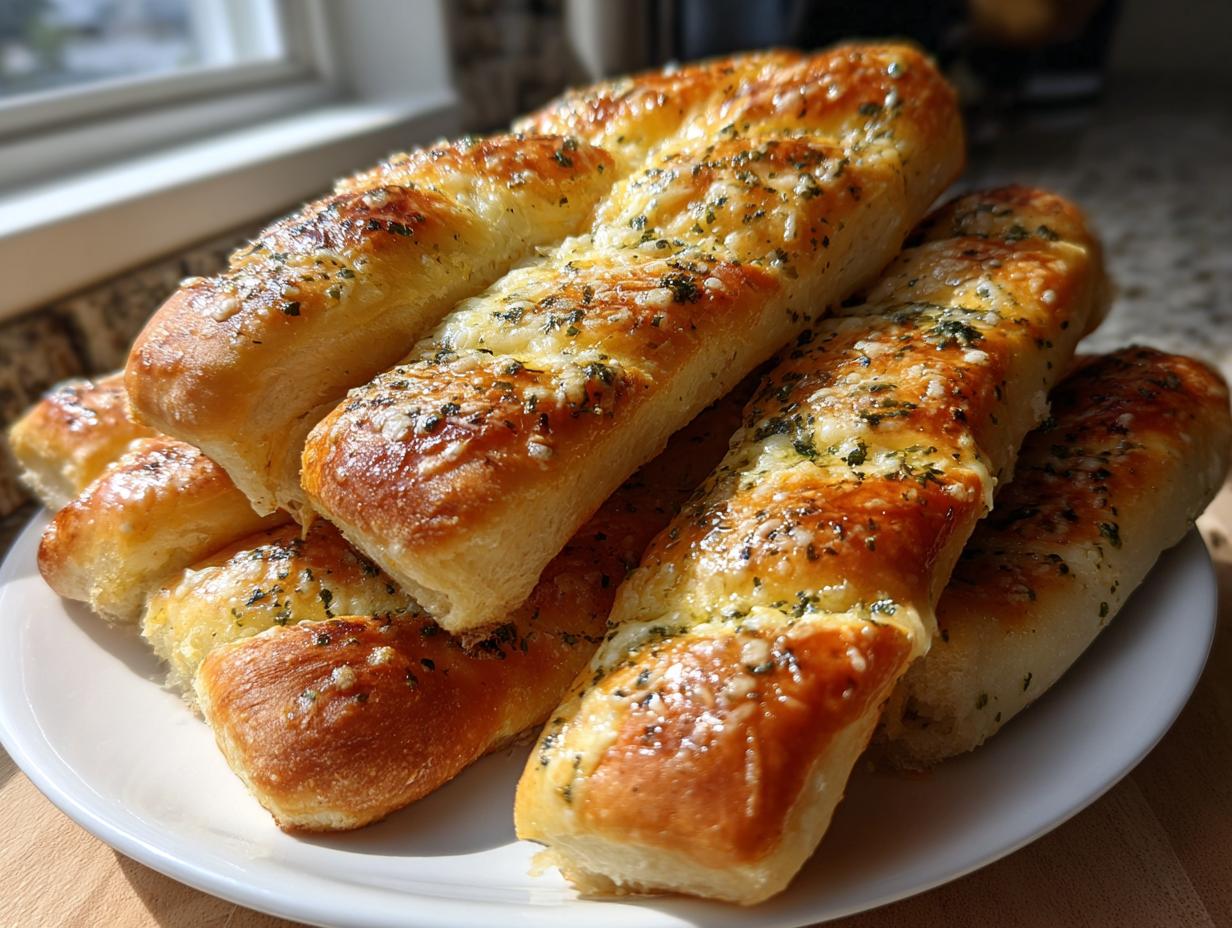
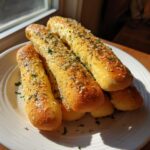
There are some cravings that only that warm restaurant comfort food can satisfy, right? And if you’re anything like me, that craving usually settles right on those unbelievably soft, unbelievably garlicky breadsticks you get before every big Italian meal. Well, stop dreaming about ordering takeout because I’ve finally cracked the code!
Today, we’re making The Ultimate Soft & Chewy Olive Garden Copycat Breadsticks. This recipe is exactly what Bring Dish is all about: taking something you love from a restaurant and making it accessible, delicious, and something you can share with your own people. As Maya Thompson says, a recipe is an invitation to the table, and I really think these easy breadsticks are the best invitation you can send, linking back to our core belief in connection through food from our story here.

Trust me, these homemade breadsticks are wonderfully pliable, pack that legendary buttery flavor, and they come together faster than you think. We’re talking about restaurant-style perfection whipped up right in your own kitchen for your family tonight.
- Why These Are The Best Homemade Breadsticks Recipe
- Ingredients for Ultimate Soft Breadsticks
- Step-by-Step Instructions for Easy Breadsticks
- Tips for Perfect Chewy Breadsticks Every Time
- Variations: From Cheesy Breadsticks to Italian Breadsticks
- Storage & Make Ahead Breadsticks Instructions
- Serving Suggestions for Your Dinner Side Dish Bread
- Frequently Asked Questions About Our Breadsticks
- Nutrition Estimate for Homemade Breadsticks
Why These Are The Best Homemade Breadsticks Recipe
Look, I know there are a million breadsticks recipes out there. But I promise you, this one hits different. Why should you trust my version of the copycat recipe? Because it’s designed for speed and incredible results. You can have these beautiful, buttery sticks on the table in just over an hour. That makes it a fantastic quick bread recipe for busy weeknights!
- They are genuinely soft breadsticks—light enough to pull apart easily but resilient enough to hold up to dipping in marinara.
- That signature garlicky flavor is perfectly balanced. We aren’t overwhelming the bread, we’re accenting it!
- You get the real deal: tender, chewy, and addictively good.
Achieving Restaurant Style Breadsticks Texture
The secret to those famous restaurant-style breadsticks isn’t just the butter; it’s in the dough handling. By kneading just long enough to get that smooth, elastic feel, we develop just the right amount of gluten structure. This prevents them from being too cakey or too crumbly. It’s this precise structure that makes them chewy on the inside while keeping that perfect pull.
Ingredients for Ultimate Soft Breadsticks
Okay, let’s get down to what actually makes this dough work so well. I like to keep things super clear because when you’re baking, precision in the beginning means payoff at the end. Don’t substitute the yeast type or the water temperature, or you might end up with a flat pancake instead of beautifully puffed homemade breadsticks. This list looks long, but it’s really just the dough components and the glorious topping components!
- 1 1/2 cups warm water (It needs to be about 110°F—not too hot, or you’ll kill the yeast!
- 2 1/4 teaspoons active dry yeast
- 2 tablespoons granulated sugar (This is the yeast’s breakfast, remember?)
- 4 cups all-purpose flour, plus more for dusting
- 1 teaspoon salt (for the dough itself)
- 1/4 cup olive oil, plus more for greasing
For the Garlic Parmesan Breadsticks Topping
This is where all the magic happens after they come out of the oven. You want to have this mixed before your breadsticks finish baking so you can move fast!
- 1/2 cup unsalted butter, melted—and I mean fully melted!
- 4 cloves garlic, minced—use real fresh garlic, please! This is critical for that aroma.
- 1 teaspoon dried Italian seasoning
- 1/2 teaspoon salt (yes, a little extra salt on top helps the flavor pop)
- 1/4 cup grated Parmesan cheese
Step-by-Step Instructions for Easy Breadsticks
Making these incredible breadsticks from scratch is surprisingly simple. I promise, if you follow these steps, you’ll feel like a pro baker. Just remember, the dough needs time to do its thing, so even though the hands-on time is minimal, plan for that rising period!
If you ever get stuck or need a quick tip while you’re elbow-deep in flour, please don’t hesitate to reach out to us via our contact page—we are always happy to help a fellow home baker!
Making the Homemade Dough Recipe
First things first, we wake up the yeast! In a big bowl, gently mix your warm water, yeast, and sugar. Let it sit for about 5 to 10 minutes until it gets nice and foamy—that means the yeast is ready to get to work. Next, stir in the flour, salt, and olive oil until you have a shaggy mess. Turn that out onto your floured counter and knead for about 7 minutes until it’s really smooth. Pop it into an oiled bowl, cover it up tightly, and let it hang out in a warm spot for 60 to 90 minutes. This long, warm rest is key for our quick bread recipe success!
Shaping and Baking Your Breadsticks
Once doubled, gently punch the dough down. Get your oven warmed up to 400°F (200°C) and line two baking sheets with parchment paper—this saves the biggest headache later! Divide the dough in half. Roll each half out into a flat rectangle, about a quarter-inch thick. Now, cut those rectangles into strips about an inch wide. Line them up on your sheets, cover them loosely, and let them rest for just 15 minutes while the oven really heats up. Bake them for 10 to 12 minutes. Keep an eye on them; you want them lightly golden, not dark brown!
Applying the Buttery Breadsticks Finish
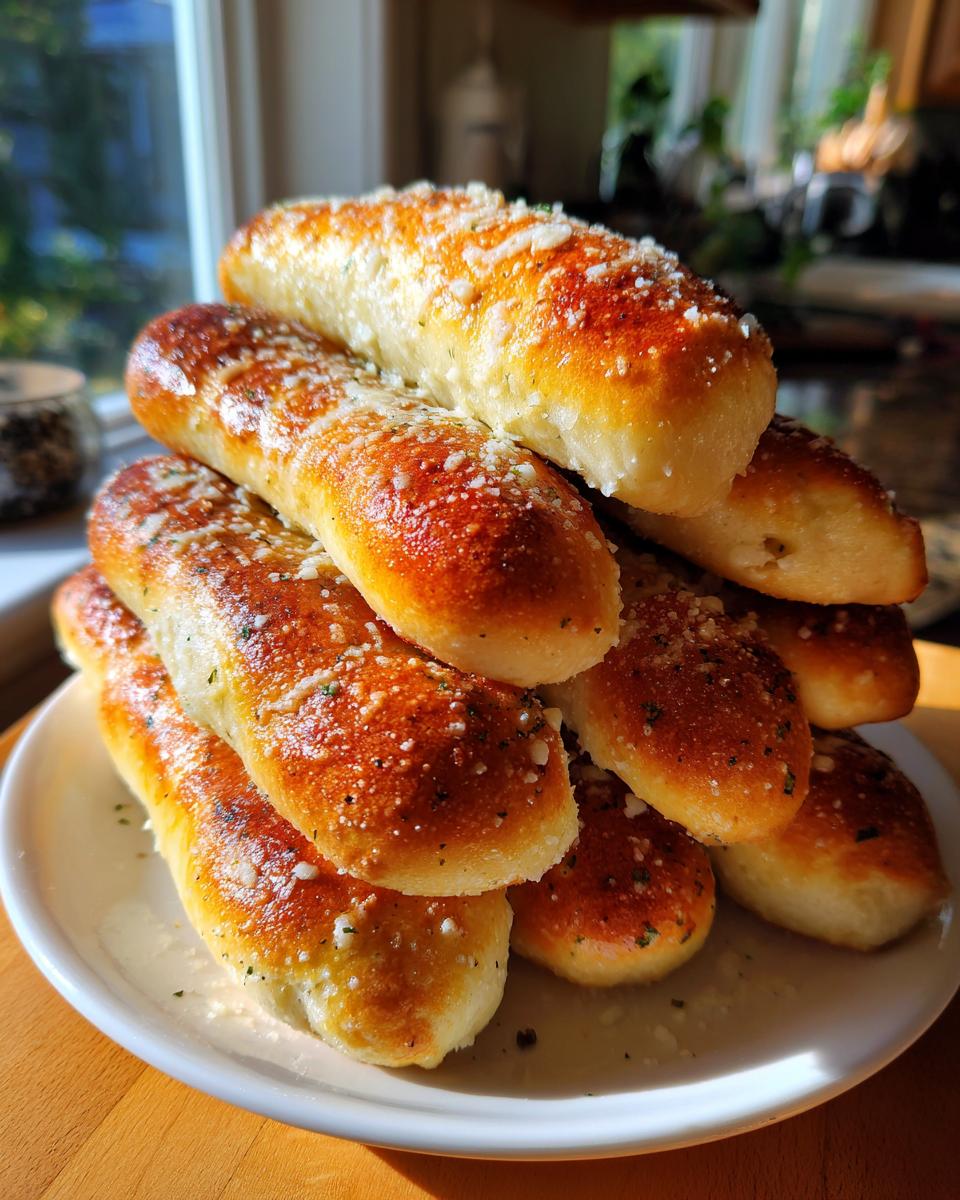
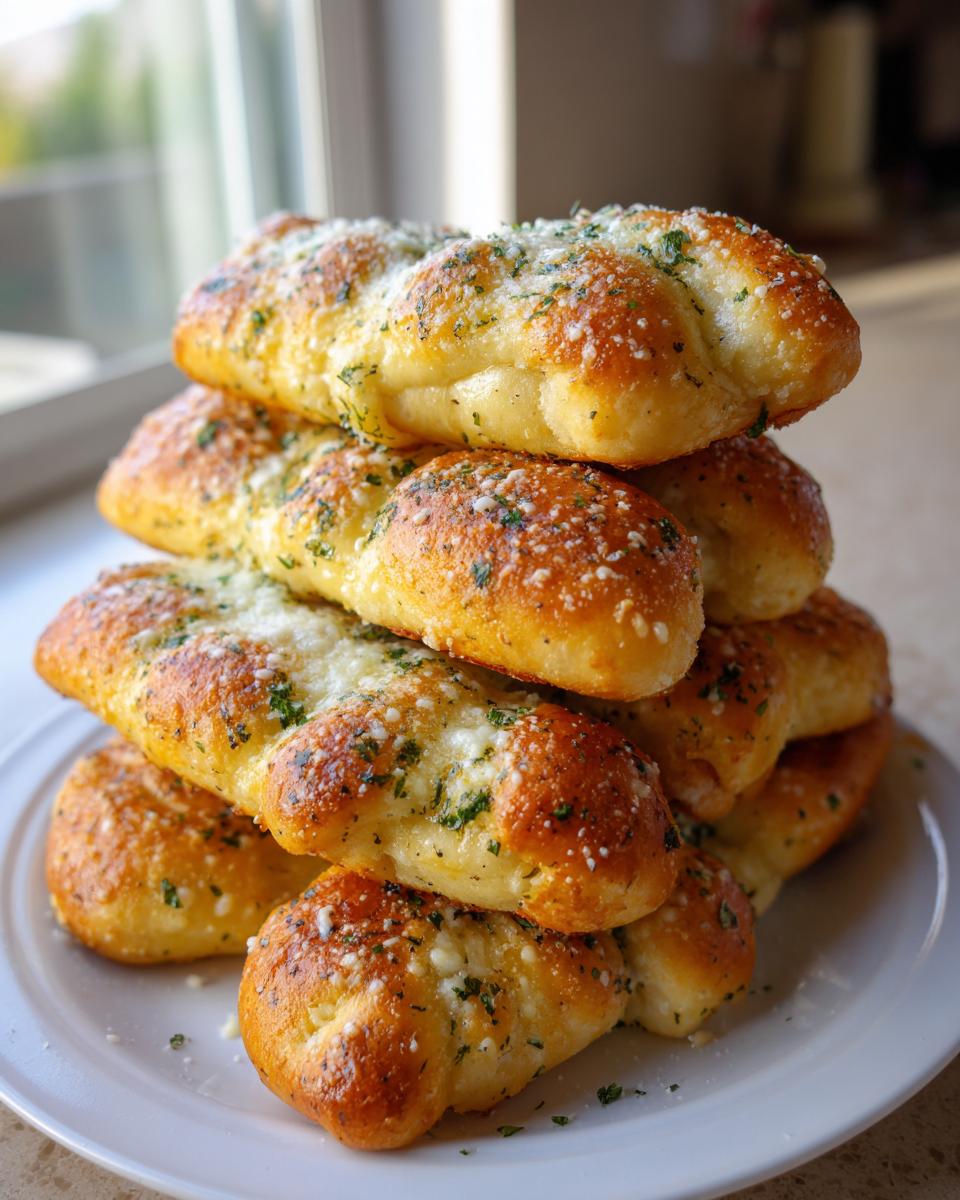
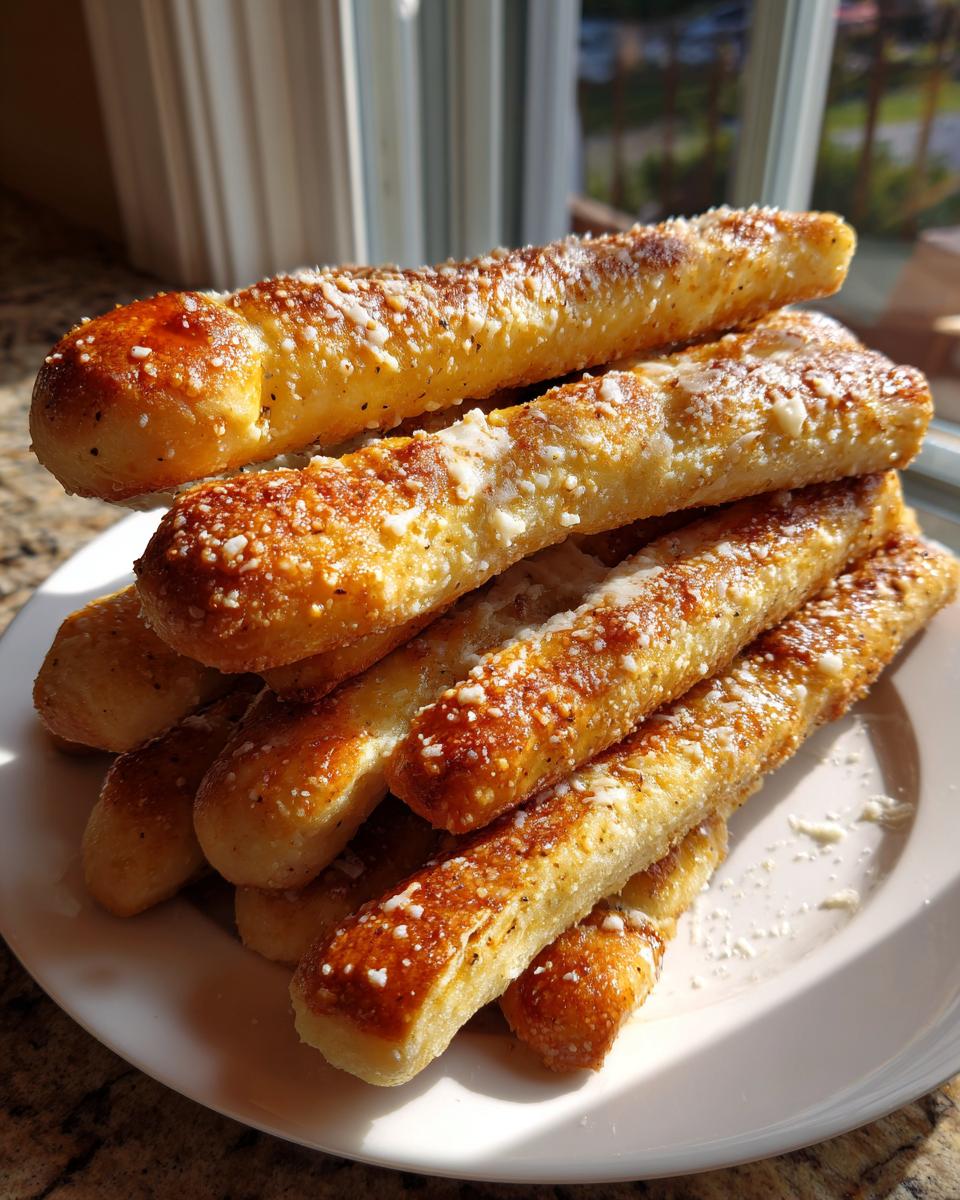
While those babies are baking, whip up your topping. Just stir that melted butter, minced garlic, Italian seasoning, and that extra bit of salt together. The second those buttery breadsticks come out of the oven—and I mean *immediately*—start brushing that glorious melted garlic butter all over them. Make sure every piece gets coated! Then, shower them liberally with that grated Parmesan cheese while they are still blazing hot so it melts right into the butter layer.
Tips for Perfect Chewy Breadsticks Every Time
Getting that perfect soft and chewy texture isn’t just luck; it’s about following a few crucial steps I learned through trial and error. We want these to flop perfectly on the plate, not stand stiffly!
First, oven temperature matters more than you think. If the oven isn’t fully preheated to that 400°F, the dough won’t set quickly enough, and you’ll end up with pale, gummy breadsticks instead of those nicely tanned beauties. Use an oven thermometer if you aren’t sure yours runs true!
Second, don’t be afraid of the rest time after shaping. That short 15-minute sit before baking lets the strips relax and puff up slightly. If you skip that, they bake dense. Think of it as a final little breath for your dough. For truly next-level flavor absorption, make sure that garlic butter topping is brushed on while they are practically sizzling hot—that’s how you lock in that amazing buttery breadsticks taste. If you’re looking for more home baking wisdom, check out this great resource here!
Variations: From Cheesy Breadsticks to Italian Breadsticks
Part of the fun of making homemade breadsticks is customizing them! Our base recipe is a fantastic starting point for so many delicious appetizers. If you didn’t get enough cheese the first time around, you absolutely need to try the cheesy upgrade.
For incredible Cheesy Breadsticks, just wait until the last three minutes of baking. Pull the tray out, quickly sprinkle a generous layer of shredded mozzarella or provolone over the top, and slide them back in until it’s beautifully melted and bubbly. Once they come out, you follow up with that glorious garlic butter topping—it’s divine.
If you’re looking for simple Italian Breadsticks without the heavy garlic butter, just skip that step! Instead, toss the hot breadsticks in a little olive oil mixed with dried oregano, dried basil, and a pinch of garlic powder. Or, for something extra special, try making a batch of Mozzarella Breadsticks by cutting the strips thicker, stuffing a tiny cube of mozzarella inside before the final proof, and then dipping them sauce after baking. You can find more inspiration for cheesy twists right here!
Storage & Make Ahead Breadsticks Instructions
I totally get it; sometimes you just can’t eat 24 breadsticks in one sitting—though I’ve certainly tried! The great news is that this homemade dough recipe is perfect for making ahead. If you only make half the batch, that’s fine, but if you make the whole thing, storage is easy.
For keeping them fresh for a few days, just store the cooled, unbuttered breadsticks in an airtight container at room temperature for up to three days. If you want to go longer, these are great as make ahead breadsticks in the freezer! Once baked and cooled, place them in a freezer bag. When you’re ready to eat them, just pop them straight onto a baking sheet at 350°F (175°C) for about 7 minutes until warm through. Then, and this is the essential part, brush heavily with your garlic butter right out of the oven to bring back that soft, fresh-baked chewiness!
Serving Suggestions for Your Dinner Side Dish Bread
Now that you have this perfect batch of buttery, garlicky sticks, what should you serve them with? Honestly, they are fantastic all by themselves, but they truly shine as the ultimate dinner side dish bread.
They are mandatory alongside any simple weeknight pasta—spaghetti, baked ziti, anything with a red sauce where you need something sturdy to mop up every last drop. They are also amazing dipped into a hearty tomato soup or a creamy broccoli cheddar soup. And of course, no fresh salad should go without a couple of these on the side for crunch and flavor!
Frequently Asked Questions About Our Breadsticks
I figure you might still have a few questions pop up after reading all that excitement! Baking yeast dough can sometimes feel tricky, but I’m here to clear up any confusion so you get those perfect, chewy sticks every time. If you have other general site questions, feel free to check out our policy pages, but for now, let’s talk dough!
Can I use store-bought dough for these breadsticks?
Oh, I get this one all the time! Yes, you absolutely *can* use refrigerated store-bought dough—it’s a great shortcut if you’re really pressed for time and just need an easy breadsticks fix. However, you won’t get the exact same pillowy, soft texture that comes from using my homemade dough recipe. Store-bought dough is often denser. If you use it, remember to brush the butter on right away, but don’t expect the same level of chewiness!
How do I get the perfect Olive Garden Breadsticks Copycat flavor?
The flavor, my friend, is all in the topping! You need a very high ratio of melted butter to garlic. I use four full cloves of minced garlic for just half a cup of melted butter, which might seem like a lot, but a lot of that flavor gets absorbed into the parchment-lined pan. The key is making sure you brush it on *instantly* after they come out of the oven, and use high-quality grated Parmesan. That immediate application is what makes them taste exactly like those famous Olive Garden Breadsticks Copycat sticks you love. For a close look at another baker’s take on this classic finish, see this site!
Why didn’t my dough rise—did I mess up the quick bread recipe?
Nine times out of ten, the yeast was the problem. It was either too old, or your water was too hot and actually killed the yeast before it could start working. If you check your foam and nothing happens after 10 minutes, toss it and start over with fresh yeast and water that feels only slightly warm to the touch! If the water is too cold, it just sleeps, so aim for that sweet spot around 110°F.
I want them crispier—how can I make crispier breadsticks?
If you prefer a bit more crunch, especially around the edges, there are two things you can do! First, roll your dough slightly thinner than a quarter of an inch—maybe closer to an eighth. Second, instead of brushing the garlic butter on them right out of the oven, let them cool for about five minutes first. This allows some steam to escape before the fat locks in, leading to a slightly drier, crisper exterior overall. They won’t be as soft, obviously, but they will definitely have more crunch!
Nutrition Estimate for Homemade Breadsticks
Because we believe in being open about what we’re eating around the table, here’s a quick look at the nutrition breakdown for about two of these delicious sticks. Remember, I’m not a nutritionist—these figures are estimates based on standard ingredient brands used in my kitchen, so yours might swing a little!
- Serving Size: 2 breadsticks
- Calories: 180
- Fat: 8g
- Carbohydrates: 24g
- Protein: 4g
- Sugar: 2g
- Sodium: 280mg
Enjoying food is about balance, and honestly, these are worth every single calorie when they come hot out of the oven, dripping with garlic butter!
PrintThe Ultimate Soft & Chewy Olive Garden Copycat Breadsticks with Garlic Parmesan Butter
Recreate the famous soft, chewy restaurant-style breadsticks at home. This easy recipe delivers buttery, garlicky flavor perfect for any dinner side dish or appetizer.
- Prep Time: 20 min
- Cook Time: 12 min
- Total Time: 1 hour 37 min
- Yield: 24 breadsticks 1x
- Category: Appetizer
- Method: Baking
- Cuisine: American
- Diet: Vegetarian
Ingredients
- 1 1/2 cups warm water (about 110°F)
- 2 1/4 teaspoons active dry yeast
- 2 tablespoons granulated sugar
- 4 cups all-purpose flour, plus more for dusting
- 1 teaspoon salt
- 1/4 cup olive oil, plus more for greasing
- 1/2 cup unsalted butter, melted
- 4 cloves garlic, minced
- 1 teaspoon dried Italian seasoning
- 1/2 teaspoon salt
- 1/4 cup grated Parmesan cheese
Instructions
- Activate the yeast: In a large bowl, combine the warm water, yeast, and sugar. Let this mixture sit for 5 to 10 minutes until it becomes foamy.
- Mix the dough: Add the flour, 1 teaspoon salt, and 1/4 cup olive oil to the yeast mixture. Mix until a shaggy dough forms, then turn it out onto a lightly floured surface. Knead for 5 to 7 minutes until the dough is smooth and elastic.
- First rise: Lightly grease a large bowl with olive oil. Place the dough in the bowl, turning to coat. Cover the bowl with plastic wrap or a clean towel and let it rise in a warm place for 60 to 90 minutes, or until doubled in size.
- Shape the breadsticks: Preheat your oven to 400°F (200°C). Line two large baking sheets with parchment paper. Punch down the risen dough gently. Divide the dough into two equal pieces. Roll each piece into a large rectangle about 1/4 inch thick. Cut each rectangle into 12 long strips to make 24 breadsticks total.
- Second rise: Place the strips onto the prepared baking sheets, leaving about 1 inch between them. Cover loosely and let them rest for 15 minutes while the oven finishes preheating.
- Bake: Bake for 10 to 12 minutes, rotating the sheets halfway through, until the breadsticks are lightly golden brown.
- Prepare the garlic butter topping: While the breadsticks bake, combine the melted butter, minced garlic, Italian seasoning, and 1/2 teaspoon salt in a small bowl.
- Finish: Immediately after removing the breadsticks from the oven, brush them generously with the garlic butter mixture. Sprinkle evenly with the grated Parmesan cheese. Serve warm.
Notes
- For extra soft dinner rolls texture, you can let the dough have a second, longer rise (about 30 minutes) after shaping before baking.
- If you want cheesy breadsticks, sprinkle mozzarella cheese over the tops during the last 3 minutes of baking, then add the garlic butter topping after they come out of the oven.
- You can make the dough ahead of time; after the first rise, punch it down, wrap it tightly, and refrigerate for up to 3 days. Allow it to come to room temperature before shaping.
Nutrition
- Serving Size: 2 breadsticks
- Calories: 180
- Sugar: 2
- Sodium: 280
- Fat: 8
- Saturated Fat: 4
- Unsaturated Fat: 4
- Trans Fat: 0
- Carbohydrates: 24
- Fiber: 1
- Protein: 4
- Cholesterol: 15