
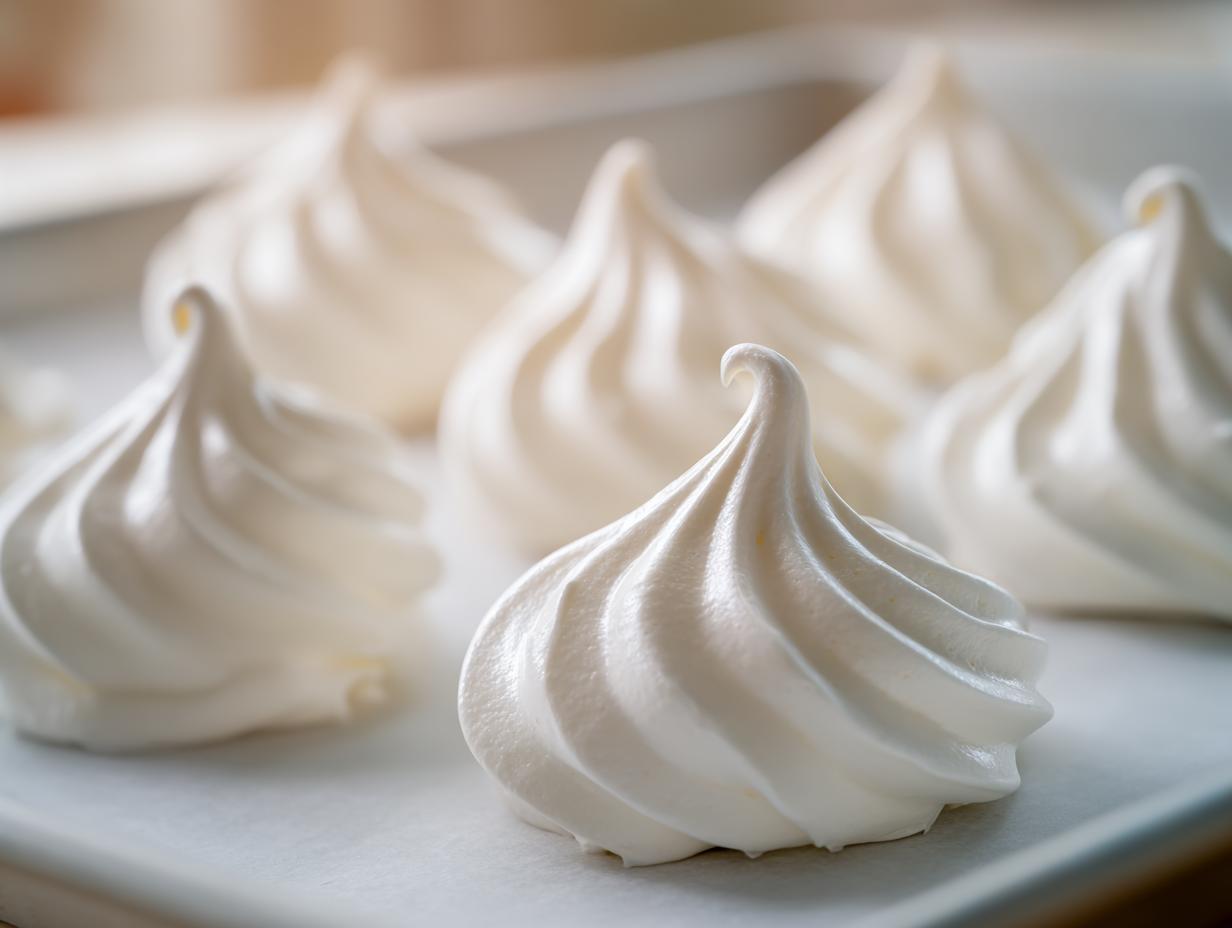
Sometimes, you just crave something that feels impossibly light, like a sweet cloud that disappears the second it touches your tongue. That’s the absolute joy I find when I pull a tray of perfect meringue cookies out of the oven. When I first started Bring Dish, I realized that these delicate, airy dessert cookies were exactly what so many busy people needed—a recipe that proves magic doesn’t require a lot of fuss. My grandmother in Chicago taught me that connection happens even with the simplest things, and honestly, whipping up these crisp little clouds reminds me of that connection every time. Trust me, once you master this easy meringue cookies recipe, you’ll have the secret to the ultimate light and crispy confection!
- Why You Will Love This Easy Meringue Cookies Recipe
- The Essential Ingredients for Perfect Meringue Cookies
- Tips for Success: Achieving Light and Crispy Meringues
- Step-by-Step Instructions for Your Meringue Cookie Recipe
- Variations: Customizing Your Homemade Meringue Treats
- Storage and Keeping Meringue Cookies Crisp
- Answering Common Questions About Making Meringue Cookies
- Estimated Nutritional Data for Meringue Cookies
- Share Your Delicate Sweet Treats
Why You Will Love This Easy Meringue Cookies Recipe
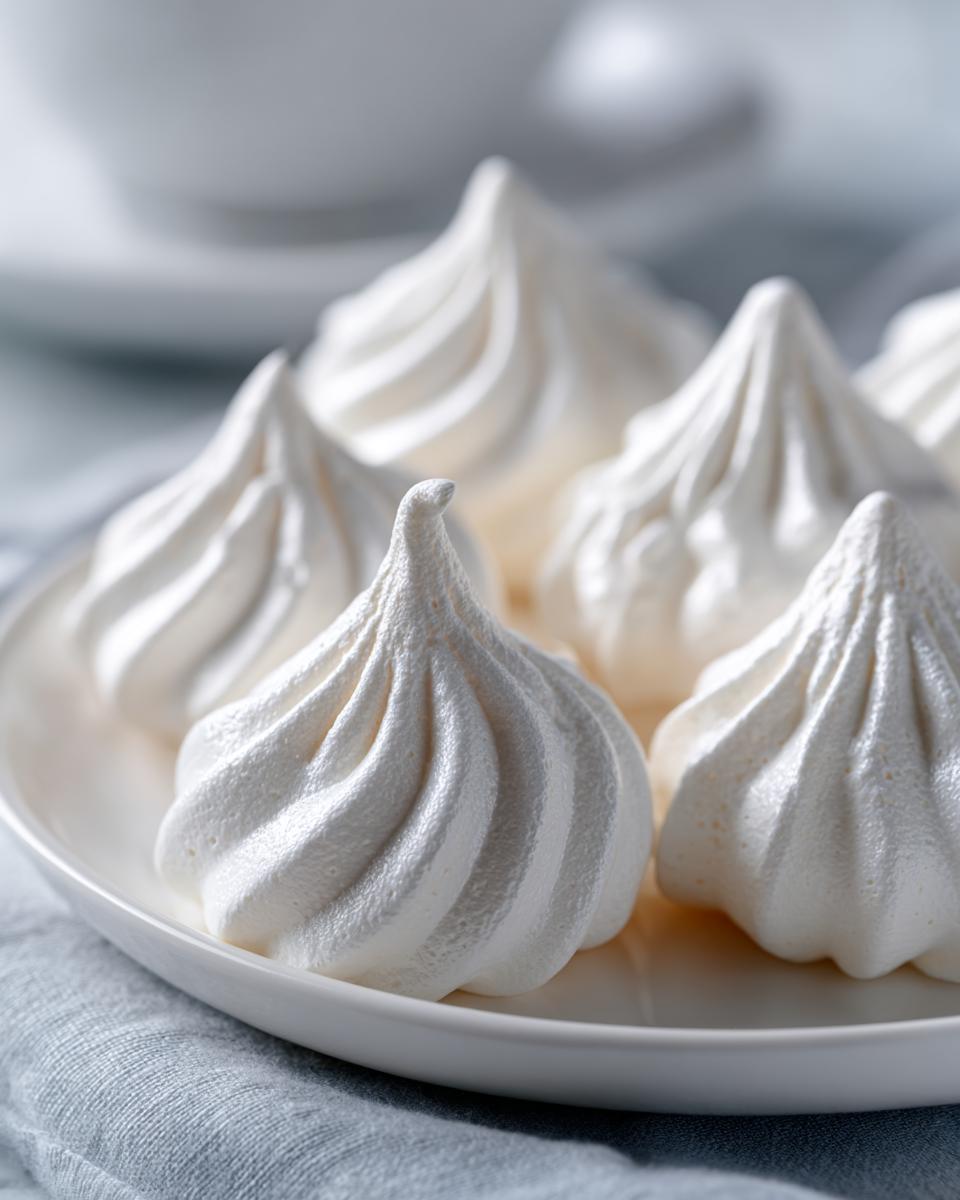
Honestly, these are the cookies I turn to when I need a dessert that looks fancy but takes almost no effort. They truly live up to their name a Melt in Your Mouth Cookies reputation.
- They are incredibly light and airy – the perfect delicate sweet treat!
- You only need a handful of basic ingredients to get started.
- They bake up perfectly crisp every single time if you follow my slow-dry method.
- Since they are naturally wheat-free, they are fantastic for handling dietary needs at potlucks.
The Essential Ingredients for Perfect Meringue Cookies
You are not going to believe how few things you actually need for these incredible homemade meringue treats. While the final list has five items, we are really dealing with a Simple 3 Ingredient Cookies base! That’s where the magic happens. Make sure you grab:
- 4 large egg whites, and they absolute must be room temperature—this helps them whip up huge!
- 1 cup of superfine (caster) sugar. Don’t grab regular granulated sugar if you can help it; superfine dissolves so much better.
- 1/2 teaspoon of cream of tartar. This is your steadfast stabilizer.
- 1 teaspoon of pure vanilla extract for flavor, of course.
- And just a tiny pinch of salt to balance that sweetness out.
Tips for Success: Achieving Light and Crispy Meringues
Making these No Fail Meringue Cookies is all about respecting the chemistry of egg whites! If you get these three things right—cleanliness, patience with the sugar, and a super low oven—you are set. Seriously, the biggest mistake people make is having even a tiny speck of grease or egg yolk in their mixing bowl. Fat is the enemy of meringue, so give that bowl a good washing with hot water and dry it thoroughly before you even think about pouring in those egg whites. We are using the French Meringue technique here, which relies purely on whipping air into the sugar and whites, so precision matters here! I’ve linked to my ‘About’ page because understanding the simple philosophy behind my baking helps everything turn out better. We aim for connection, not complicated steps!
Mastering the Stiff Peaks for Your Meringue Cookies
When I say stiff and glossy, I mean it! You want peaks that stand up straight when you lift the whisk without flopping over at the tip. After you’ve added all your sugar, take a little pinch of the mix and rub it between two fingers. If you feel *any* gritty sugar crystals at all, keep beating! We need that sugar completely dissolved so it stabilizes the bubbles we’ve created. When it’s perfect, the meringue should look like thick, bright white whipped cream, which signals you’re ready for the oven.
And please, when you take them out, don’t just yank the tray onto the counter! The sudden temperature change causes those delicate structures to sigh and crack immediately. The best way to get that perfect, dry snap is by turning the oven off completely, propping the door open just a smidge with a wooden spoon, and letting them cool down slowly inside for at least an hour.
Step-by-Step Instructions for Your Meringue Cookie Recipe
Okay, let’s get piping! This detailed Meringue Cookie Recipe is broken down so you can’t mess it up—I promise! First, crank your oven down low to 200°F (95°C). That low heat is essential for drying them out instead of actually baking them. Line those baking sheets with parchment paper; we don’t want any sticking drama later.
Start whipping your room-temperature egg whites and cream of tartar until you get those lovely soft peaks. Then, bring in the sugar slowly, one tablespoon at a time. I mean it—slowly! Wait about 30 seconds between each spoonful. It feels slow, but this is how you build structure! Once all the sugar is in, crank that mixer up high until you have truly stiff, glossy peaks. We’re aiming for that French Meringue perfection we talked about. Then, gently fold in your vanilla and salt.
For the actual baking step, remember the crucial part: after the 1 to 1.5 hours of baking time (depending on how big you pipe them), turn the oven off, prop the door open with a wooden spoon so it’s not sealed shut, and leave them in there until the oven is totally cool. This low and slow cooling prevents shocking them, which causes cracking. You can check out the details on the French Meringue process right here if you want a deeper dive into that technique!
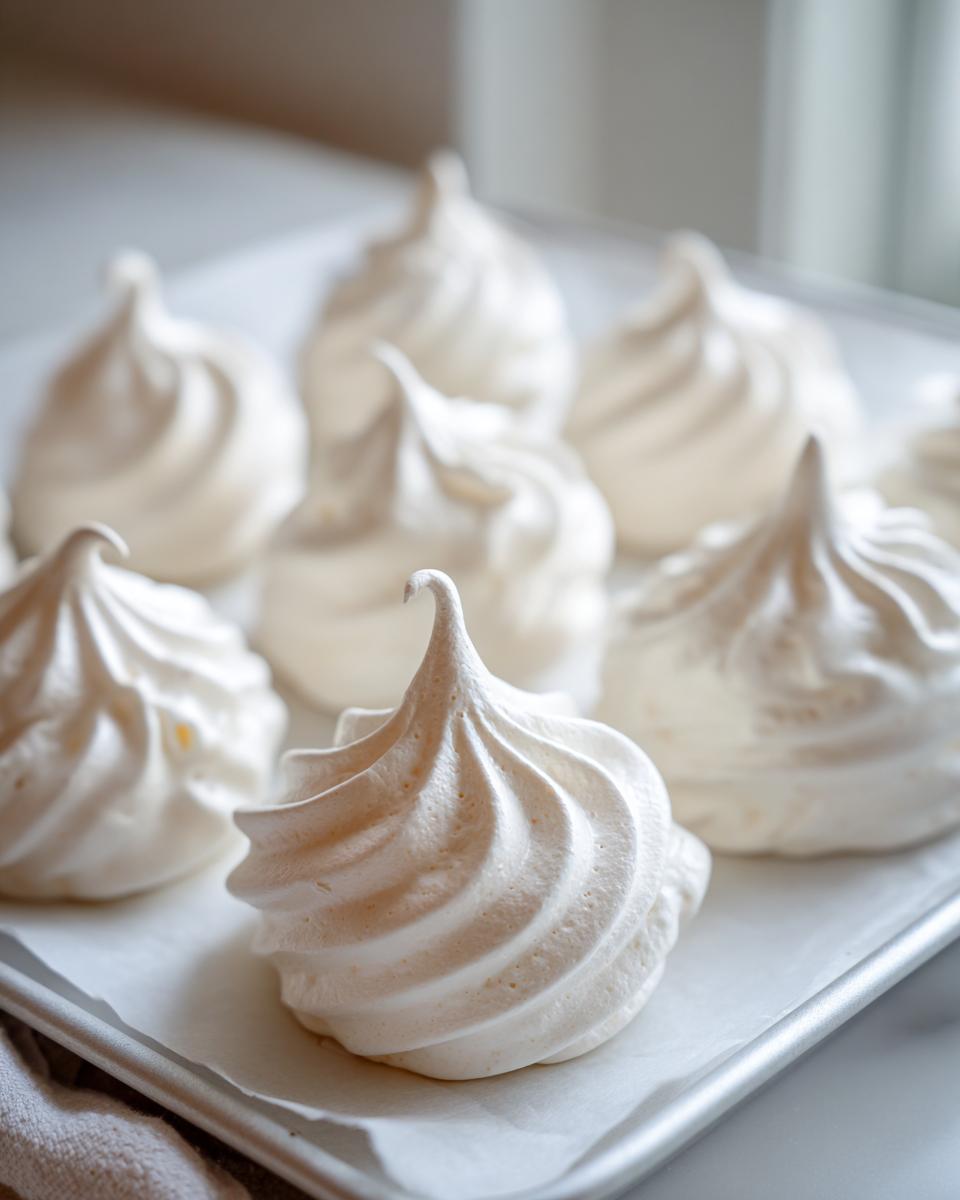
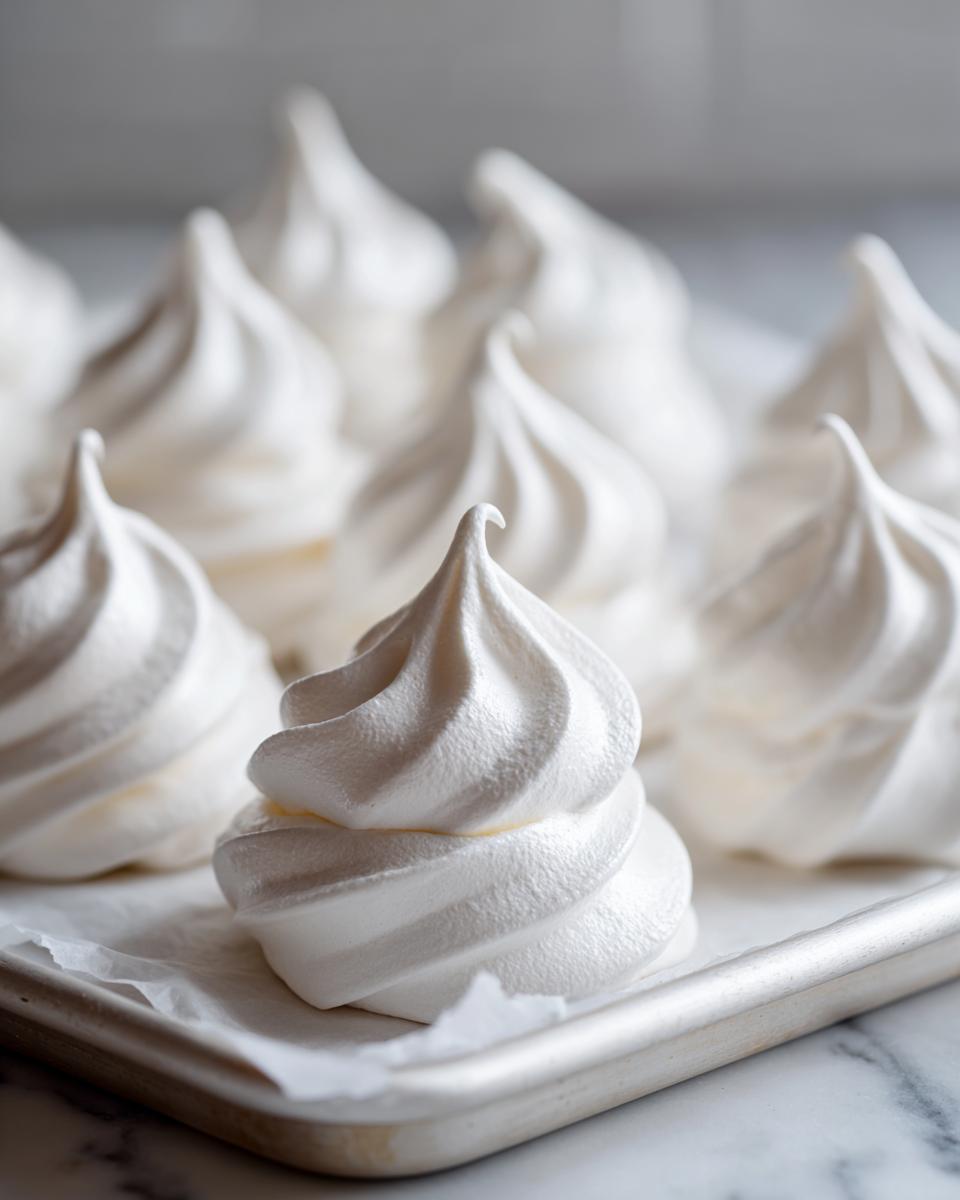
Piping and Shaping Your Airy Dessert Cookies
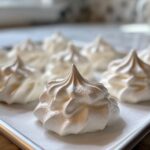
Don’t be intimidated by the piping bag! I find a large star tip, like a Wilton 1M, gives you those beautiful, rustic swirls that look so elegant. Pipe small mounds, keeping them about an inch apart because they don’t spread much, but you want airflow around them. If you want to try fun Meringue Cookie Shapes Piping for holidays, just move the bag slowly and consistently to form your design before snipping the flow.
Variations: Customizing Your Homemade Meringue Treats
This basic meringue cookie recipe is honestly a blank canvas for your creativity! The foundation is so pure that it welcomes fun additions. If you want to make them perfect for your next holiday spread, think about your Christmas Meringue Ideas—a little peppermint extract added with the vanilla elevates them instantly!
I always keep a couple of drops of gel food coloring nearby. Once you hit stiff peaks, add just one drop of color and whisk it in quickly. That’s how you get those soft pastels perfect for Easter, or deep reds and greens for Christmas. You can gently fold in about 1/4 cup of mini chocolate chips right at the end for a bit of texture, or even some finely chopped toasted nuts if you aren’t worried about allergens!
And if you’ve seen those brightly colored treats floating around, those often stem from this exact base, sometimes adapted for Jello Meringue Cookies Ideas by incorporating flavored gelatin powder during the sugar addition. You just need to be careful mixing, but the possibilities for these little delights are endless!
Storage and Keeping Meringue Cookies Crisp
Okay, listen up, because this is where many people go wrong with their delicate sweet treats! Humidity is the absolute sworn enemy of a crispy meringue cookie. You put all that effort into drying them low and slow, only to let them go soft on the counter, right? Don’t do it!
The secret is an airtight container. Once they are completely cool—and I mean totally cooled down from the oven—transfer them immediately into a container with a really tight lid. You should store them at cool room temperature, never the fridge! If you want them to last longer or if your kitchen is super humid, you can even slip a few food-safe silica packets in there, like the ones that come in medicine bottles. They absorb whatever moisture tries to creep in, keeping your cookies perfectly snap-able for days.
Answering Common Questions About Making Meringue Cookies
I totally get it; baking airy desserts can feel a little intimidating at first, so let’s tackle any lingering doubts you have about creating these perfect meringue cookies.
Are these Gluten Free Cookies Recipe friendly?
Yes, absolutely! This is one of the things I love most about them. Since the base list only uses egg whites and sugar—no flour or grains whatsoever—this is a wonderfully simple Gluten Free Cookies Recipe right out of the bowl. They are fantastic for dessert tables when you need something for everyone!
What is the difference between French Meringue Cookies and Swiss Meringue?
We are using the French method here, which just means we beat the egg whites and sugar together raw until stiff. Swiss Meringue, on the other hand, involves gently heating the egg whites and sugar over a double boiler while whisking before you start whipping them cold. That extra heat technically stabilizes the meringue more, but honestly, the cold-whipped French method works perfectly when you’re careful with your sugar addition.
Why are my cookies weeping or sticky after cooling?
Oh, the dreaded humidity creep! If they feel sticky, it means they absorbed moisture from the air, usually because the final cool-down wasn’t slow enough, or your storage container isn’t airtight. Meringues are sponges for moisture! Next time, make sure you turn that oven off and let them dry out completely inside the cooling oven chamber until it’s totally turned off.
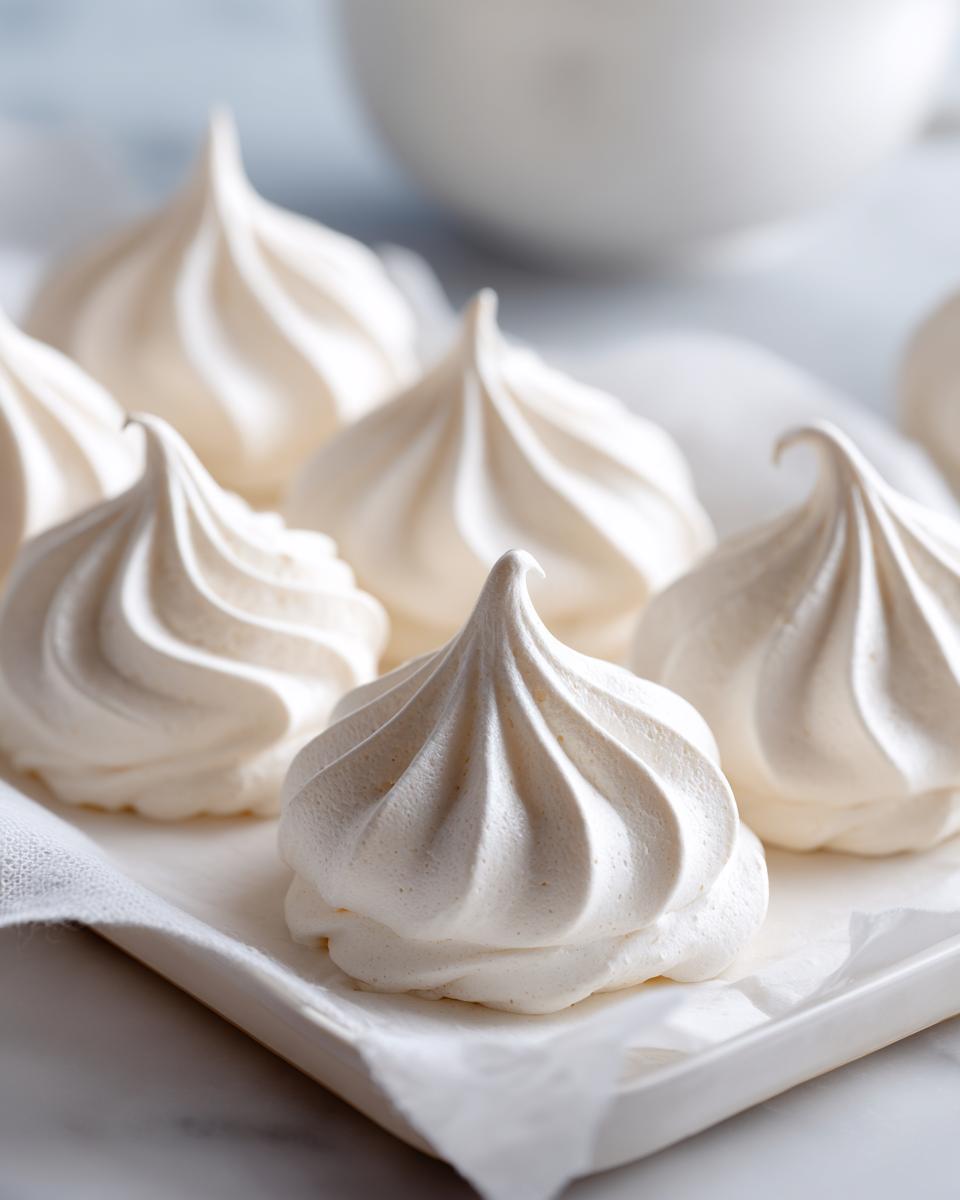
What size piping tip should I use for the best results?
For classic, pretty little dollops that dry evenly, I stick to a medium star tip, like a Wilton 1M, or even a large round tip. If you’re trying those cute Tree Meringue Cookies shapes, you definitely need a sharp star tip to hold those edges while baking. Smaller cookies dry faster, so keep that in mind with your tip size!
Estimated Nutritional Data for Meringue Cookies
It’s important to bring a little bit of reality into the kitchen alongside all the fun, right? Here is the estimated nutritional breakdown for one of these beautiful, airy dessert cookies, based on the simple ingredients list we used.
- Serving Size: 1 cookie
- Calories: 45
- Sugar: 11g
- Fat: 0g
- Protein: 0.5g
Please remember, this is just an estimate based on the standard ingredients here. If you add chocolate chips or flavorings, those values are going to shift a bit! But for this foundational recipe, you can feel great about serving these delicate sweet treats!
Share Your Delicate Sweet Treats
Now that you know all my secrets for perfectly crisp meringue cookies, I genuinely hope you give them a try! Creating something beautiful and sharing it is what cooking is all about. If you whip up a batch, drop a comment below and let me know how they turned out! Or better yet, take a picture and send it to me through the contact page—I absolutely love seeing how our dishes connect people!
PrintThe Ultimate Guide to Classic, Easy Meringue Cookies (Perfectly Crisp and Light)
Make light, crisp, and airy meringue cookies using this simple French meringue recipe. These melt-in-your-mouth treats require just a few ingredients and are perfect for holiday baking or any gathering.
- Prep Time: 20 min
- Cook Time: 90 min
- Total Time: 110 min
- Yield: About 3 dozen 1x
- Category: Dessert
- Method: Baking
- Cuisine: American
- Diet: Gluten Free
Ingredients
- 4 large egg whites, room temperature
- 1 cup superfine (caster) sugar
- 1/2 teaspoon cream of tartar
- 1 teaspoon vanilla extract
- Pinch of salt
Instructions
- Preheat your oven to 200°F (95°C). Line two large baking sheets with parchment paper.
- Place the egg whites and cream of tartar in the clean, dry bowl of a stand mixer fitted with the whisk attachment. Beat on medium speed until soft peaks form.
- Gradually add the superfine sugar, about one tablespoon at a time, while continuing to beat the mixture on medium-high speed. Wait about 30 seconds between each addition.
- Once all the sugar is added, increase the speed to high and beat until the meringue is stiff, glossy, and holds firm peaks. When you rub a small amount between your fingers, you should not feel any sugar granules.
- Beat in the vanilla extract and salt until just combined.
- Transfer the meringue to a large piping bag fitted with your desired tip (a star tip works well for classic shapes).
- Pipe small mounds or desired shapes onto the prepared baking sheets, leaving about one inch between each cookie.
- Bake for 1 to 1.5 hours, depending on the size of your cookies. The goal is to dry them out, not brown them.
- Turn off the oven, prop the door open slightly with a wooden spoon, and let the meringue cookies cool completely inside the oven for at least 1 hour, or until the oven is completely cool. This slow cooling prevents cracking.
- Store the finished, crisp meringue cookies in an airtight container at room temperature.
Notes
- Ensure your mixing bowl and whisk attachment are completely free of any grease or water; fat prevents the egg whites from whipping properly.
- For holiday meringue cookies, you can add a few drops of food coloring during the final mixing stage, or gently fold in 1/4 cup of mini chocolate chips or chopped nuts after the meringue is stiff.
- If you want to make shaped meringues like Christmas Trees, use a medium star tip and pipe the meringue in a continuous motion to form the tree shape.
Nutrition
- Serving Size: 1 cookie
- Calories: 45
- Sugar: 11
- Sodium: 5
- Fat: 0
- Saturated Fat: 0
- Unsaturated Fat: 0
- Trans Fat: 0
- Carbohydrates: 11
- Fiber: 0
- Protein: 0.5
- Cholesterol: 0