
Oh, that heavenly aroma! There’s really nothing that says ‘home’ quite like the scent of fresh bread baking, especially when it fills your kitchen with the comforting smell of an authentic Italian bakery. I remember my grandmother in Chicago bringing out loaves that were just perfect—a deep, golden crust and a chewy, airy inside. It felt like magic, but I learned it was just simple, quality ingredients treated with respect. That’s why I’m so excited to share this recipe for crusty homemade italian bread.
Seriously, you don’t need three days and specialized equipment. This recipe is foolproof, even if you’ve never gone past toast! We are focusing on achieving that incredible bakery-style crust while keeping the interior beautifully soft. Trust me, once you nail this simple technique, you’ll be baking fresh loaves every week for dipping in olive oil or smothering with Sunday sauce.
- Why This Easy Crusty Homemade Italian Bread Recipe Works (Soft Inside Crusty Outside Bread)
- Ingredients for Your Homemade Italian Bread Recipe
- Step-by-Step Instructions for Bakery Style Italian Loaf
- Tips for Success with Your Quick Italian Bread Tutorial
- Serving Suggestions for Dipping Bread Recipes
- Storage and Reheating Instructions for Fresh Baked Bread Aromas
- Frequently Asked Questions About Making Italian Bread
- Nutritional Information for This Simple Sandwich Bread
- Share Your Homemade Italian Bread Creations
Why This Easy Crusty Homemade Italian Bread Recipe Works (Soft Inside Crusty Outside Bread)
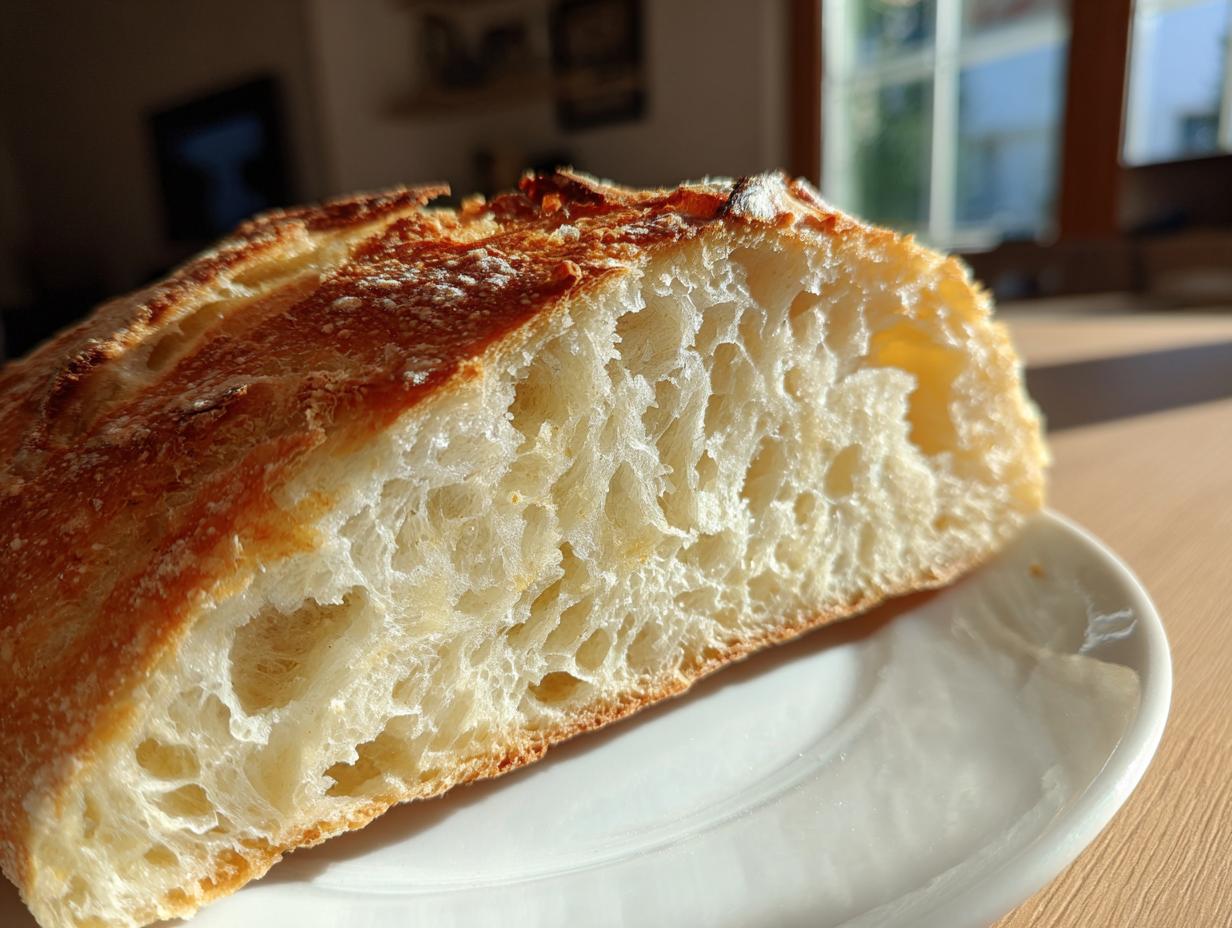
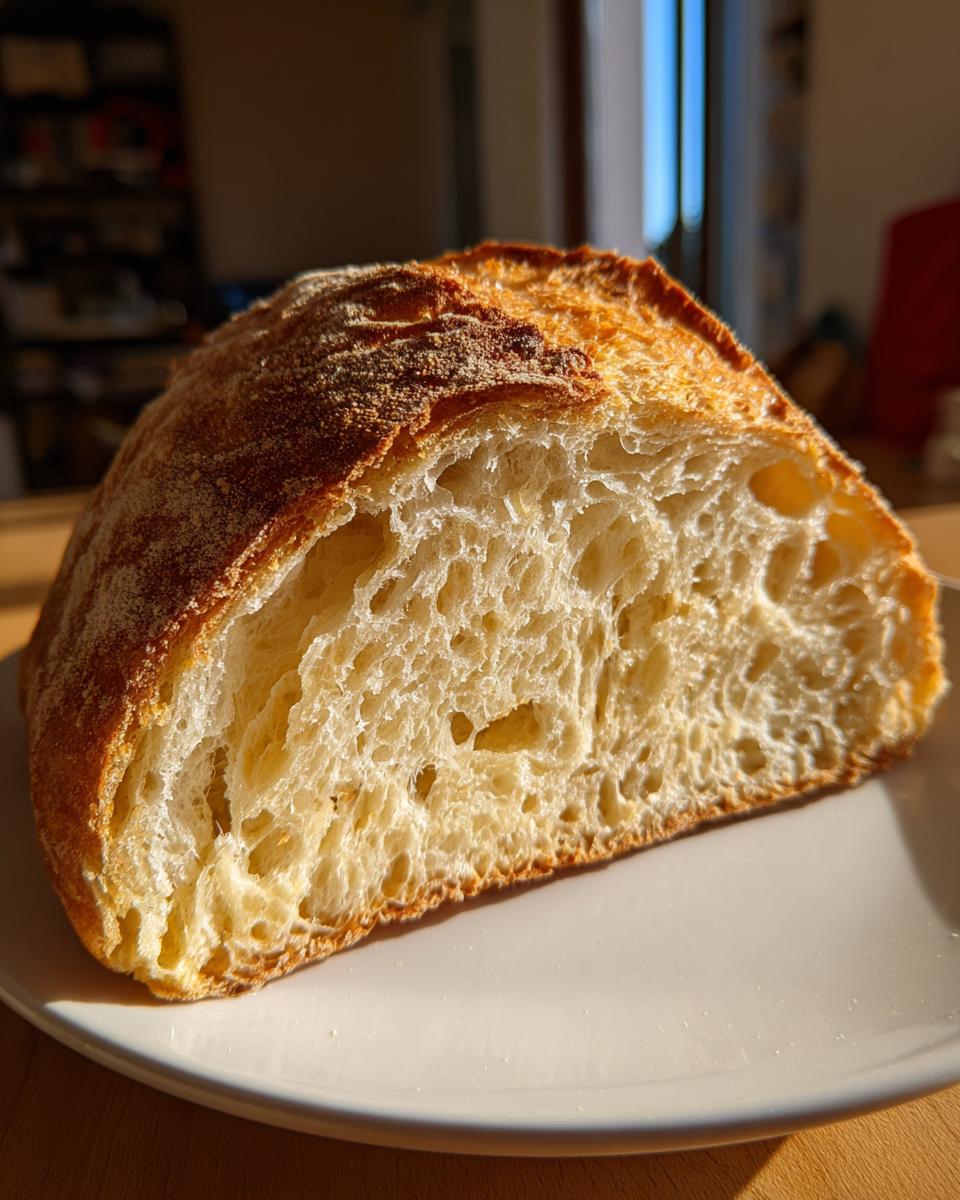
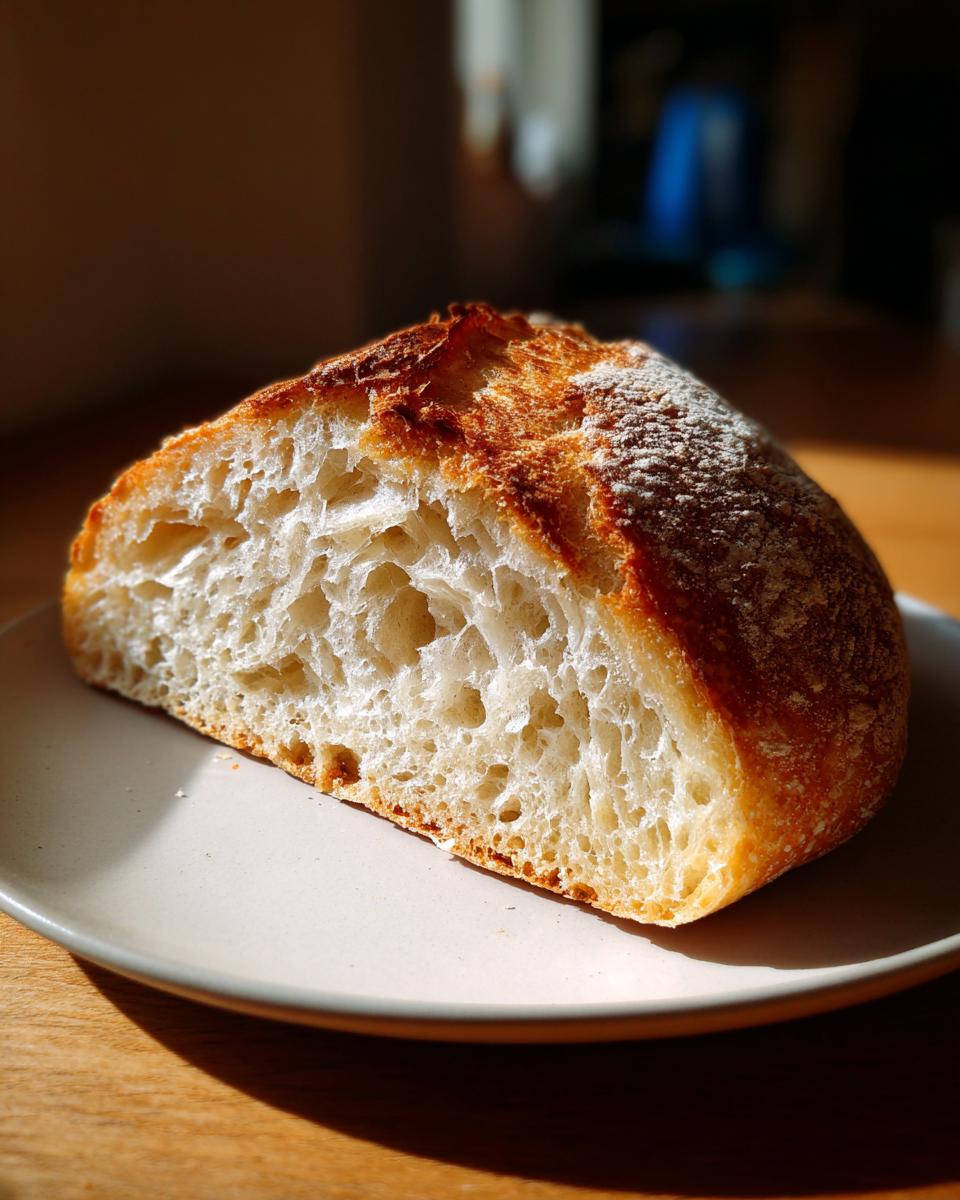
We all want that loaf that looks like it came straight from a neighborhood Italian bakery, right? The secret to this Easy Crusty Homemade Italian Bread Recipe isn’t complicated equipment; it’s about respecting the process just a little bit. This recipe delivers exactly what we want: that gorgeous, crackly, golden exterior paired with an impossibly soft and chewy inside.
Here’s why this simple recipe beats the complicated ones:
- We use basic pantry staples, so you aren’t hunting down specialty flours.
- The kneading time is manageable—you’re developing strength, not tearing muscle!
- It’s genuinely fast for a real yeast bread; the rising time is efficient.
Achieving the Golden Brown Crust Bread Texture
That incredible crunch comes entirely from steam during the first few minutes of baking. When you bake bread in a humid environment, the crust stays soft just long enough to expand fully before it sets hard. That expansion is what gives you those beautiful blisters and that awesome crackle when you slice it.
Here’s my pro-tip for ensuring success: make sure your oven is actually hot! I always keep a cheap oven thermometer inside because my dials can lie. If it’s not hitting 400°F before that steam pan goes in, the crust will suffer. Steam is essential for that perfect golden brown crust bread finish.
Ingredients for Your Homemade Italian Bread Recipe
When it comes to this fantastic Homemade Italian Bread Recipe, simplicity is key. You probably have everything tucked away in your pantry already! Remember, every measurement matters when you’re working with yeast, so grab your measuring cups and let’s get precise.
Here’s exactly what you’ll need for one glorious loaf:
- 3 1/2 cups all-purpose flour (don’t pack it in!)
- 1 1/2 teaspoons salt
- 1 teaspoon granulated sugar
- 2 1/4 teaspoons active dry yeast (that’s just one standard packet, easy, right?)
- 1 1/2 cups warm water (and yes, pay attention to the temperature—aim for about 105–115°F. Too hot and you kill the yeast; too cool and it sleeps!)
That’s it! Four or five simple things, and you’re on your way to perfection. Isn’t that refreshing?
Step-by-Step Instructions for Bakery Style Italian Loaf
Okay, now we get to the fun part! Turning those dry ingredients into a beautiful, rustic italian bread loaf. Believe me when I say that following these steps closely makes sure you get that authentic, satisfying texture every single time. Don’t rush the rising; that’s where the flavor actually develops!
Activating Yeast and Mixing the Italian Bread Dough
First things first, we wake up the yeast! Take your warm water—make sure it’s comfortably warm, not hot—and stir in that teaspoon of sugar and the yeast packet. You need to let this sit for about five minutes. If it doesn’t get frothy or foamy, your yeast is dead, and we have to start that step over. Don’t skip the foam check!
Once it’s bubbly, toss in your flour and salt. I mix this with a sturdy spoon until it looks like a mess—a proper shaggy dough. Don’t try to be neat here; that’s what the counter is for!
Kneading and First Rise for Chewy Italian Loaf
Time to get your hands dirty for that fabulous Chewy Italian Loaf texture! Turn that messy blob onto a lightly floured surface and knead it hard for about eight to ten minutes. You keep pushing, folding, and turning until the dough isn’t sticky anymore. When it’s done, it should feel smooth, strong, and elastic when you gently pull on it.
Rub a little oil into a clean bowl, place the dough in there, turn it to coat, cover it up tight, and stick it somewhere warm—like your slightly warmed (then turned off!) oven. You need patience here; let it sit for a full hour, maybe an hour and a half, until it’s doubled in size. Seriously, don’t touch it!
Shaping and Creating Steam for Perfect Italian Bread Baking
Gently deflate the dough—don’t beat it up, just press the air out! Now, shape it into that classic long, rustic oval shape you want for your loaf, and place it on your baking sheet lined with parchment paper. Cover it loosely and let it nap for just 30 more minutes while your oven preheats to 400°F. And this part is crucial: put a shallow pan on the bottom rack while it heats up!
Right before sliding the loaf in, use a very sharp knife to score the top—one or two quick, shallow cuts. Now, for the magic: carefully pour a cup of hot water into that preheated pan underneath. That burst of steam traps moisture, allowing the crust to stretch beautifully before it hardens, giving you that amazing, crisp shell we are aiming for. Bake it for 30 to 35 minutes until it’s deep gold and sounds wonderfully hollow when you tap the bottom!
Tips for Success with Your Quick Italian Bread Tutorial
We’ve poured our heart into making this dough, so let’s make sure the bake is flawless! Since this is a Quick Italian Bread Tutorial, efficiency matters, but not at the expense of that perfect texture. Keep these little secrets in mind when you pull that loaf out of the oven.
My number one rule, which I learned by watching my mother ruin batches of bread before she figured it out, is about that crust. To get that perfect, deep, crackly texture that screams “bakery,” you absolutely must use that steam method we talked about—that hot water in the bottom pan is non-negotiable for crunch!
However, I know sometimes you might prefer a slightly gentler bite, maybe if you’re making giant sandwiches. If that’s the case, you skip the steam pan entirely. Instead, the moment the italian bread comes out of the oven, just brush the top lightly with melted butter. That stops the crackle immediately and leaves you with a softer, buttery crust instead. It’s a great variation, though I still prefer the steam!
Finally, always let it cool completely on a wire rack. Resist the urge to slice it right away! If you cut into it hot, all that trapped steam rushes out, and you end up with a gummy interior. Patience rewards you with that perfect chewy texture!
Serving Suggestions for Dipping Bread Recipes
Honestly, what is the point of baking such a fabulous, crusty loaf if you don’t immediately put it to good use? This is the moment where all the kneading pays off! My favorite way to let this homemade italian bread shine is super simple. Pour a good quality olive oil into a shallow bowl—maybe mix in a sprinkle of dried oregano or some crushed garlic—and just start dipping.
It’s the perfect accompaniment to any hearty dinner, especially when you’re serving up big bowls of pasta with sauce. No one leaves a crumb behind when the bread is this good! And yes, if you’re thinking about lunch the next day, this sturdy loaf makes the absolute best simple sandwich bread. A thick slice holds up perfectly to meats and cheeses!
Storage and Reheating Instructions for Fresh Baked Bread Aromas
Now that you have created such incredible fresh baked bread aromas filling your entire house, we want to keep that magic going! The biggest mistake people make is wrapping it immediately in plastic wrap. Don’t do it!
For the best results—keeping that crust relatively crisp—you should store your italian bread at room temperature, tucked inside a brown paper bag. The paper lets the bread breathe, which keeps the crust from getting rubbery too quickly. If you must keep it longer than a day, an airtight container works, but you sacrifice that initial crispness.
To bring back that amazing, just-out-of-the-oven experience? Pop a slice or the whole loaf (if it fits!) into a 350°F oven for about five to seven minutes. Instant freshness, I promise you!
Frequently Asked Questions About Making Italian Bread
Handling bread can feel intimidating when you’re first starting out, and questions always pop up! I totally get it. We want this recipe to be approachable for every Beginner Bread Making adventure. If you’re looking for a Simple Sandwich Bread recipe that delivers on texture, these little troubleshooting tips should help you out!
Can I make this a No Knead Italian Bread?
Oh, I wish! While no-knead recipes are fantastic for focaccia or rustic country loaves, for this specific italian bread, the answer is no. We need that active kneading time—those 8 to 10 minutes—to develop the gluten structure properly. That gluten is what stretches and traps the gases to give you that signature chewy interior and allows the loaf to hold up those deep scores we make before baking.
What if my dough doesn’t double in size?
This is almost always a temperature issue, and it’s my biggest learning moment when I first started baking! Remember I stressed the warm water temperature? If your water was too cold (below 100°F), your yeast is probably just grumpy and not kicking into action. If it’s too hot (over 120°F), you might have accidentally shocked and killed your yeast, which means you’ll need a new packet and slightly cooler water.
If you’ve let it sit for the full 90 minutes in a genuinely warm room and it hasn’t moved, don’t panic. Just move your covered bowl to a warmer spot—like on top of the fridge or near a very low pilot light if you have one—and give it another 30 minutes before deciding it’s a lost cause. Often, it just needs a little encouraging warmth to get going!
If you have any other burning questions while you’re working on your dough, please don’t hesitate to reach out via my contact page at my contact form!
Nutritional Information for This Simple Sandwich Bread
I always try to keep the focus here on flavor, not calorie counting, because when you eat fresh, homemade italian bread, you just know you’re eating better ingredients than you buy off the shelf. But for those of you who track things, here’s a peek at what you’re looking at per slice, based on the recipe yields.
Please remember these are just my estimates, of course! This information is based on dividing the entire loaf into standard slices. Your brand of flour or how much water you use in the steam pan could change these numbers just a bit. For the full legal breakdown, you can check out the privacy policy details.
- Serving Size: 1 slice
- Calories: 180
- Sugar: 0.5g
- Sodium: 300mg
- Fat: 1.0g
Share Your Homemade Italian Bread Creations
I truly hope this recipe brings that wonderful, comforting feeling of fresh baking to your kitchen. Once you pull that golden loaf out, I desperately want to see it! Please, click over to the recipe card and give it a firm 5-star rating if you loved it.
Don’t be shy! Leave a comment telling me how your crust turned out, or snap a picture and tag me on social media—you can read more about my philosophy (and see what I’m cooking next!) over on my About page. I love seeing your amazing successes! And if you enjoyed this taste of artisan baking at home, check out this similar inspiration here too!
PrintEasy Crusty Homemade Italian Bread
Bake a bakery-style Italian loaf at home with this simple recipe. You achieve a golden, crunchy crust and a soft, chewy interior using basic pantry ingredients. This recipe is perfect for beginners and great for serving with dinner or making sandwiches.
- Prep Time: 20 min
- Cook Time: 35 min
- Total Time: 2 hours 25 min
- Yield: 1 loaf 1x
- Category: Baking
- Method: Baking
- Cuisine: Italian
- Diet: Vegetarian
Ingredients
- 3 1/2 cups all-purpose flour
- 1 1/2 teaspoons salt
- 1 teaspoon granulated sugar
- 2 1/4 teaspoons active dry yeast (one packet)
- 1 1/2 cups warm water (about 105-115°F)
Instructions
- In a large bowl, mix the warm water, sugar, and yeast. Let it stand for 5 minutes until the mixture is foamy.
- Add the flour and salt to the yeast mixture. Mix with a spoon until a shaggy dough forms.
- Turn the dough out onto a lightly floured surface. Knead the dough for about 8 to 10 minutes until it becomes smooth and elastic.
- Place the dough in a lightly oiled bowl, turning it once to coat. Cover the bowl with plastic wrap or a clean kitchen towel. Let the dough rise in a warm place for 1 to 1.5 hours, or until it has doubled in size.
- Gently punch down the dough. Shape it into a long, round loaf. Place the loaf on a baking sheet lined with parchment paper or on a pizza stone.
- Cover the loaf loosely and let it rest for another 30 minutes. While it rests, preheat your oven to 400°F (200°C). For extra crust, place a shallow pan on the bottom rack during preheating.
- Before baking, lightly score the top of the loaf with a sharp knife. If using the shallow pan, carefully pour 1 cup of hot water into it to create steam.
- Bake for 30 to 35 minutes, or until the crust is deep golden brown and sounds hollow when tapped on the bottom.
- Remove the bread from the oven and let it cool completely on a wire rack before slicing. This step helps set the interior texture.
Notes
- To get that perfect, crackly crust, use the steam method in the oven described in step 5.
- If you want a softer crust, skip the steam pan and brush the loaf lightly with melted butter immediately after it comes out of the oven.
- This bread is excellent for dipping in olive oil or serving alongside pasta meals.
Nutrition
- Serving Size: 1 slice
- Calories: 180
- Sugar: 0.5
- Sodium: 300
- Fat: 1.0
- Saturated Fat: 0.2
- Unsaturated Fat: 0.8
- Trans Fat: 0.0
- Carbohydrates: 38
- Fiber: 1.5
- Protein: 6
- Cholesterol: 0