
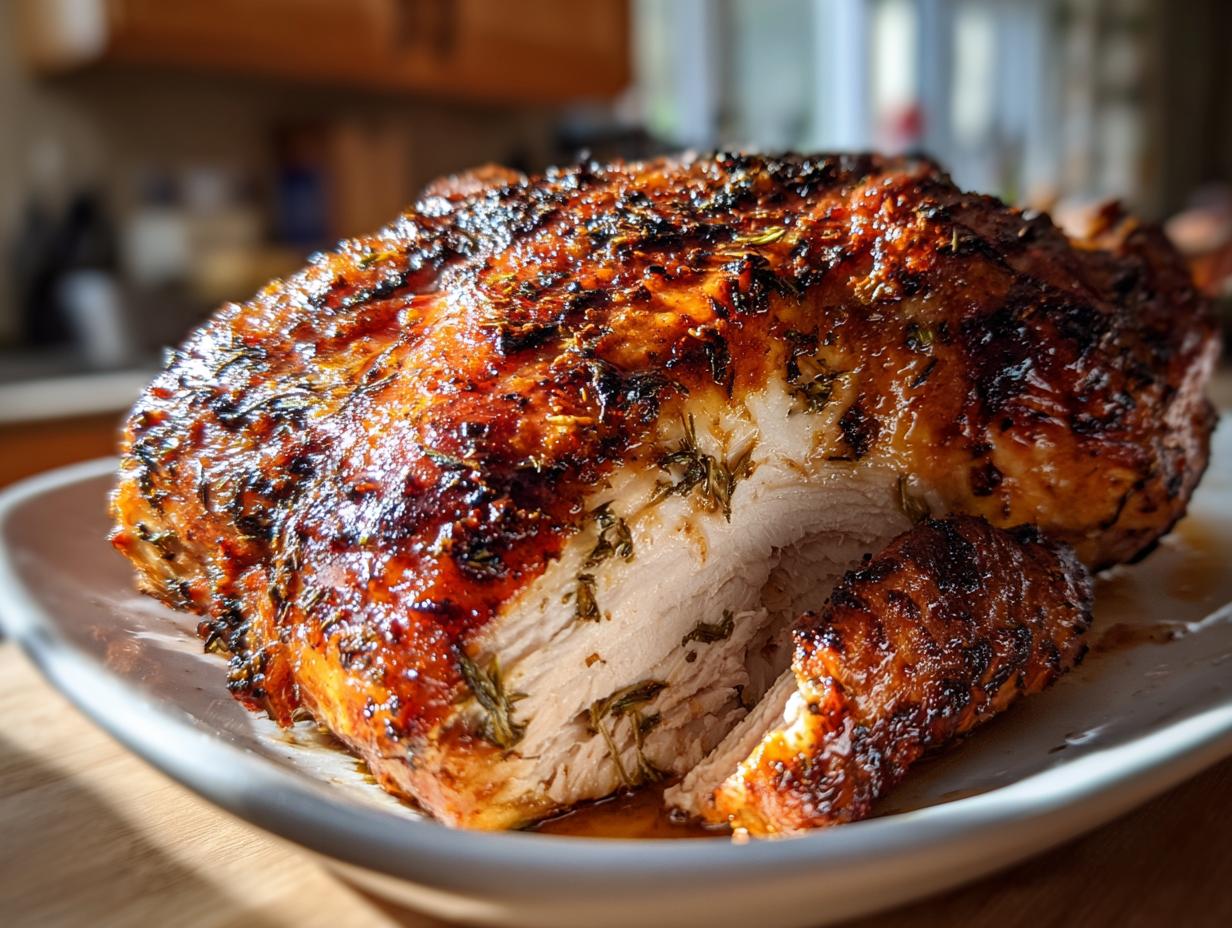
The holidays are wonderful, but let’s be honest: the pressure to deliver that ‘wow’ centerpiece can feel totally overwhelming. I remember those corporate marketing days, rushing to get dinner on the table, wishing for a recipe that *actually* worked every time. That’s why I am obsessed with this Ultimate Juicy Roast Turkey with Crispy Herb Butter Skin. Forget dry meat and sad skin! This method—developed from wanting practicality without sacrificing that deep, comforting flavor my grandmother taught me—guarantees success. We’re focusing on bold flavor under the skin and simple roasting techniques to give you the most tender, flavorful whole turkey you’ve ever pulled from your oven. This is the food that connects us, and I want you to feel zero stress serving it!
- Why This Herb Butter Turkey Recipe Delivers the Best Roast Turkey
- Gathering Ingredients for Your Perfect Turkey
- How To Cook Turkey: Step-by-Step Instructions for a Juicy Turkey Recipe
- Tips for Success: Mastering Turkey Cooking Techniques
- Make-Ahead and Storage Instructions for Leftover Turkey
- Serving Suggestions for Your Holiday Feast Centerpiece
- Frequently Asked Questions About Roasting a Turkey
- Estimated Nutrition for This Juicy Turkey Recipe
- Share Your Perfect Turkey Experience
Why This Herb Butter Turkey Recipe Delivers the Best Roast Turkey
I’ve tried just about every trick in the book, and this herb butter method is the one that genuinely delivers on the promises: moist meat and that golden, shatteringly crispy skin. It’s all about working smarter, not harder, which is key when cooking for a big crowd. When you follow these essential steps, you’ll see why so many people call this the best roast turkey recipe out there.
- It locks tons of moisture right where the meat needs it most, so you never have to worry about a dry turkey.
- The exterior gets that beautiful, deep golden color we all aim for on the holidays.
- We skip the messy process of basting every twenty minutes because the butter does the heavy lifting!
Flavor Infusion Under the Skin
This is my absolute favorite part! Instead of just rubbing the butter on top, you’re gently creating a pocket between the skin and the breast meat. Rubbing that fragrant herb butter directly onto the meat ensures the flavor penetrates deeply. It keeps the breast—which always dries out first—incredibly moist and savory.
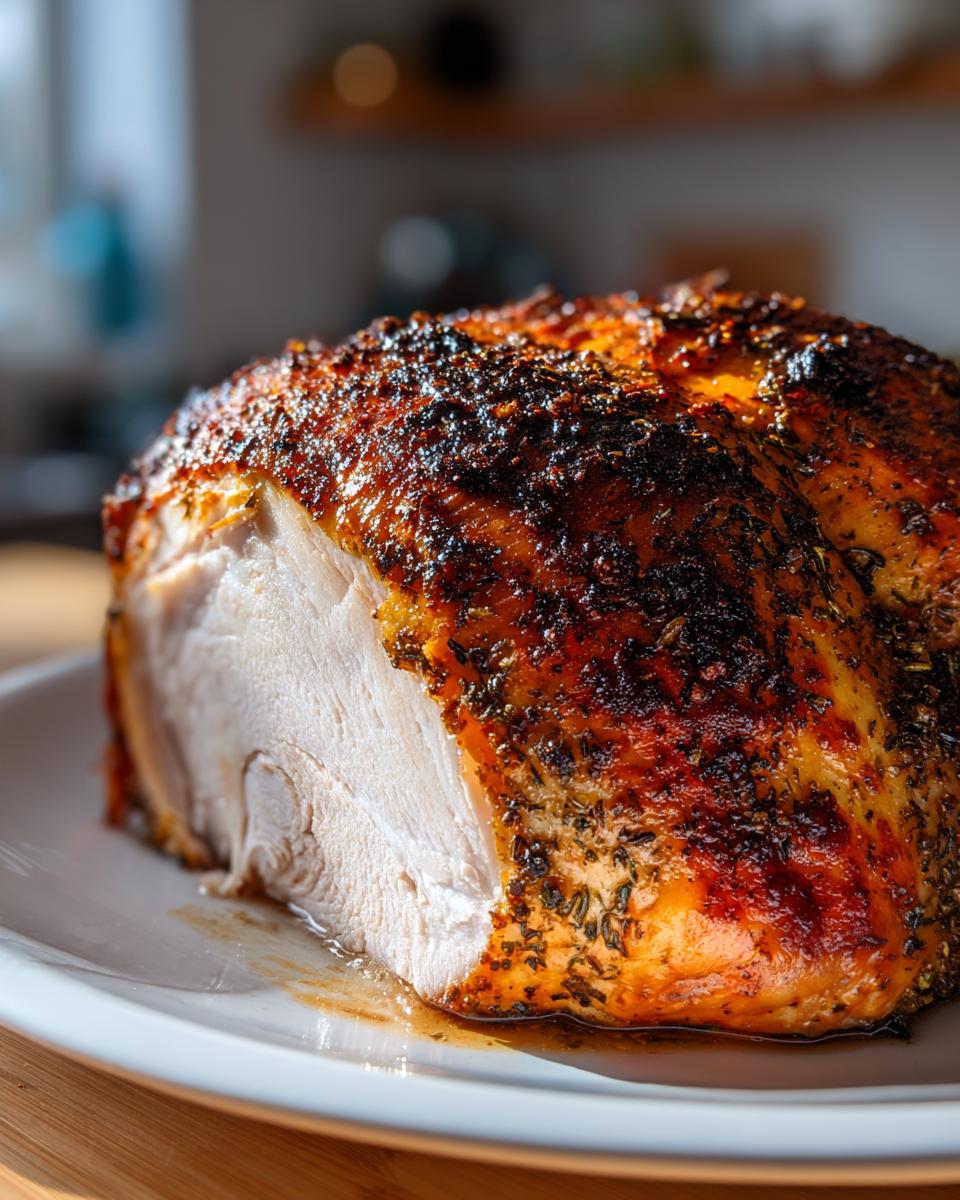
Achieving Crispy Skin Turkey with High Heat
We start the clock with a blast of high heat—425°F! This quick trip into the high heat oven does something magical: it aggressively sets the skin. Think of it like jump-starting the crisping process. After that initial 30 minutes, we drop the temp, but that skin is already on its way to crispy perfection.
Gathering Ingredients for Your Perfect Turkey
Okay, let’s get everything ready to go! Having this all measured out ahead of time makes the whole process feel manageable, even when the house is buzzing with holiday preparations. You’ll need your trusty 12- to 14-pound turkey thawed and ready to go. Trust me, getting the ingredients corralled first is the secret to staying calm when roasting day hits. Check out this moist turkey secrets guide if you’re second-guessing your prep!
The Herb Butter Mixture for Your Turkey
This is where the real flavor magic happens! You need one cup of really soft, unsalted butter—softened, not melted! Mix that with four cloves of minced garlic. For the best results, please use fresh herbs: we want two tablespoons of rosemary, one tablespoon of thyme leaves, and one tablespoon of chopped sage. Finish that mix with one tablespoon of kosher salt and a teaspoon of black pepper. Mix it all up until it looks heavenly.
Aromatics and Liquid for the Roasting Pan
For what goes inside the bird—and this is important—we are keeping it simple for moisture, not stuffing! We just tuck in one large onion (quartered), one lemon (halved), and one head of garlic (cut right across the equator). Finally, grab two cups of good quality chicken or turkey broth to sit in the bottom of the pan. That broth creates steam and helps keep things moist down below.
How To Cook Turkey: Step-by-Step Instructions for a Juicy Turkey Recipe
This is where the magic happens, and honestly, these steps are the foundation of why this perfectly roasted turkey never lets me down. I’ve tried the stuffing route, but ditching it really helps with even cooking, which is a key technique for a consistently moist turkey. Follow these proven methods, and you’ll have a gorgeous roast ready for the table.
Prepping the Turkey and Herb Butter Application
First things first: take that beautiful bird out and get rid of the neck and giblets—toss those or save them for gravy! Now, grab your paper towels. You absolutely must pat the entire outer surface bone-dry. I mean it, DRY. This is a must-do step for that crispy skin turkey we love. Next, carefully use your fingers to separate the skin from the breast meat, making a pocket. Gently massage about half of that glorious herb butter underneath the skin. Then, slather the rest all over the outside!
Roasting Schedule for Perfectly Roasted Turkey
Get your oven cranked up to 425°F. Tuck those aromatics (onion, lemon, garlic) into the cavity. Put the whole thing on the rack in the pan with that broth underneath and give it a high-heat blast for exactly 30 minutes. This sets the skin beautifully. Once that time is up, drop the oven temp down to 325°F. Keep roasting, and remember to baste it with those pan drippings every 45 minutes while it cooks low and slow.
The Critical Resting Period for Your Turkey
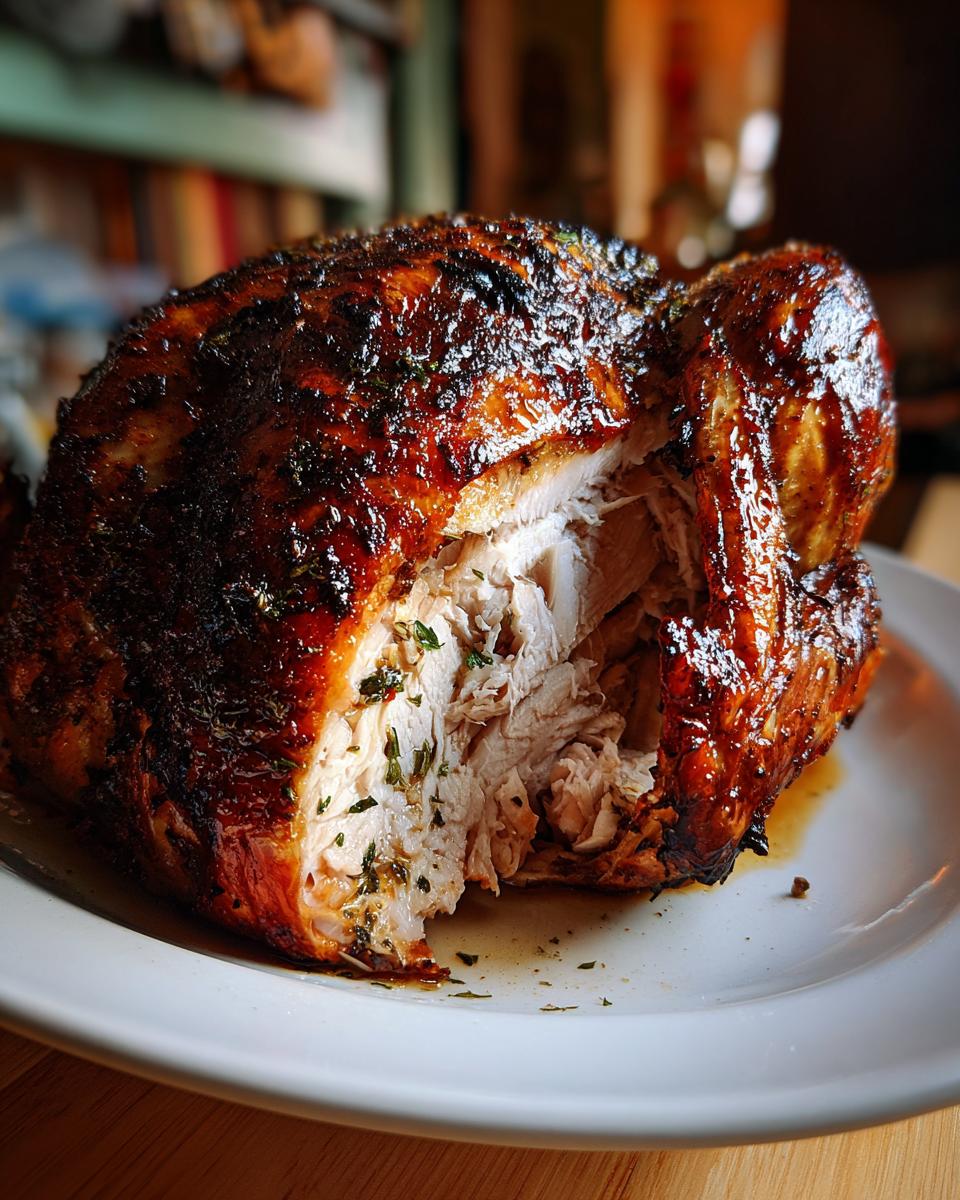
The second it hits 165°F on the thermometer in the thickest part of the thigh—pull it out! Don’t try to sneak a slice right away. Once it’s out, tent it loosely with foil and let it rest for a minimum of 30 minutes. This rest is non-negotiable! It lets the juices redistribute throughout the meat. If you skip this step, cutting into it early guarantees you lose all that hard-earned moisture. This resting ensures you keep your no dry turkey promise!
Tips for Success: Mastering Turkey Cooking Techniques
Even with a solid game plan, sometimes things happen in the oven—it’s just real life! But that’s okay, because mastering a few key techniques turns potential panics into simple adjustments. I’ve learned these tricks over years of trying to get that celebratory bird perfect for big family meals. The goal here is confidence, so you can relax a bit more on the big day!
Preventing Over-Browning of the Turkey Skin
We love crispy skin, but we certainly don’t want it burnt before the meat is even cooked, right? If you notice the breast area of your roast turkey is getting overly dark during that long, low-temperature roast phase, you just need to grab some aluminum foil. Tear off a sheet, fold it loosely into a tent shape, and drape it right over the breast. It works like a shield, protecting that beautiful color while letting the dark meat finish cooking through completely. You take the foil off again for the last 15 minutes if you need one last crisping boost!
Making the Most of Pan Drippings
Once you pull that gorgeous bird out to rest, don’t you dare throw away those liquids pooling in the bottom of your roasting pan! That’s pure, concentrated flavor down there—the broth mixed with melted herb butter. This is the foundational liquid for whatever gravy you plan on making. Seriously, skip the packet gravy; scooping up those flavorful drippings creates the richest, most wonderfully savory gravy to pour over slices of your juicy turkey. It completes the whole experience!
Make-Ahead and Storage Instructions for Leftover Turkey
The feast is over, and you’ve got glorious leftovers! While I would happily eat plain slices of that herb butter turkey for three days straight, we need to make sure we store it correctly so it doesn’t dry out. Storing cooked turkey properly is just as important as the roasting technique itself. My corporate background taught me the importance of logistical planning, and that applies to leftovers too!
First, carve that bird before you store it. Trying to save the whole thing just takes up too much fridge space, and you’ll have a harder time reheating evenly later. Slice the breast and legs into manageable portions. Store the meat in airtight containers.
Here’s the secret to keeping slices moist: Don’t skip this! Before sealing the container, drizzle just a spoonful of saved pan drippings or good quality chicken broth over the meat. This helps it stay juicy as it chills. Store it in the fridge for up to four days. If you’re planning on making something truly spectacular with those scraps, you have to try making a big pot of soup later on; I have the recipe for the best turkey soup if you want to save this recipe for later!
When reheating leftovers, avoid the microwave if possible, as it can turn the meat rubbery fast. The best way to bring it back to life is to warm small portions gently in a skillet over low heat with a tiny splash more broth, or bake them covered in a little sauce or broth at 300°F until just heated through. We want warm, tender bites, not dry memories of the holiday!
Serving Suggestions for Your Holiday Feast Centerpiece
I always say a stunning main dish deserves the best supporting cast, right? Now that you’ve wrestled that gloriously juicy bird out of the oven, we need to talk about what goes around it! This roast turkey isn’t just a meal; it’s the undeniable star of your holiday feast centerpiece, and we want the side dishes to shine right alongside it without competing.
The richness from that herb butter needs sides that offer a little brightness or creamy comfort. I lean toward tradition, but I make sure everything feels polished and delicious. Here are the two combos that never fail when I’m hosting a big group.
- The Essential Comfort Creaminess: You simply cannot have a holiday without truly great mashed potatoes. My goal is max creaminess, and I achieve that by using extra butter and letting the potatoes steam just right. Try my recipe for Garlic Mashed Potatoes—the subtle garlic works so well with the thyme and sage on the turkey.
- Sweet and Tangy Balance: The savory herbs of the turkey always beg for something a little sweet to cut through. My go-to is an easy, hands-off casserole that cooks while the turkey rests! The Crockpot Sweet Potato Casserole is perfect because it frees up oven space for other things. That little bit of cinnamon and brown sugar is the perfect cozy counterpoint.
When you assemble all these dishes around that perfectly carved centerpiece turkey, you create a table that just radiates abundance and connection. It’s exactly what cooking should be about!
Frequently Asked Questions About Roasting a Turkey
I know roasting a big bird can bring up all sorts of questions, especially when you’re trying to achieve that legendary perfectly roasted turkey. Don’t worry, I get asked the same things every year! Getting the science right ensures you get moist meat and happy guests. Let’s tackle the most common concerns I hear about cooking a holiday centerpiece this big.
What temperature should I cook my turkey to ensure it is safe?
Safety first, always! You need to cook your bird until an instant-read thermometer inserted into the thickest part of the thigh (make sure you don’t touch the bone!) registers 165°F. Temperature is the only way to know for sure, so if you don’t have a reliable instant-read thermometer, grab one! It’s the key piece of equipment for guaranteeing a safe cook without overcooking the rest of the meat. That 165°F is your golden ticket to a worry-free feast.
Can I skip brining if I use this Herb Butter Turkey method?
Absolutely, you can skip the messy brining process if you use this recipe! Brining is great, but my method achieves similar moisture insurance by getting that rich herb butter directly under the skin and onto the breast meat. That fat acts as a barrier and infuses flavor as it melts down. For an incredibly juicy turkey recipe, the under-the-skin rub combined with the broth in the pan usually means you skip the overnight brine entirely, saving you loads of time and fridge space!
How long does it take to thaw a 14 lb turkey?
Thawing, especially for a 14 lb turkey, takes patience, and it has to be done safely in the refrigerator. The rule of thumb I always follow is to allow about 24 hours for every four to five pounds. So, for a 14-pound bird, you’re looking at roughly three to four full days in the fridge. Don’t try counter-thawing, especially when you’re baking something else around the same time. Keep it cold and safe until you’re ready to prep it for roasting! You can read more about how I prefer to roast my bird cavity empty, like in this Juicy Roasted Turkey No Stuffing guide.
Estimated Nutrition for This Juicy Turkey Recipe
Now, when we talk about a big holiday centerpiece like this turkey, most of us are focused on flavor and texture—and trust me, this bird delivers both! But for those of you tracking things, here’s a snapshot of the estimated nutritional breakdown. Since this recipe relies on natural ingredients and herbs rather than heavy coatings, it really shines as a centerpiece that’s satisfying without being overly heavy.
Remember, these numbers are educated guesses based on standard weight calculations for the ingredients used in the recipe. Cooking methods and brand variations can shift these numbers slightly, so treat this as a helpful guide, not a strict accounting:
- Serving Size: 6 oz cooked meat
- Calories: Around 350 per serving
- Protein: An excellent 45 grams! This is why turkey is such a great main dish.
- Fat: About 18 grams total
- Saturated Fat: Roughly 8 grams
- Carbohydrates & Sugar: Very low, just 1 gram each. That beautiful brown coloring comes from the natural sugars in the butter and dark rub, not added bulk!
- Sodium: Around 450 mg (This depends heavily on how much salt you incorporate into your herb butter, so taste as you go!)
See? You get tons of satisfying protein with a reasonable amount of fat, making this a truly delicious and comforting part of your holiday spread without derailing your whole day. It’s all about balance, which is what this entire roasting method is designed to achieve!
Share Your Perfect Turkey Experience
I poured all my experience and advice into making this the go-to recipe for your holiday centerpiece, but now I genuinely want to hear from you! Cooking should always be a shared journey, and hearing about how this Juicy Herb Butter Thanksgiving Turkey turned out on your table makes my day. It closes that loop between my kitchen and yours, which is what Bring Dish is really all about!
Did you manage to get that textbook crispy skin turkey everybody dreams about? Did your family even notice the difference from previous years? Please, drop a rating down below—five stars tells me you nailed the technique, and I’ll be doing a happy dance!
More importantly, leave your comments! Did you add a secret ingredient of your own? Did you use the overnight chilling method for extra crispness? Feel free to ask any lingering questions you might have now that you’ve seen the whole process through.
Leave a Star Rating and Tell Us How It Went
I’ve made this recipe hundreds of times, but the real test is yours! Click the star ratings above and let me know your overall impression. Then, head down to the comments section and give me the details. I read every single one, and your feedback helps me keep these recipes accessible and trustworthy for the next person planning their feast.
Share Your Photos!
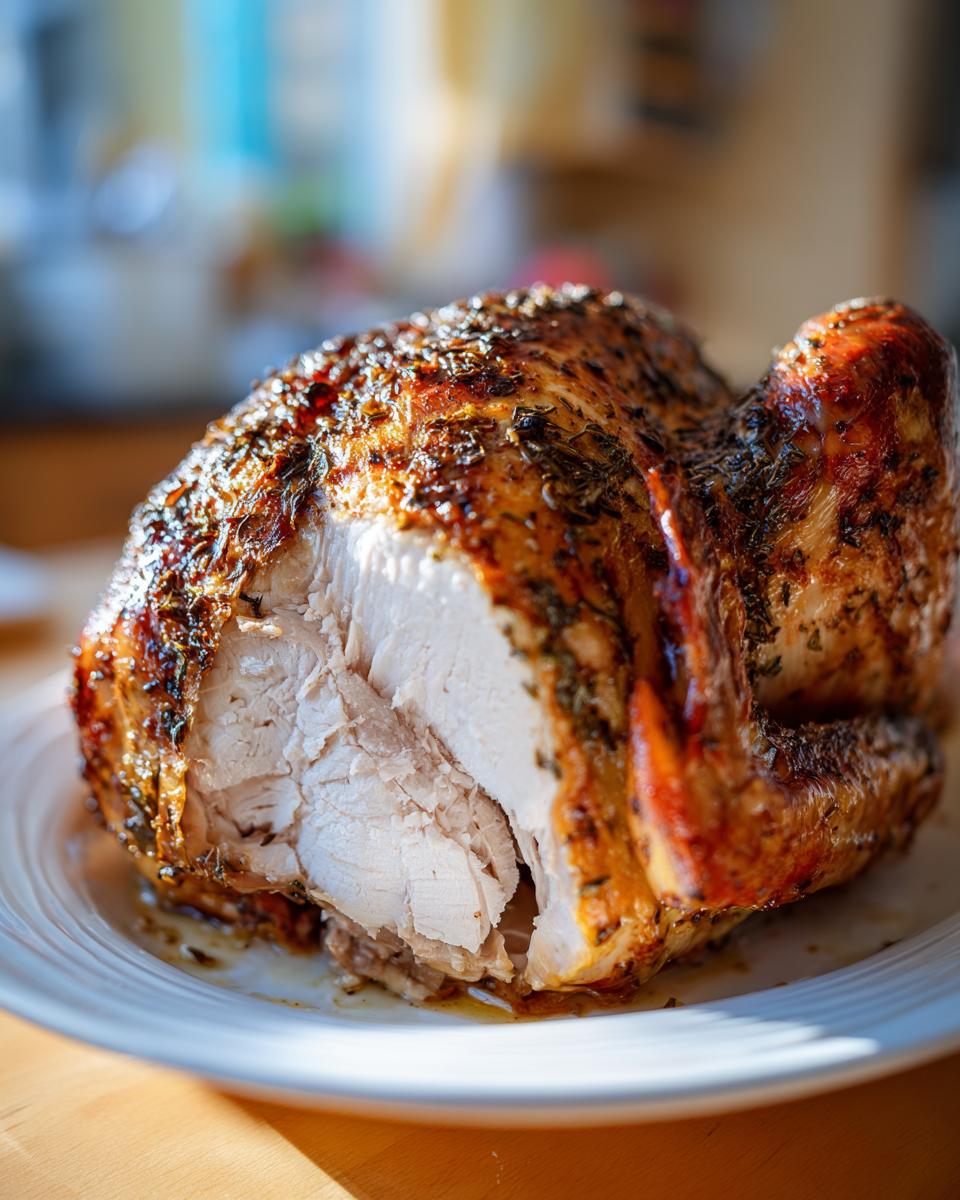
If you snapped a picture of that gorgeous, golden-brown bird resting on your cutting board, I would absolutely love to see it! Tag us on social media or mention us in your posts. Seeing those successful holiday centerpieces is the biggest reward for sharing a recipe like this. Nothing beats that visual confirmation that we all achieved a perfectly moist turkey together!
If you’re already planning your next sweet bake, maybe check out my recipe for easy homemade chocolate syrup—it’s great for drizzling over ice cream after all that savory Thanksgiving goodness!
PrintThe Ultimate Juicy Roast Turkey with Crispy Herb Butter Skin

This recipe delivers a perfectly roasted turkey centerpiece for your holiday feast, guaranteeing moist meat and beautifully browned, crisp skin using a simple herb butter technique.
- Prep Time: 30 min
- Cook Time: 3 hr 30 min
- Total Time: 4 hr 0 min
- Yield: 10 servings 1x
- Category: Holiday Main Dish
- Method: Roasting
- Cuisine: American
- Diet: Low Fat
Ingredients
- 1 whole turkey (12–14 lbs), thawed
- 1 cup unsalted butter, softened
- 4 cloves garlic, minced
- 2 tablespoons fresh rosemary, chopped
- 1 tablespoon fresh thyme leaves
- 1 tablespoon fresh sage, chopped
- 1 tablespoon kosher salt
- 1 teaspoon black pepper
- 1 large onion, quartered
- 1 lemon, halved
- 1 head garlic, halved crosswise
- 2 cups chicken or turkey broth
Instructions
- Remove the turkey from its packaging. Remove the neck and giblets from the cavities. Pat the entire turkey surface dry with paper towels. This step is key for crispy skin.
- In a small bowl, combine the softened butter, minced garlic, rosemary, thyme, sage, kosher salt, and pepper to create the herb butter.
- Gently separate the skin from the breast meat using your fingers, being careful not to tear the skin. Rub about half of the herb butter mixture directly onto the breast meat under the skin.
- Rub the remaining herb butter mixture all over the outside of the turkey skin.
- Place the onion quarters, lemon halves, and garlic head halves inside the main cavity of the turkey. Do not stuff the turkey.
- Place the turkey on a roasting rack inside a large roasting pan. Pour the chicken broth into the bottom of the roasting pan.
- Preheat your oven to 425 degrees Fahrenheit. Place the turkey in the preheated oven.
- Roast the turkey at 425°F for 30 minutes to start crisping the skin.
- Reduce the oven temperature to 325 degrees Fahrenheit. Continue roasting until an instant-read thermometer inserted into the thickest part of the thigh (without touching bone) registers 165 degrees Fahrenheit. This usually takes about 13-15 minutes per pound total cooking time.
- Baste the turkey with the pan drippings every 45 minutes during the lower temperature roasting phase.
- Once the turkey reaches 165°F, remove it from the oven. Tent it loosely with foil and let it rest for at least 30 minutes before carving. This resting period keeps the meat juicy.
Notes
- For the crispiest skin, you can place the turkey uncovered in the refrigerator overnight after applying the herb butter.
- If the turkey skin begins to brown too quickly, loosely cover the breast area with aluminum foil.
- Use the pan drippings to make a flavorful gravy for your holiday feast.
Nutrition
- Serving Size: 6 oz cooked meat
- Calories: 350
- Sugar: 1
- Sodium: 450
- Fat: 18
- Saturated Fat: 8
- Unsaturated Fat: 10
- Trans Fat: 0
- Carbohydrates: 1
- Fiber: 0
- Protein: 45
- Cholesterol: 150