
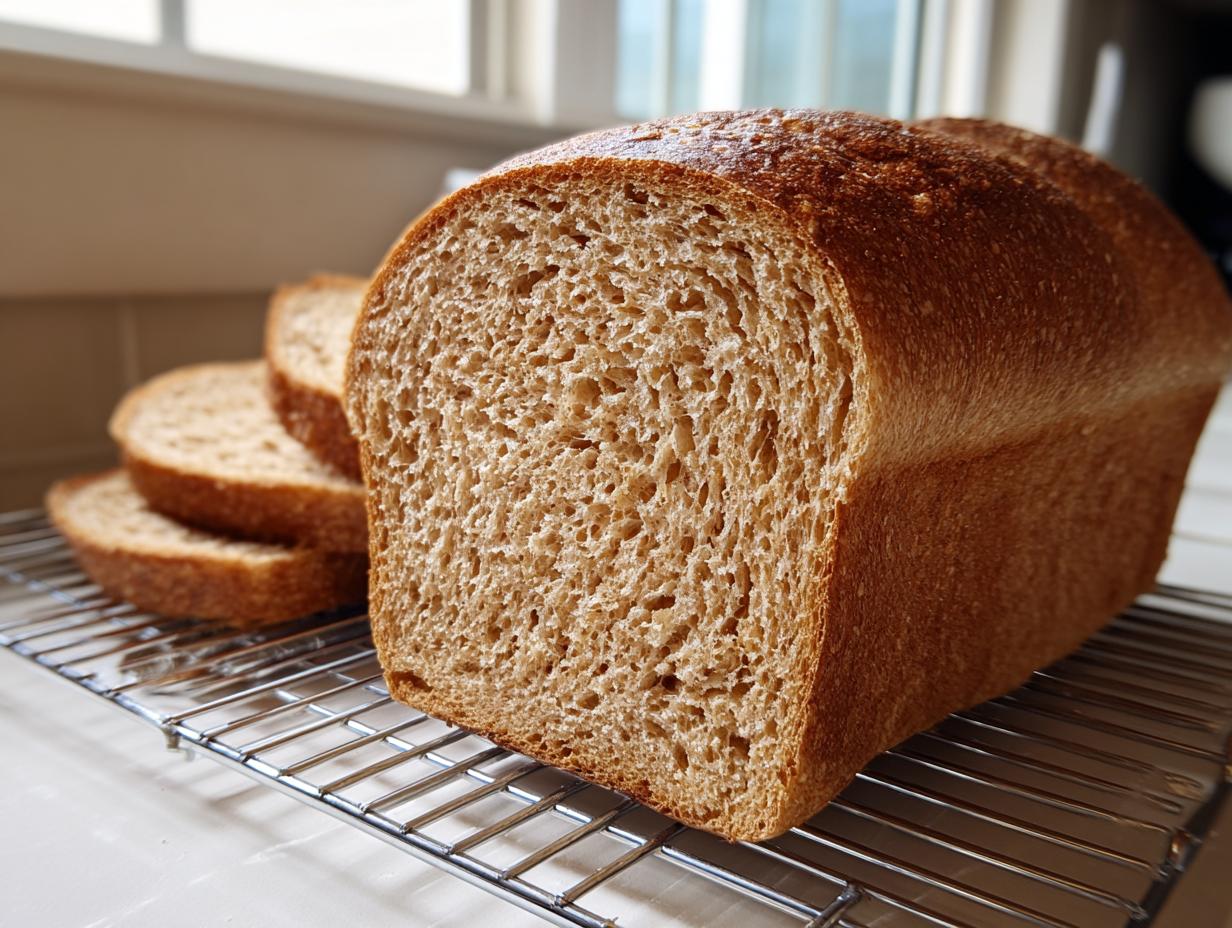
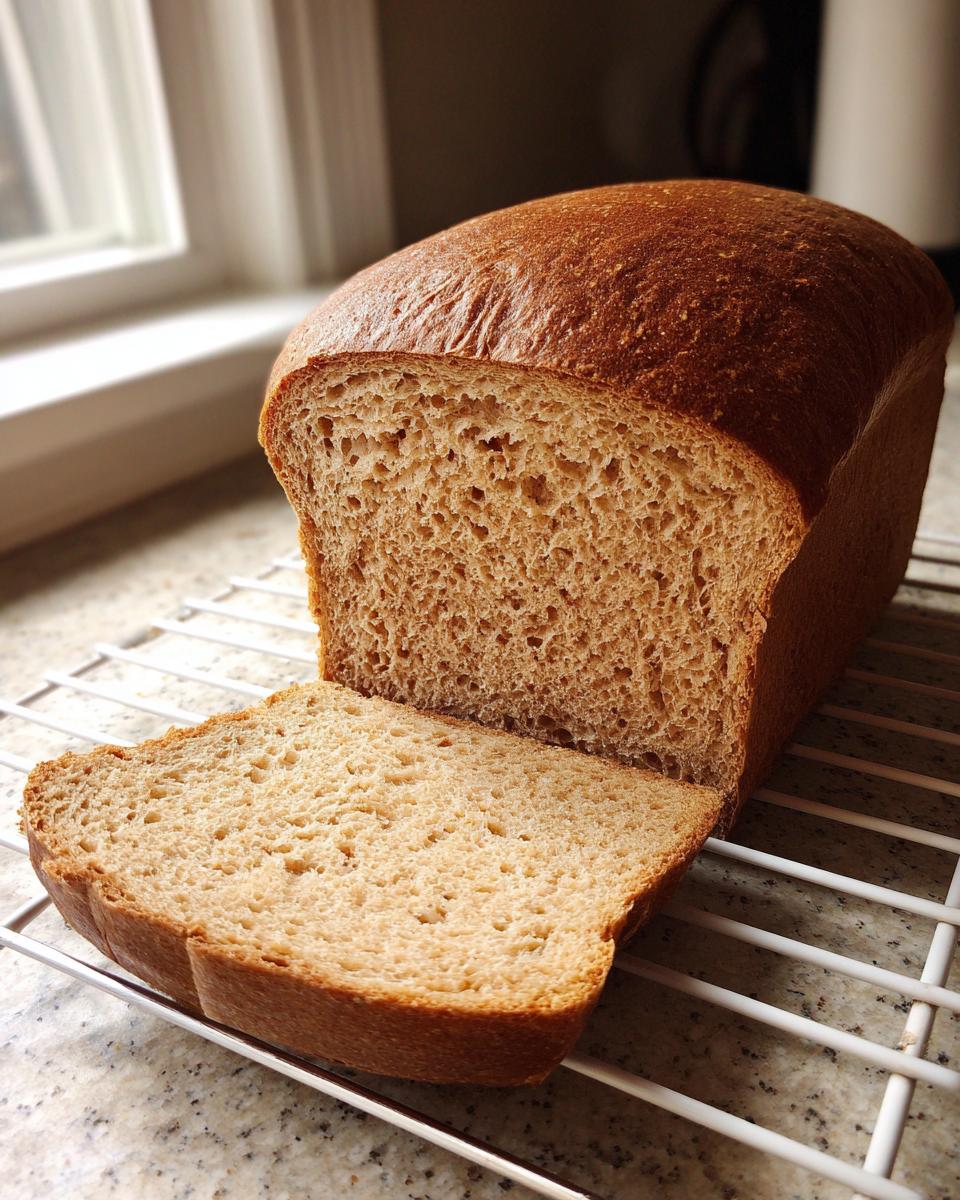
Oh, there is just nothing—absolutely nothing—like the smell of whole wheat bread baking right in your own kitchen. Seriously, it fills every corner with this warm, nutty goodness that makes you instantly feel settled and happy. If you’ve been scared off by dry, crumbly loaves in the past, don’t worry one bit! I developed this Soft & Fluffy Honey Whole Wheat Sandwich Bread recipe specifically because I believe baking should be comforting, not complicated. Just like the practical recipes I learned from my grandmother when I stepped away from the corporate rush, this one is forgiving, uses simple steps, and guarantees you a beautiful, soft slice every single time. This is honestly the best recipe for beginners!
- Why This Is the Best Easy Whole Wheat Bread Recipe for Beginners
- Ingredients for Soft & Fluffy Honey Whole Wheat Sandwich Bread
- How to Bake Whole Wheat Bread: Step-by-Step Instructions
- Expert Tips for Perfect Whole Wheat Bread Baking
- Ingredient Notes and Substitutions for Your Whole Wheat Bread
- Storage & Reheating Instructions for Homemade Whole Wheat Bread
- Serving Suggestions for Your Freshly Baked Whole Grain Bread
- Frequently Asked Questions About Baking Whole Wheat Bread
- Nutritional Snapshot of This Whole Wheat Bread Recipe
- Share Your Homemade Whole Wheat Bread Experience
Why This Is the Best Easy Whole Wheat Bread Recipe for Beginners
I hear you! Lots of folks think making whole wheat bread means accepting a dense brick for dinner. Not with this recipe! This is my go-to easy whole wheat bread recipe because it takes all the guesswork out of it. We’re aiming for that coveted, wonderfully soft whole wheat bread that’s perfect for dipping or PB&J sandwiches. You’ll find real confidence in this loaf. I learned long ago, when I was still trying to balance deadlines with dinner, that baking needs to be practical, just like everything we share here at Bring Dish, which you can read more about on our About page.
- It uses just a touch of all-purpose flour to lighten the whole grain, which is a total game-changer.
- The honey not only adds flavor but helps keep the crumb incredibly tender.
- It requires a very manageable kneading time—we’re not looking for an arm workout here!
- The flavor develops beautifully, making it taste like it came from a fancy bakery, not a quick mix.
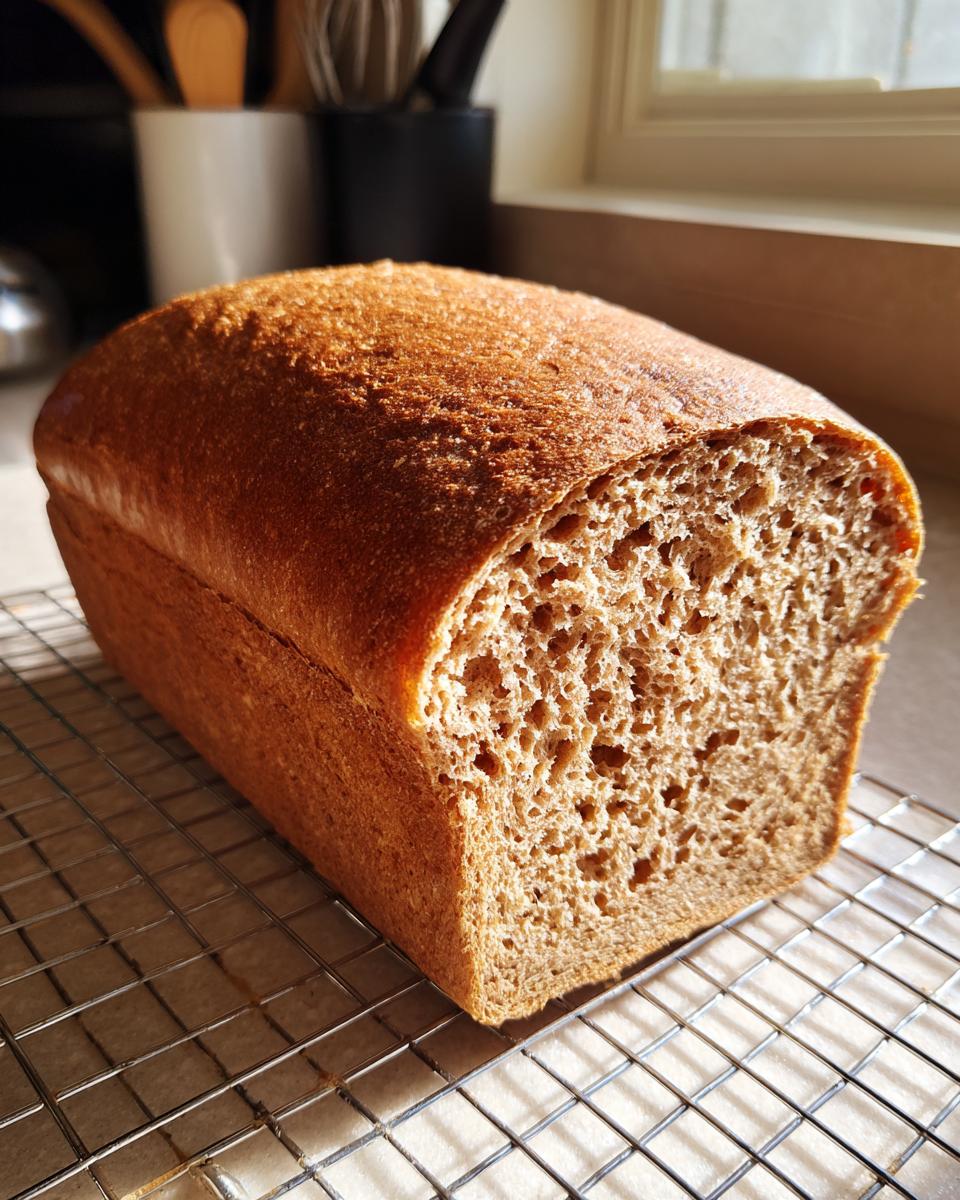
Achieving a Fluffy Whole Wheat Loaf Texture
The secret to getting that fluffy whole wheat loaf vibe is truly in that small addition of white flour. We’re blending 100% whole wheat with regular all-purpose flour. This blend gives the wheat bran enough partners to keep the structure light during the rise! Also, don’t skimp on the kneading; getting that smooth, elastic dough (around 5 to 7 minutes by hand) locks in the air needed for that springy texture. Trust me, once you nail this technique, you’ll be baking bread all the time!
Ingredients for Soft & Fluffy Honey Whole Wheat Sandwich Bread
Okay, let’s get down to brass tacks! The beauty of this recipe is that we’re using pantry staples, but we need to be precise with those temperatures and measurements so you end up with that soft whole wheat bread we talked about. This loaf is naturally sweetened bread, thanks to that delicious honey we use to wake up our yeast. Don’t reach for bread flour here, just stick to what’s listed for that perfect sandwich texture.
When you grab your ingredients, make sure your water is exactly right. Too cold, and your yeast sleeps; too hot, and you kill it before it even starts! I always have my instant-read thermometer ready for this stage.
- 1 cup warm water (You are aiming for 105–115°F, no hotter!)
- 2 teaspoons active dry yeast
- 1/4 cup honey—this is wonderful for flavor, trust me!
- 2 tablespoons unsalted butter, melted
- 1 1/2 teaspoons salt
- 3 cups whole wheat flour—this is the hearty stuff we need!
- 1/2 cup all-purpose flour (plus more for dusting when you knead)
That’s it! See? No weird additives or preservatives. Just wholesome ingredients ready to become the best whole wheat bread for beginners.
How to Bake Whole Wheat Bread: Step-by-Step Instructions
Now for the fun part! Baking the homemade whole wheat bread is incredibly rewarding, and I promise, these steps are easy to follow. We’re moving from a sticky mess to a gorgeous, golden loaf. Just follow my lead, and you’ll have a hearty bread recipe that rivals any bakery. Remember, timing is everything when you’re working with yeast, so don’t rush those rising times! I always recommend checking out resources like Goodie’s Recipes if you want to see how other bakers approach their whole wheat loaves.
Activating the Yeast and Mixing the Dough
This is where we bring our bread to life! In a big bowl—and I mean big, because things are going to grow—we combine the warm water, the yeast, and the honey. You have to let that sit for about 5 to 10 minutes. Don’t skip this and move on! You want to see foam on top; that’s the yeast waking up and proving it’s ready to do its job. Once it’s foamy like a good latte, stir in the melted butter and salt.
Next up is the flour. Add your 3 cups of whole wheat flour gradually, mixing after each cup goes in. Stir until everything is incorporated. Then, you’ll dump in that last 1/2 cup of all-purpose flour until you have what looks like a shaggy dough. It’s supposed to look a little messy right now, so don’t panic about the state of your simple wheat bread recipe!
Kneading and First Rise for Your Whole Wheat Bread
It’s time to build the gluten structure! Turn your shaggy dough out onto a surface that’s been lightly dusted with flour. Knead this dough firmly for a solid 5 to 7 minutes. You’re looking for it to transform—it should feel smooth, elastic, and when you poke it gently, it needs to spring right back at you! That springiness means you’ve successfully developed the structure for a soft whole wheat bread slice.
Once it feels perfect, lightly oil a large bowl, pop the dough in, and turn it over once to coat. Cover that thing up with plastic wrap or a clean kitchen towel and leave it somewhere warm. We need patience here! Let it rise undisturbed for a good 1 to 1.5 hours, or until it’s completely doubled. That lovely fragrance will start to fill the air—that’s your first hint of freshly baked whole grain bread magic!
Shaping and Final Proofing of the Loaf
When it’s doubled, gently punch the dough down—it’s so satisfying! Now, shape it into a neat loaf and tuck it into your greased 9×5 inch loaf pan. This loaf needs to get comfy for its second nap. Cover the pan loosely and let it go again for about 30 to 45 minutes. The key sign it’s done rising is watching the dough creep up about 1 inch over the rim of the pan. That dome shape? That’s what gives you that beautiful crown on your finished loaf!
Baking the Perfect Whole Wheat Sandwich Bread
About 15 minutes before the second rise is up, get your oven hot! We need it at 375°F (190°C). Baking hotter helps set that structure quickly. Bake your whole wheat sandwich bread for 30 to 35 minutes. If you have a thermometer, you want the internal temp to hit 190°F (88°C). This ensures it’s cooked all the way through without drying out!
Here’s my non-negotiable final step: get that loaf out of the pan immediately after you pull it from the oven and let it cool completely on a wire rack. If you leave it in the hot pan, the bottom will steam and get gummy. For the best texture, you absolutely must let it cool before you slice it, even though that wait is brutal when your house smells heavenly!
Expert Tips for Perfect Whole Wheat Bread Baking
I’ve baked this loaf so many times trying to get it just right for folks who are nervous about sinking their teeth into whole wheat bread that isn’t cardboard, and I learned a few tricks along the way—most of which came straight from my notes!
When you start getting really into baking with whole grains, you notice every batch is a little different. If you decide you really want to try a 100 percent whole wheat recipe—meaning you ditch that half-cup of all-purpose flour—you might find your dough feels overly stiff or crumbly. That’s normal! The bran on whole wheat soaks up liquid differently. If that happens, just stir in an extra tablespoon of water until it looks right again. You might have to mess with it a tiny bit to get that perfect consistency.
Another thing I love sharing is how to make it completely sugar-free! If you’re avoiding honey for whatever reason, you can swap it out for 1/4 cup of unsweetened applesauce. It adds moisture, keeps that naturally sweet feeling, and works perfectly with the yeast. I’ve tried it both ways, and either way, you get amazing results for your healthy bread recipes.
And look, if you want that truly soft, almost pillowy top, this is my favorite little secret for achieving a beautiful finish right out of the oven. As soon as you pull that pan out—and I mean the second—brush the top crust lightly with some melted butter. It softens the crust beautifully and gives it a lovely sheen. It’s a quick step, but wow, it makes a difference in the final feel of your wholesome homemade bread. Check out what the great folks over at Kristine’s Kitchen blog are doing with their whole wheat loaves for even more inspiration on getting that perfect texture!
Ingredient Notes and Substitutions for Your Whole Wheat Bread
Let’s talk specifics for a minute because knowing why we’re using certain things is half the battle with baking amazing whole wheat bread. People often ask me if they can just use 100% whole wheat flour instead of adding that half-cup of all-purpose flour. You totally can, but I want you to know what happens!
That bit of regular flour we use acts like the gentle skeleton for the loaf. Whole wheat flour, because it includes the bran and germ, has sharper edges that can actually cut the developing gluten strands—that’s what leads to dense bread if you aren’t careful. By blending them, we get the nutty, hearty bread recipe flavor we love while ensuring we still meet our goal of wholesome homemade bread that’s actually soft enough for a kid’s lunchbox!
If you are really dedicated to a true 100% whole wheat loaf, remember that rule I mentioned earlier about adding extra water if the dough seems stiff? That’s key. The whole wheat flour will soak up more liquid than the white flour.
When it comes to sweetness, the honey absolutely shines here, enhancing those earthy whole grain notes. However, if you’re trying to keep things incredibly simple or need a different sweetener, you have options. Baking soda or powder won’t work here because we rely on the yeast for the rise. But if honey isn’t your jam, applesauce is a fantastic swap, or you could even use maple syrup if that’s what you have on hand. Just remember that the flavor profile will shift ever so slightly! The goal is always that delicious, slightly sweet profile that makes this bread perfect for toast.
Storage & Reheating Instructions for Homemade Whole Wheat Bread
The hardest part about this whole wheat bread is waiting long enough to eat it, but the second hardest part is making sure it stays as soft as it was on Day One! Freshly baked bread has a very short honeymoon period once it cools down, especially the darker, heartier types. If you follow the cooling instructions—and I know it’s torture—you’ve done your best right there. But storage is the next crucial step for maintaining that incredible texture.
The biggest enemy of homemade bread is air exposure, which makes it go stale fast. For this whole wheat sandwich bread, I always recommend skipping the plastic baggie you usually get from the store. Instead, wrap the completely cooled loaf tightly in plastic wrap first. Yes, wrap it well! That locks in the remaining moisture.
After the plastic wrap, I usually place the wrapped loaf into a reusable silicone bag or even a standard zip-top freezer bag, squeezing out most of the air before sealing. Stored this way on the counter, it stays beautifully soft for about three to four days. It might not look as rustic as those free-form artisan loaves you see sometimes, but for sandwich bread, this wrapping keeps it moist and ready to go.
If you aren’t going to eat the whole thing within four days—which is rare in my house, honestly—slice it up before you wrap it. You can freeze an entire loaf this way! When you want a piece, just pull out what you need. For toast or quick uses, you can put slices straight from the freezer into the toaster. If you need a softer slice for a sandwich, pop it in the microwave for just 10 to 15 seconds. It thaws perfectly, bringing back that wonderful, fresh-from-the-oven fluffiness we worked so hard to achieve. It amazes me how well this simple wrapping protects your work; check out the tips over at Bless This Mess Please for other ideas on how bakers handle their loaves!
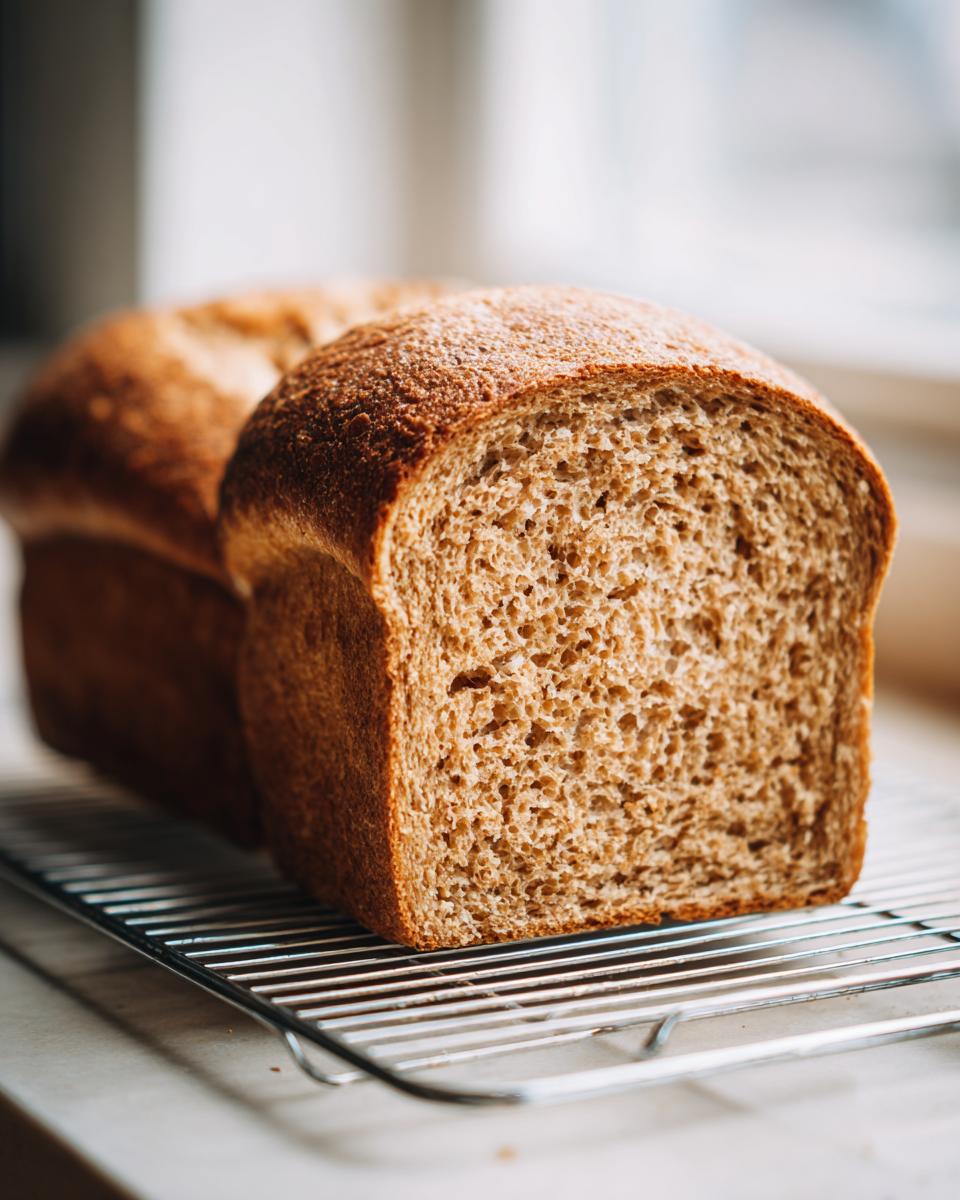
Serving Suggestions for Your Freshly Baked Whole Grain Bread
Now that you have this beautiful, freshly baked whole grain bread cooling on your rack—and trust me, the waiting is the hardest part!—you have to decide how you’re going to eat the first slice. Since this is a softer, slightly sweet loaf because of the honey, it’s versatile, but it really shines when paired with flavors that complement its natural earthiness. Honestly, the very first slice should always be eaten plain while it’s just slightly warm (after it has rested, please!), slathered thickly with real, salted butter. That simple act is the best way to taste the success of your whole wheat bread!
But we can’t stop there, right? This loaf is designed to be your everyday workhorse, so here are a few simple ways I love to serve it up:
- The Classic Toast: Pop a thick slice in the toaster until it’s perfectly golden underneath. It holds up so well to toppings! A light spread of salted butter melting into those nooks and crannies is heaven.
- Sweet Spreads: Because of the hint of honey in the dough, it pairs beautifully with classic fruit preserves—think raspberry jam or strawberry preserves. The slight tang of the fruit cuts through the sweetness of the bread perfectly.
- Savory & Hearty: This bread is sturdy enough for a real sandwich! Try a classic turkey and swiss, or go for avocado toast. Smash half an avocado on a toasted slice and sprinkle generously with flaky sea salt and red pepper flakes. It’s wholesome, filling, and perfect for lunch.
- Breakfast Pairing: It makes the most amazing French toast! Since the crumb isn’t too porous, it soaks up the egg mixture without falling apart into mush. Dust it with a little powdered sugar and fresh berries.
Seriously, whether you’re making a quick snack or setting out a full brunch spread, this soft whole wheat bread makes everything feel a little more special and a lot more comforting. Enjoy every incredible slice!
Frequently Asked Questions About Baking Whole Wheat Bread
It’s totally normal to have questions when you branch out into baking your own whole wheat bread! When I first started, I had a million of them too. Most often, people worry about density, texture, and if they can cheat on the kneading. Here are the questions I get asked most often that help people turn out a beautiful, bakery style whole wheat bread loaf!
Can I skip kneading the dough for this easy whole wheat bread recipe?
Oh, I really wish I could say yes! For this specific recipe, which relies on a little bit of white flour for softness, you need those 5 to 7 minutes of kneading. Kneading is crucial because it develops the gluten structure needed to trap the gases from the yeast. If you skip it, you’ll end up with a very flat, dense result, not the nice rise we want in a fluffy whole wheat loaf. If you absolutely cannot knead, you could look into a no-knead recipe, but this honey whole wheat recipe thrives with just a bit of elbow grease!
Why does my homemade whole wheat bread turn out dense and heavy?
That is the number one issue people have with whole wheat bread! There are usually two culprits. First, the wheat bran itself is sharp and can cut the gluten strands we’re trying to build, leading to a collapse. That’s why we add that half-cup of all-purpose flour—it helps fortify the structure. Second, check your yeast activity and your rise times. If the yeast isn’t fully active, or if the dough doesn’t double in the first rise, it won’t have the power to lift itself up in the oven. Make sure your water temperature is perfect!
Can I substitute the honey with something else for a naturally sweetened bread?
Yes, you absolutely can! The honey is great because it tastes fantastic and feeds the yeast well, but if you want a truly sugar-free bread option or just don’t have honey, substitute it directly with 1/4 cup of unsweetened applesauce. Applesauce adds moisture and a subtle sweetness without affecting the rise too much. Maple syrup works too, but applesauce gets you closer to that neutral, wholesome flavor we are aiming for in this wholesome homemade bread.
Can I use 100 percent whole wheat flour instead of mixing flours?
Like I mentioned before, you can, but you need to adjust the liquid! If you switch completely to whole wheat flour, you might need to add an extra tablespoon or two of water to get the dough to the right consistency. Whole wheat flour is a bit thirstier than all-purpose flour. If you try it this way, just focus on that feel—it should be slightly tacky but not sticky. You are looking for that soft feel that lets you know you’ll get a great slice for your sandwich. If you run into any trouble testing out variations, feel free to reach out to me through our contact page!
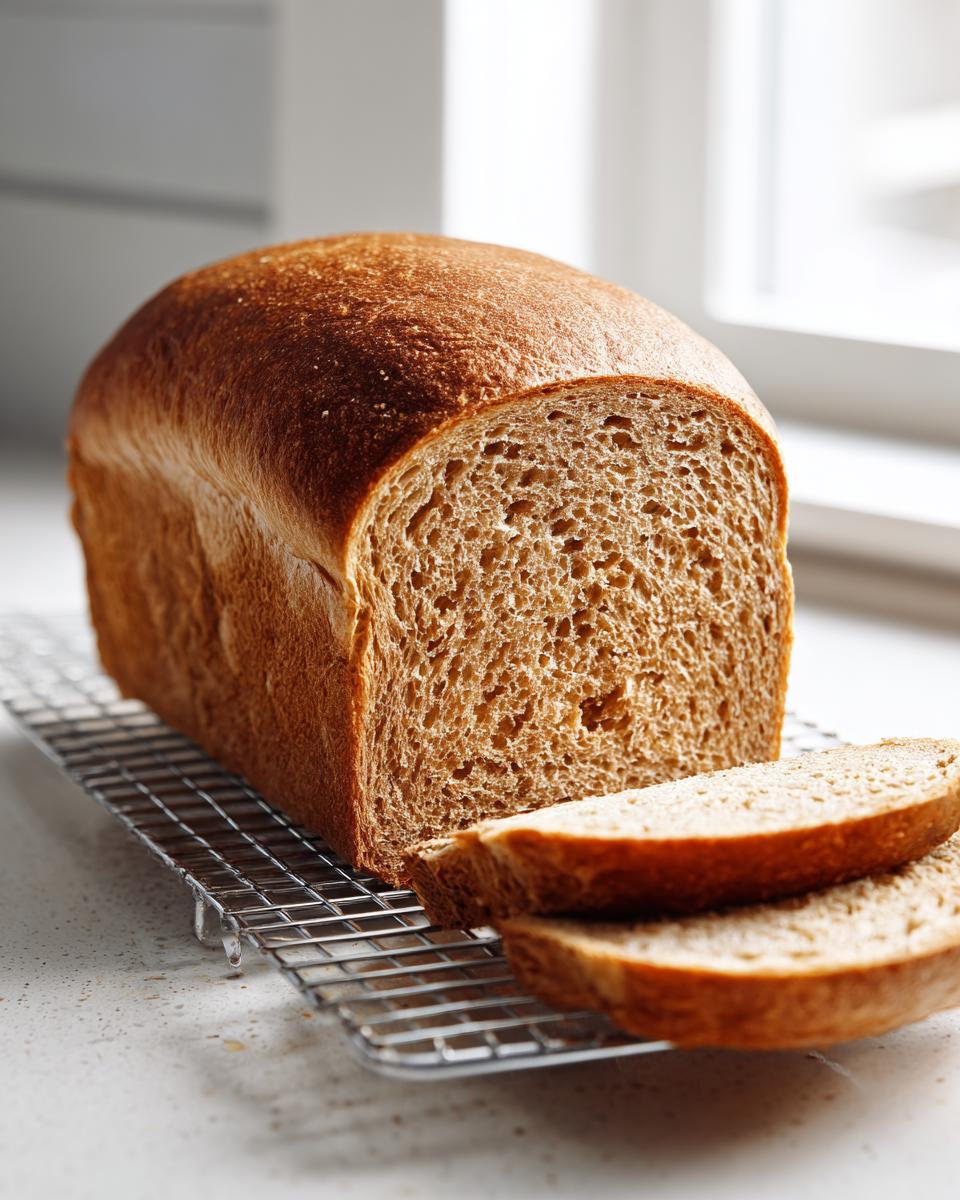
What is the difference between this and a rustic whole wheat loaf?
A rustic whole wheat loaf usually refers to a free-form loaf, often baked in a Dutch oven, that has a very thick, crisp, and sometimes chewy crust. Think of those artisanal loaves! This recipe is specifically designed to be a whole wheat sandwich bread, meaning our goal is the exact opposite: a very soft, thin, golden crust and a light, uniform interior perfect for stacking high with lunch fillings. Both are delicious, but this one is engineered for softness!
Nutritional Snapshot of This Whole Wheat Bread Recipe
I know a lot of you are baking this whole wheat bread because you want something wholesome and comforting, and that means understanding what’s going into every slice. It’s important to me that you feel good about feeding this to your family. Now, I need to be clear: Since I’m a cook, not a certified nutritionist, these numbers are solid estimates based on the ingredients listed for the Soft & Fluffy Honey Whole Wheat Loaf. If you make major changes—like swapping the honey for a different sweetener—your final count will shift a bit!
But for the base recipe, here’s what you can expect per serving. We’re looking at a genuinely satisfying slice that gives you a good start on your daily fiber intake, and the fat content is kept low by using just that touch of melted butter!
- Serving Size: 1 slice
- Calories: 140
- Sugar: 4g (That’s mostly from the honey, keeping it naturally sweet!)
- Sodium: 180mg
- Fat: 3g
- Saturated Fat: 1.5g
- Unsaturated Fat: 1.5g
- Trans Fat: 0g
- Carbohydrates: 26g
- Fiber: 4g (Hello, whole grain goodness!)
- Protein: 5g
- Cholesterol: 5mg
See? That 4 grams of fiber in one slice of your homemade whole wheat bread is fantastic for keeping you full and happy. It’s amazing what quality ingredients do, even in a simple slice!
Share Your Homemade Whole Wheat Bread Experience
I poured my heart into making this the most foolproof and delicious whole wheat bread recipe out there, and honestly, now the best part is hearing from you! Did it come out soft? Did your kids devour it? Did you finally realize that baking at home isn’t scary at all?
Please, please leave a comment below! Tell me how your fluffy whole wheat loaf turned out. Knowing that this recipe is living its best life on your kitchen counter means the world to me. It helps me know I’m sharing exactly what you need—practical, comforting food that brings your family together.
And if you snapped a picture of that perfect golden top or a satisfying sandwich slice, share it on social media! Tag me so I can see your gorgeous homemade whole wheat bread. Use the hashtag #BringDishBread so we can all celebrate your success. We are building a community around good, honest food here, and your feedback is what keeps the inspiration flowing.
If you read anything here that gave you pause or if you have questions about mastering the second rise, drop them in the comments too! And don’t forget while you’re here to check out our Privacy Policy to see how we handle all your wonderful community interactions.
PrintSoft & Fluffy Honey Whole Wheat Sandwich Bread
Bake your own whole wheat sandwich bread that is soft, fluffy, and wholesome. This easy recipe is perfect for beginners and yields bakery-quality results for toast or sandwiches.
- Prep Time: 20 min
- Cook Time: 35 min
- Total Time: 2 hours 5 minutes
- Yield: 1 loaf 1x
- Category: Baking
- Method: Baking
- Cuisine: American
- Diet: Vegetarian
Ingredients
- 1 cup warm water (105-115°F)
- 2 teaspoons active dry yeast
- 1/4 cup honey
- 2 tablespoons unsalted butter, melted
- 1 1/2 teaspoons salt
- 3 cups whole wheat flour
- 1/2 cup all-purpose flour (plus more for dusting)
Instructions
- In a large bowl, combine the warm water, yeast, and honey. Let this mixture sit for 5 to 10 minutes until it becomes foamy. This activates the yeast.
- Stir the melted butter and salt into the yeast mixture.
- Gradually add the whole wheat flour, one cup at a time, mixing well after each addition.
- Add the all-purpose flour until a shaggy dough forms.
- Turn the dough out onto a lightly floured surface. Knead for 5 to 7 minutes until the dough is smooth and elastic. You are looking for a soft dough that springs back when lightly poked.
- Place the dough in a lightly oiled bowl, turning once to coat. Cover the bowl with plastic wrap or a clean towel and let it rise in a warm place for 1 to 1.5 hours, or until doubled in size.
- Gently punch down the risen dough. Shape it into a loaf and place it into a greased 9×5 inch loaf pan.
- Cover the pan loosely and let the dough rise again for 30 to 45 minutes, or until it has crowned about 1 inch over the rim of the pan.
- Preheat your oven to 375°F (190°C) about 15 minutes before the second rise finishes.
- Bake for 30 to 35 minutes, or until the top is golden brown and the internal temperature reaches 190°F (88°C).
- Remove the loaf from the pan immediately and cool completely on a wire rack before slicing for the best texture.
Notes
- For a richer flavor, use 100 percent whole wheat flour, but you may need to add an extra tablespoon of water if the dough feels too stiff.
- If you prefer a sugar-free bread, substitute the honey with 1/4 cup of unsweetened applesauce.
- To achieve a soft crust, brush the top of the loaf with melted butter immediately after removing it from the oven.
Nutrition
- Serving Size: 1 slice
- Calories: 140
- Sugar: 4g
- Sodium: 180mg
- Fat: 3g
- Saturated Fat: 1.5g
- Unsaturated Fat: 1.5g
- Trans Fat: 0g
- Carbohydrates: 26g
- Fiber: 4g
- Protein: 5g
- Cholesterol: 5mg