
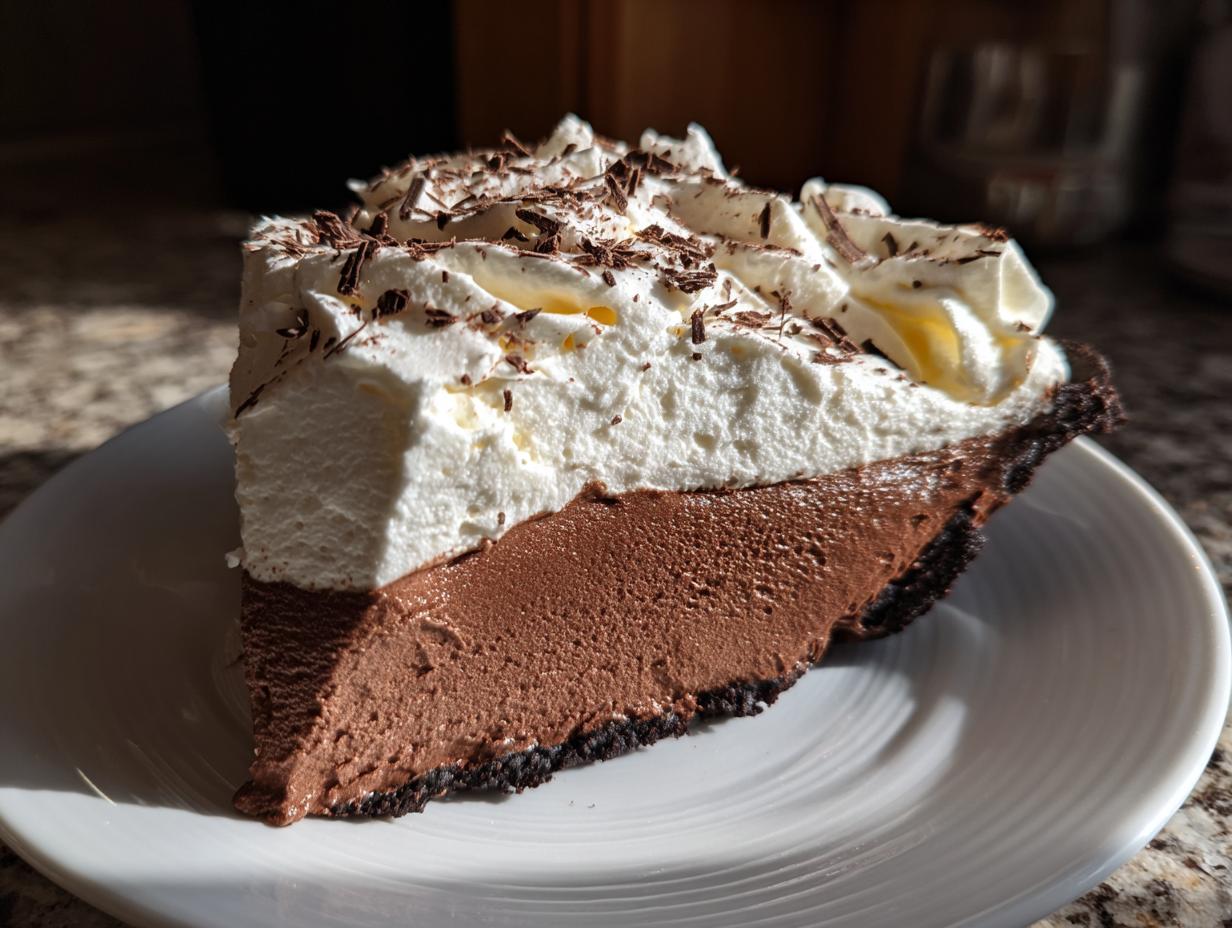
When a special occasion rolls around, or honestly, when I just need something truly decadent, I always turn to the classic french silk pie. There is truly nothing else like it! That luxurious, velvety chocolate texture just melts in your mouth, and it instantly elevates any dinner table. This isn’t just another recipe from my kitchen; it’s a commitment to the Bring Dish philosophy. My goal, just like my grandmother taught me, is to make sure that connecting over incredible food—even something as elegant as this—is always accessible and truly wonderful. You’re going to love how this rich, creamy pie feels both fancy and completely doable right at home. You can find more of my favorite show-stopping treats over in my main desserts collection!
- Why This Classic French Silk Pie Recipe Works for You
- Gathering Ingredients for Your French Silk Pie
- How to Prepare the Best French Silk Pie Ever
- Tips for Success: Mastering Your French Silk Pie
- Variations: Beyond the Classic French Silk Pie
- Serving Suggestions for Your Decadent Chocolate Mousse Pie
- Storage and Make Ahead Pies Instructions for French Silk Pie
- Frequently Asked Questions About Making French Silk Pie
- Nutritional Estimate for This Decadent Chocolate Dessert
- Share Your Beautiful Meals
Why This Classic French Silk Pie Recipe Works for You
I know what you’re thinking. French Silk Pie sounds complicated, like something you only order at fancy restaurants. But trust me, once you see how we build this up, you’ll realize it’s designed for real kitchens and special moments. This recipe is my go-to because it nails the decadence you crave without any unnecessary fuss.
- It delivers that unbelievably velvety chocolate dessert texture that makes people close their eyes with happiness when they take the first bite.
- We focus on foolproof steps, meaning you get that melt in your mouth chocolate pie result every single time.
- It skips the worries! We incorporate easy steps using pasteurized eggs so you can serve this stunning dessert without worrying about safety.
Achieving the Signature Velvety Chocolate Dessert Texture
The secret sauce here isn’t just the amount of chocolate—it’s how we incorporate the air! We are whipping those egg whites separately until they reach stiff peaks, and then we gently fold them into that rich, chocolatey base. This is what creates that signature airy yet dense, mousse-like quality. You aren’t just mixing ingredients; you are building structure!
Perfect for Special Occasions and Holidays
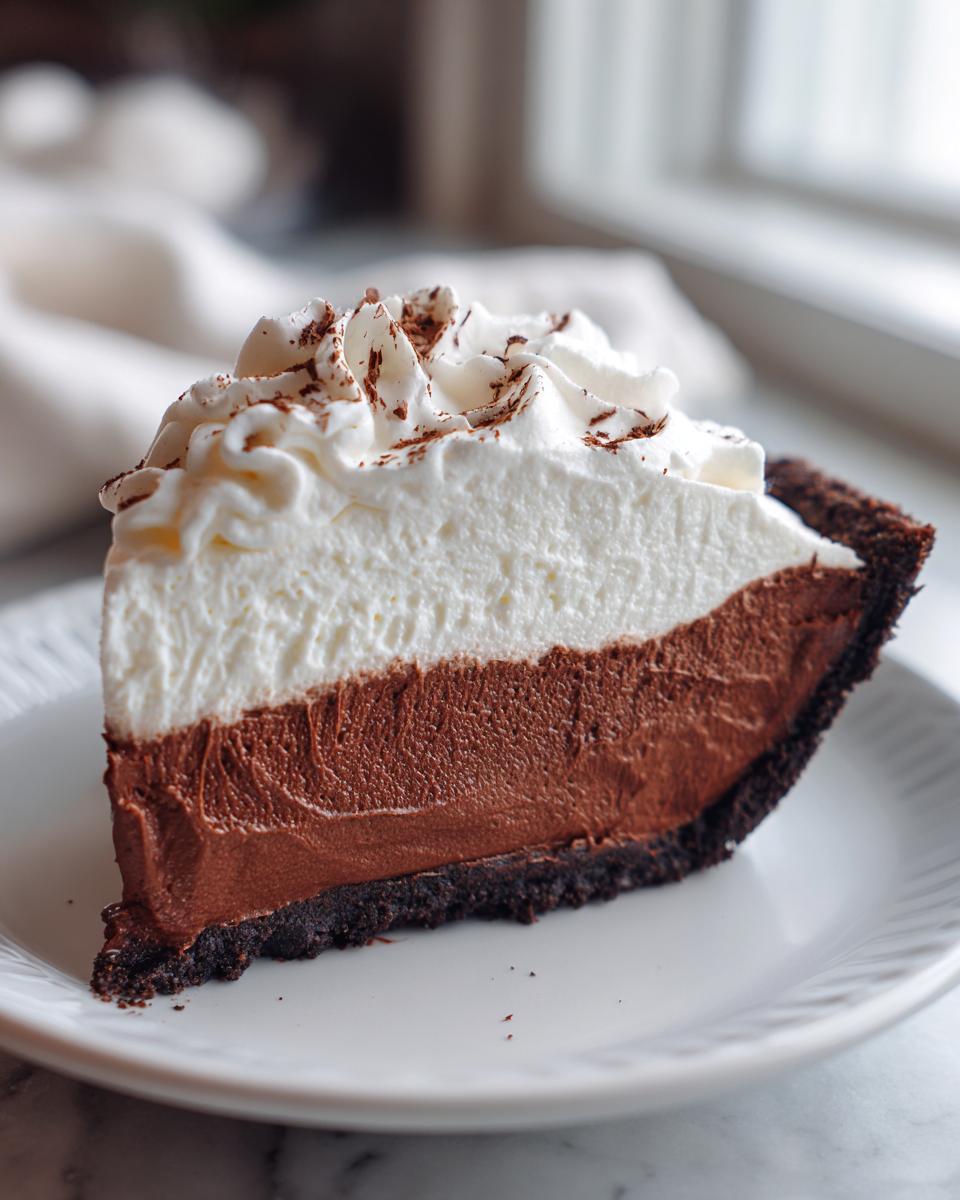
If you need an impressive centerpiece for Easter, Thanksgiving, or just a Saturday night dinner party, this is it. Forget fussy plating; this french silk pie is inherently elegant. It’s the ultimate dessert for special occasions because it looks undeniably luxurious, yet it mostly chills itself while you focus on the main course!
Gathering Ingredients for Your French Silk Pie
Okay, let’s talk about what you need to grab from the pantry. Because this pie is so rich, quality matters, but don’t panic! We’re keeping the ingredient list focused. The first thing you need to know is that this recipe assumes you have a pre-baked, ready-to-go crust. Whether you buy one or make your own amazing buttery pie crust recipe, it must be completely cooled before we even think about adding filling. That’s non-negotiable!
For the filling itself, you’ll need your chocolate, butter, sugar, cream, vanilla, and of course, those eggs. Remember, since we are using them uncooked in the filling process, I seriously recommend using pasteurized eggs if you have any hesitation about food safety. It gives me total peace of mind when I’m making this showstopper for friends. Pay attention to the details like making sure the butter is properly softened and that you chop that bittersweet chocolate finely so it melts like silk!
Ingredient Notes and Substitutions for Your Homemade Silk Pie Filling
Here are the quick tips I’ve picked up over the years to ensure this homemade silk pie filling turns out restaurant-worthy.
First, the chocolate! You generally want to reach for bittersweet chocolate. If you go too sweet (like milk chocolate), the final flavor gets muddled and loses that deep, sophisticated adult-chocolate taste we are aiming for. If you only have semi-sweet, that will work, but cut back slightly on the granulated sugar in the creaming step—just a tablespoon or so.
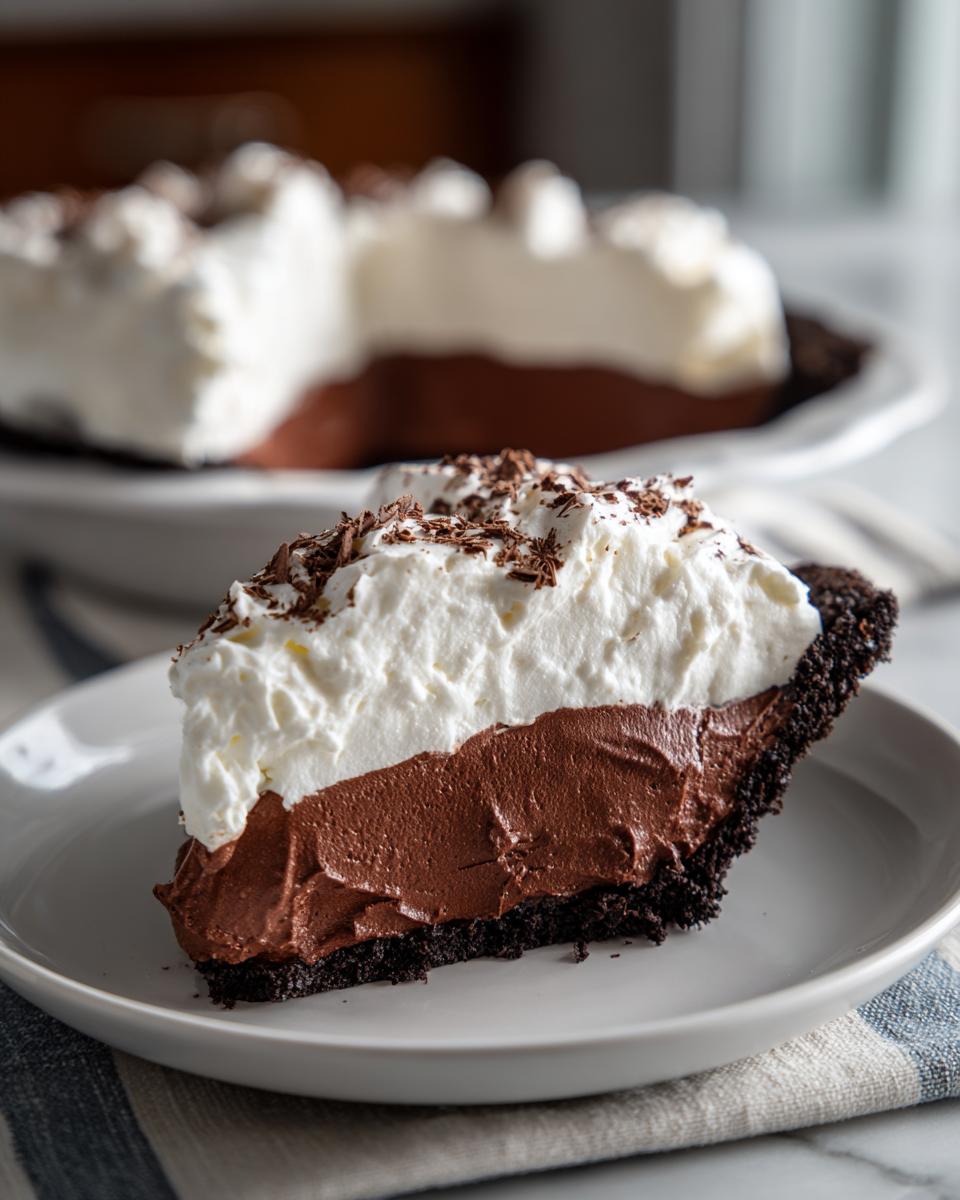
On crusts: While my recipe calls for that classic buttery base, if you’re in a hurry or just love cookies, an Oreo cookie crust is a spectacular alternative for this decadent chocolate mousse pie. Just crush about 25 Oreos with the filling still in, mix with a knob of melted butter, press it into your pie plate, and chill it down. Easy!
And finally, those eggs. Please use pasteurized eggs if they are available to you; it’s the simplest way to bypass any concerns about raw ingredients in a chilled dessert like this. If you can’t find them, be extra vigilant with having incredibly fresh eggs from a high-quality source. That’s how my grandmother always managed before pasteurized options were everywhere!
How to Prepare the Best French Silk Pie Ever
Alright, deep breath! This is where the magic happens, and I promise you, these are the foolproof silk pie instructions you need. It seems like a lot of steps, but each one is quick, and it’s all about layering those textures to get that perfect, light-as-air filling. We’re aiming for a rich creamy pie experience, and structure is key!
Step-by-Step: Creating the Rich Creamy Pie Filling
First up, get that bittersweet chocolate melted down perfectly. You want it smooth as glass, so warm it gently over simmering water and then just set it aside to cool a little—we don’t want hot chocolate curdling our creamed butter!
Next, grab your stand mixer or your trusty hand mixer. Cream that softened butter and the granulated sugar together until it looks pale and fluffy; this traps a ton of air, which is essential for that light texture. Beat in your yolks one at a time, making sure they are fully incorporated before adding the next. Then, stream in that slightly cooled chocolate and that hint of vanilla. Mix until uniform!
Now for the big move: the egg whites. In a totally clean bowl—and I mean spotless!—beat those egg whites with a pinch of salt until you get firm, proud peaks. When you add these into the chocolate base, you must fold gently with a rubber spatula. Seriously, use a light hand! You’re folding air in, not beating it out. Do it in three additions to keep everything beautifully light.
Chilling and Finishing Your French Silk Pie
Once that filling is poured into your cooled, glorious crust, don’t be tempted to slice it right away! This pie *needs* time to settle into its gorgeous texture. Cover it loosely with plastic wrap—don’t let it stick to the top—and slide it into the fridge. You have to chill it for a minimum of four hours, but if you can hold out for six or overnight, even better. That’s when the filling truly firms up into that delectable structure.
Right before serving, it’s time for the crown jewel: the whipped cream topping. Whip your heavy cream with just a touch of powdered sugar until soft peaks form. Spread that cloud generously over the set pie. I always finish mine with a dusting of chocolate shavings, because if you’re going decadent, you might as well go all the way with this Chocolate Lovers Dessert. Don’t forget—if you messed up your filling slightly, chilling it longer, like the directions in this recipe for setting a berry pie filling suggest, will often help firm things up!
Tips for Success: Mastering Your French Silk Pie
Even when you follow the steps exactly, sometimes a creamy pie can get a little temperamental. That’s okay! Cooking is about understanding how temperature affects texture. Making a truly great french silk pie is less about magic and more about paying attention to a few key temperatures. Follow these little tricks, and you’ll never have a soupy or curdled filling again.
Temperature Control for Perfect French Silk Pie
My biggest tip, hands down, is patience when dealing with the chocolate. You melt that bittersweet chocolate down—which takes a minute—but you absolutely cannot rush cooling it down before adding it to the creamed butter and egg yolks. If the chocolate is too hot, guess what happens? You scramble those yolks a little bit, and suddenly your filling isn’t silky; it’s lumpy. Let that melted chocolate sit for a good five to ten minutes after you take it off the heat. It should still be liquid, but just warm to the touch, not hot.
The butter is the flip side of that temperature coin. Unlike cakes, where we want butter super soft, here, the butter needs to be softened, yes, but still slightly cool. If it’s greasy or melty, it won’t cream up properly with the sugar to trap those necessary air bubbles. We want that pale, fluffy stage, which means taking the butter out an hour before you start, but keeping it out of direct sunlight!
Lastly, make sure your pre-baked crust is totally cool—room temperature or even slightly chilled. Pouring that delicate mousse into a warm crust will instantly melt the bottom layer of your filling, and you’ll end up with a swampy pie instead of that gorgeous, rich, decadent layer we are hoping for!
Variations: Beyond the Classic French Silk Pie
While I truly believe this classic recipe gives you the ultimate french silk pie experience, I know we all like to put our own spin on things, right? Maybe you love that famous recipe inspired by Joanna Gaines, or perhaps you have dietary needs you need to work around. That beautiful thing about baking is that it allows for creativity, even with something as classic as this chocolate dream.
For those of you who have asked about the Joanna Gaines version—it’s very similar in spirit, focusing heavily on that deep chocolate flavor and luxurious whipping time. If you want to see how others tackle that style, you can check out some great inspiration over at this resource! But honestly, sticking to our method ensures that signature melt-in-your-mouth quality.
Exploring Dairy Free Chocolate Pie Options
I often get questions about making this rich and creamy delight suitable for friends who can’t have dairy. It takes a little more thought than just swapping milk for water, since butter and cream are so crucial to the texture, but it’s totally achievable! If you’re aiming for a dairy free chocolate pie, you’ll focus your swaps on the fat content.
For the crust, skip the butter and use coconut oil or a neutral vegetable shortening instead when pressing it into the pan. For the filling, you need to replace the heavy cream. High-quality full-fat coconut cream, chilled overnight so you can scoop out just the solid thick cream from the top, works wonders when whipped up! It whips up beautifully, just like regular heavy cream. You’ll lose a tiny bit of the classic tang, but you gain a fantastic, decadent dessert that everyone can enjoy. We work on many recipes that require substitutions, like my chocolate chip cheesecake, so I know how important it is to get the texture right even when swapping ingredients!
Serving Suggestions for Your Decadent Chocolate Mousse Pie
Whew! You’ve made it through the chilling process, and now you have the absolute zenith of chocolate lovers dessert sitting in your fridge. The presentation is almost as important as the taste, right? This decadent chocolate mousse pie is rich enough to stand on its own, but a couple of simple additions can turn it from a great dessert into a showstopper!
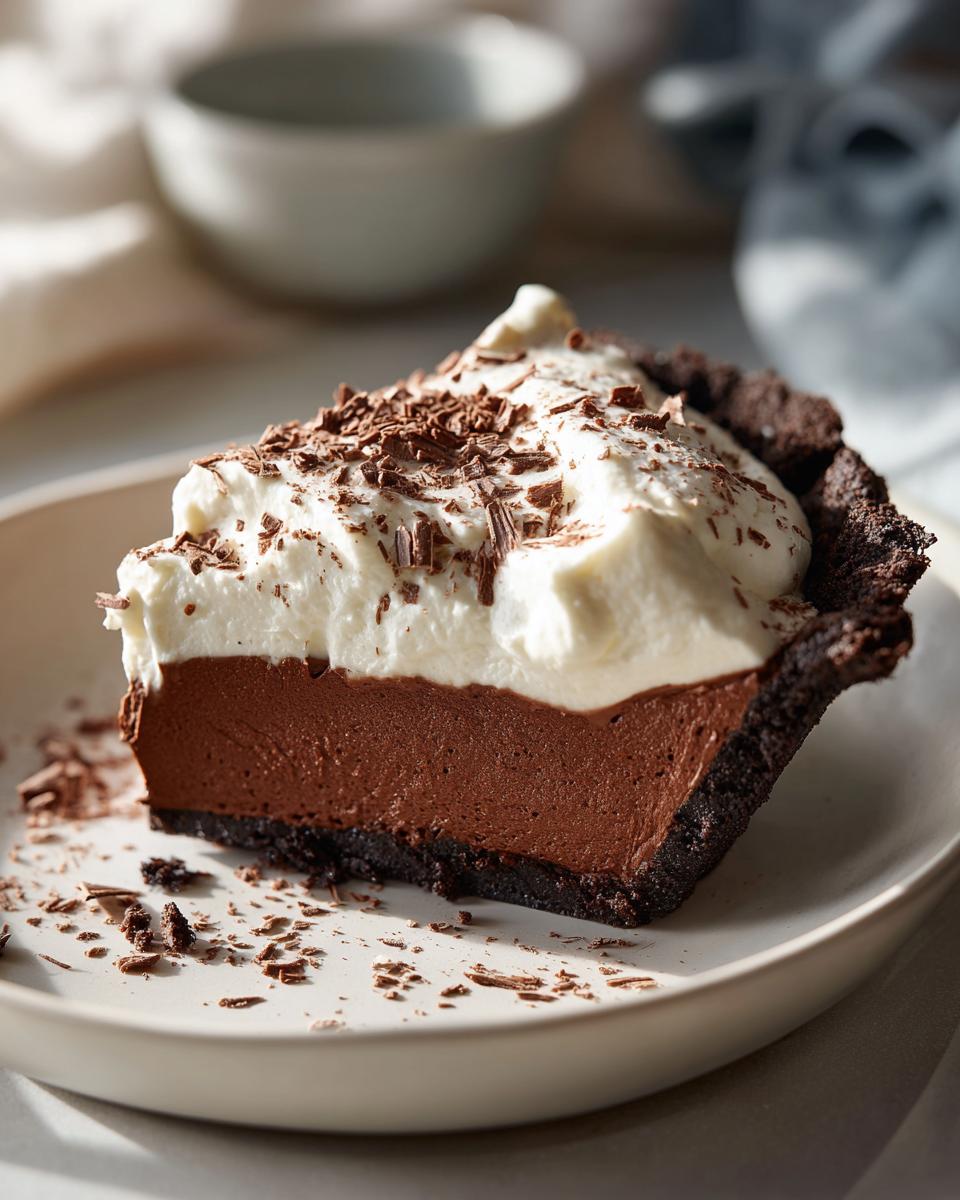
First, let’s talk texture contrast on the plate. That cloud of homemade whipped cream we put on top is perfect, but sometimes you need a little crunch. A few finely chopped, lightly toasted pecans sprinkled around the base of the slice adds a wonderful, unexpected texture. Or, for something truly elegant, use a vegetable peeler on a high-quality bittersweet chocolate bar to create big, beautiful curls to pile onto that whipped topping!
When it comes to pairings, you have a few options depending on the crowd. For something fun and celebratory, nothing beats a perfectly balanced cocktail. I adore making a batch of my lemon drop martinis—the bright, tart citrus cuts right through the richness of the dark chocolate like nothing else. It cleanses the palate beautifully!
If you’re serving this after a heavy holiday meal, you might want something simple yet sophisticated. A small pour of good quality tawny port or a robust, dark roast coffee works wonders. The slight bitterness in both espresso and port enhances the deep notes of the bittersweet chocolate in your french silk pie. Whatever you choose, remember that the connection around the table is what really matters. Pour a drink, cut a slice, and enjoy the moment!
Storage and Make Ahead Pies Instructions for French Silk Pie
One of the best things about making this incredible french silk pie is just how perfectly it functions as one of those make ahead pies! Seriously, planning ahead for a big dinner party is a lifesaver, and this dessert is designed to wait for you. Since the filling really needs that substantial chill time to set properly, it’s perfect for making the day before your event.
Once the whipped cream is on—and I really recommend you wait to put the cream on until just before serving—cover the pie loosely with plastic wrap. Make sure the plastic isn’t touching the whipped cream layer, or you’ll ruin your beautiful swirls when you go to uncover it! Because this is a chilled, mousse-based filling, it must stay in the refrigerator. It will last beautifully for up to three or maybe even four days in there. The crust might soften just a tiny bit on the bottom edge by day four, but honestly, the richness of the filling keeps everything tasting phenomenal.
Now, about reheating? Forget about it! This is not a pie that likes heat. If you try to warm a slice of this rich creamy pie, you’ll end up with melted chocolate soup on your plate. It has to be served chilled or maybe just slightly cooler than room temperature—but never warm. If you made it the day before, just pull it out of the fridge about 20 minutes before you plan to serve it. That brief rest allows the flavors to bloom just a touch without compromising that signature silky texture we worked so hard to achieve!
Frequently Asked Questions About Making French Silk Pie
I know when you’re looking at a recipe like this, especially one that’s so rich and indulgent, you start thinking about any tricky spots. That’s smart! We want this to be an experience you repeat often, not a one-time baking disaster. Having made pies for years, I’ve answered every question under the sun about getting that perfect center, so let’s tackle the most common concerns right here. You’ll find that once you know these little secrets, this french silk pie becomes incredibly straightforward.
Can I make a French Silk Pie without using any eggs?
That’s a super important question, especially since we have yolks and whites in our filling! In *this* specific recipe, we address that by recommending you use pasteurized eggs, which means your eggs are safe for raw consumption, giving you that beautiful, authentic texture without the safety worry. If you are looking for an absolute no-egg version—a true No Bake French Silk Pie Alternative—you’re looking at a very different structure. Those recipes usually rely more heavily on stabilized melted chocolate and perhaps even silken tofu or avocado to achieve thickness, which changes the flavor profile completely. For the classic flavor, stick to pasteurized eggs or look for a recipe specifically designed without them!
What is the best way to cut a clean slice of this Rich Creamy Pie?
Oh, presentation matters! When you try to slice a cold, rich, rich creamy pie straight from the fridge, the filling usually drags and you get a messy plate. Don’t let that happen to your gorgeous work! Here is my trick: Grab a tall glass of very hot water and keep a clean kitchen towel nearby.
Dip your sharpest, thinnest knife into the hot water for about ten seconds. Wipe it completely dry on the towel. Now, you press straight down through the slice of pie—no sawing! Wiping the knife clean between every single cut is the secret weapon here. The hot blade glides through the chilled chocolate mousse like butter without dragging or messing up that beautiful edge. It works every single time, I promise!
Speaking of how you make things, if you ever have questions about stabilizing fillings, I have a great post on how I manage fillings for my homemade eggnog that explains some temperature science you might find helpful!
Nutritional Estimate for This Decadent Chocolate Dessert
I always try to keep things balanced here at Bring Dish, right? We focus on the joy of eating together, not counting every single calorie. But because I know some of you are curious, or perhaps planning a big menu, I put together a general estimate for a single slice of this absolutely french silk pie. Remember, this is just an estimate!
The final numbers depend heavily on the exact crust you choose (that buttery crust vs. an Oreo crust), the percentage of chocolate you use, and how heavy-handed you are with that gorgeous whipped cream topping. This breakdown is based on the standard ingredients listed above, cut into 8 even servings, so think of it as a guide for your planning.
Here’s a snapshot of what you’re looking at for one slice of this decadent chocolate dessert:
- Serving Size: 1 slice
- Calories: ~450
- Fat: ~32g (A good chunk of this is the butter and cream, the flavor builders!)
- Carbohydrates: ~38g
- Sugar: ~35g
- Protein: ~6g
- Sodium: ~180mg
It’s certainly a rich treat, which is why a small slice goes such a long way! This is definitely a dessert reserved for those fun celebrations and special times we cook for, as my grandmother always intended when she made her finest baked goods.
Share Your Beautiful Meals
Now that you have navigated making this incredibly rich and truly delicious french silk pie, I really want to hear about it! That’s what Bring Dish is all about—creating these wonderful food memories together, even when we are miles apart.
Did this pie live up to the hype? Did it disappear instantly at your dinner table? Did you try the hot knife trick for cutting? Please, please leave a comment below and let me know! Hearing about your successes and even figuring out little snags together is truly my favorite part of sharing these treasured recipes.
And if you made this decadence and snapped a picture—oh, I would absolutely love to see it! Tag us on social media! When you share that slice of velvety perfection, you are letting me know that the connection and joy my grandmother taught me about are being passed right onto your table. It means the world to me.
If you ever make a breakthrough with a variation or have a question about how to substitute something, don’t hesitate to reach out through the contact page. Happy serving, and enjoy those beautiful moments!
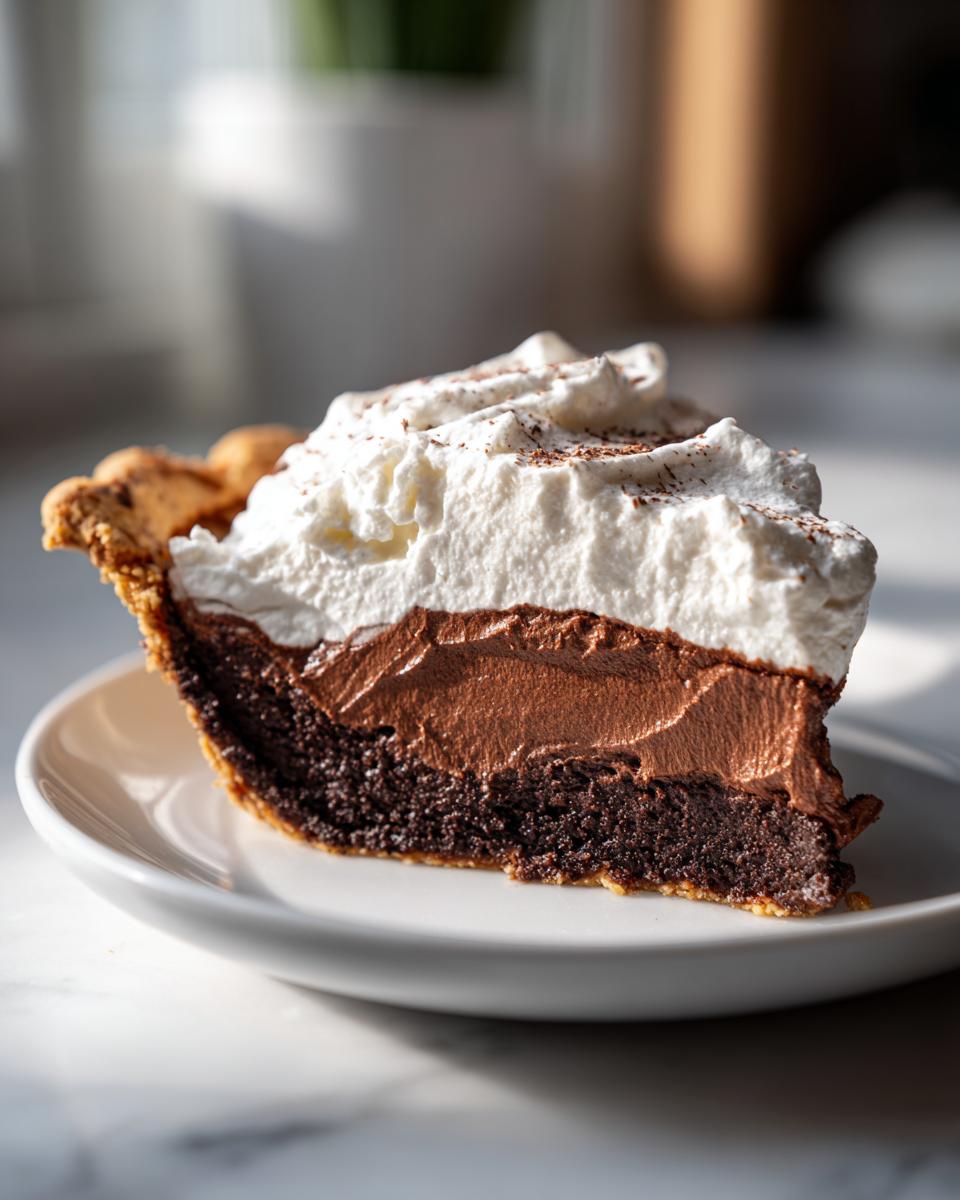
PrintClassic French Silk Pie: Rich, Creamy, and Decadent

Make this classic French Silk Pie for your next gathering. This recipe delivers a rich, velvety chocolate filling atop a buttery crust, creating a melt-in-your-mouth dessert perfect for chocolate lovers.
- Prep Time: 30 min
- Cook Time: 5 min
- Total Time: 4 hours 35 min
- Yield: 8 servings 1x
- Category: Dessert
- Method: Chilling
- Cuisine: American
- Diet: Vegetarian
Ingredients
- 1 (9-inch) pre-baked pie crust (buttery crust recommended)
- 8 ounces bittersweet chocolate, chopped
- 1 cup granulated sugar
- 1/2 cup unsalted butter, softened
- 2 large eggs, separated (use pasteurized eggs for safety)
- 1 teaspoon vanilla extract
- 1/4 teaspoon salt
- 1 cup heavy whipping cream
- 2 tablespoons powdered sugar (for topping)
- Chocolate shavings (for garnish)
Instructions
- Prepare the pre-baked pie crust and let it cool completely.
- Melt the chopped bittersweet chocolate in a heatproof bowl set over simmering water, stirring until smooth. Remove from heat and set aside to cool slightly.
- In a large bowl, cream together the softened butter and granulated sugar until light and fluffy.
- Beat in the egg yolks one at a time, mixing well after each addition. Stir in the cooled melted chocolate and vanilla extract until fully combined.
- In a separate clean bowl, beat the egg whites and salt until stiff peaks form. Gently fold the beaten egg whites into the chocolate mixture in three additions until just combined, being careful not to deflate the mixture. This creates the signature airy texture.
- Pour the filling into the cooled pie crust. Cover loosely with plastic wrap and chill in the refrigerator for at least 4 hours, or until the filling is firm.
- Just before serving, whip the heavy whipping cream with the powdered sugar until soft peaks form. Spread or pipe the whipped cream over the chilled pie.
- Garnish with chocolate shavings. Slice and serve this rich creamy pie immediately.
Notes
- For a foolproof silk pie, use pasteurized eggs if you are concerned about using raw eggs in the filling.
- If you prefer a different base, an Oreo cookie crust works well with this decadent chocolate mousse pie filling.
- This make ahead pie tastes best when chilled for at least 6 hours, allowing the filling to fully set.
Nutrition
- Serving Size: 1 slice
- Calories: 450
- Sugar: 35g
- Sodium: 180mg
- Fat: 32g
- Saturated Fat: 18g
- Unsaturated Fat: 14g
- Trans Fat: 0.5g
- Carbohydrates: 38g
- Fiber: 3g
- Protein: 6g
- Cholesterol: 110mg