
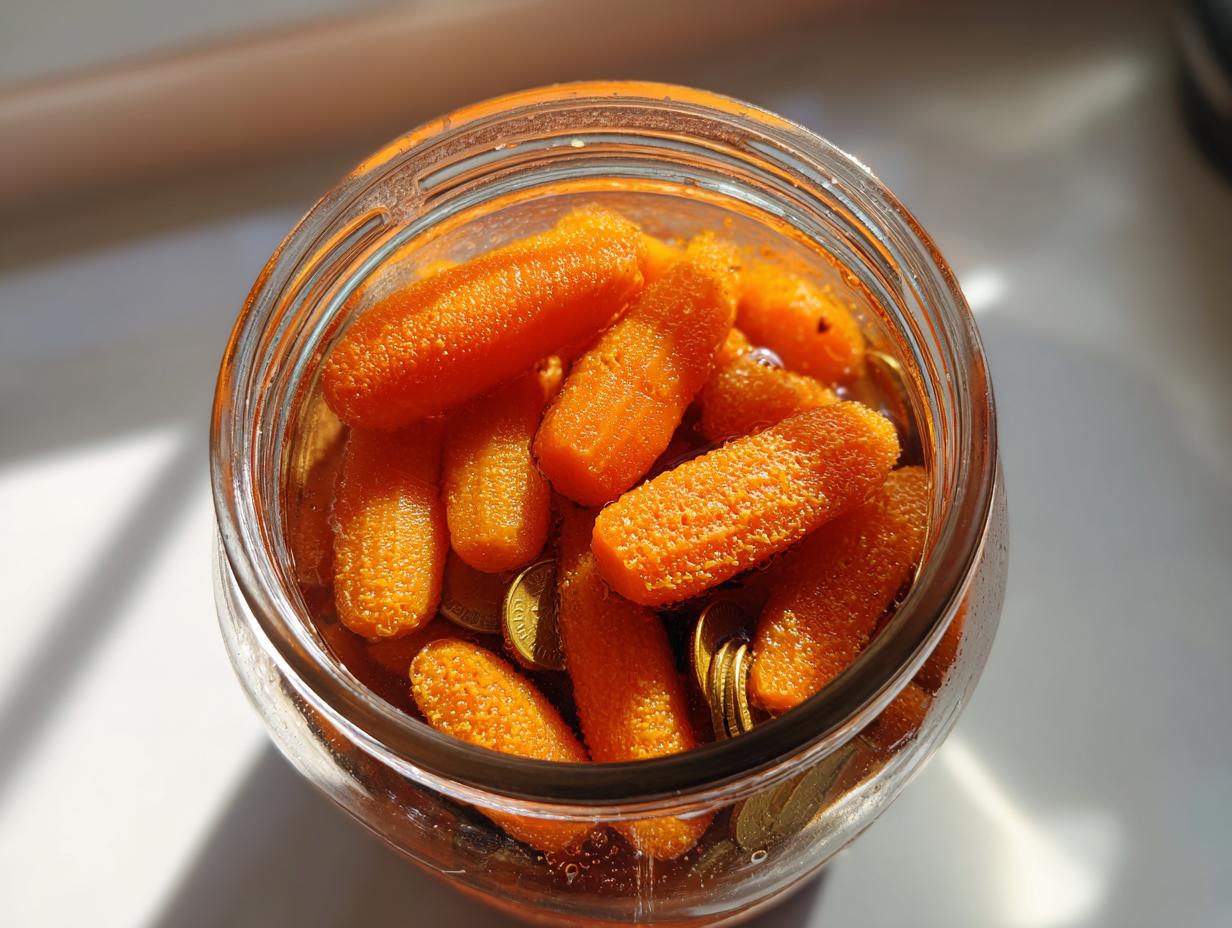
Oh, friends, do you ever just need that perfect little *crunch*? You know, that vibrant snap that wakes up your taste buds but doesn’t involve hours of complicated cooking? I get it. Life moves fast, especially when you’re trying to balance everything, but that doesn’t mean we should skip out on real, honest flavor. That’s why I’m showing you my absolute favorite way to make pickled carrots. Forget everything you know about canning; these are quick refrigerator pickled carrots, and they are ready to go almost before the pan is cool! It’s simple food made for real life, bringing that satisfying zing right when you need it most.
- Why You Need This Quick Refrigerator Pickled Carrots Recipe
- Gathering Ingredients for Tangy Pickled Carrots
- How to Make Refrigerator Pickled Carrots Step-by-Step
- Expert Tips for Perfect Crispy Pickled Carrots
- Flavor Variations: Beyond Basic Pickled Carrots
- Serving Suggestions for Your Homemade Pickled Carrots
- Storage and Making Ahead for Meal Prep Pickled Vegetables
- Frequently Asked Questions About Quick Pickled Carrots Recipe
- Sharing Your Easy Pickled Carrots Experience
Why You Need This Quick Refrigerator Pickled Carrots Recipe
Listen, sometimes you just need a batch of something bright and tangy for the week, and I don’t have time to babysit a water bath canner! That’s why this method for **pickled carrots** is my go-to. It delivers that amazing crunch you crave without any fuss.
Here’s why this **quick pickle recipe** beats the rest for busy kitchens like ours:
- Speed is Everything: We’re talking about 15 minutes of active prep time. That’s faster than ordering takeout!
- Pure Crunch Factor: Because we use the refrigerator method and a simple brine, these carrots maintain an incredible, satisfying crispness. You can trust me on the texture—I love a good crunchy pickle snack.
- Zero Canning Stress: No special equipment needed! Just a clean jar and your fridge are the stars here.
- So Versatile: They are the best little side dish or condiment you can throw together for everything from tacos to cheese boards.
Gathering Ingredients for Tangy Pickled Carrots
Making great **tangy carrot pickles** doesn’t require running to a specialty store. Honestly, the beauty of this recipe is how simple the list of components is! We rely on pantry staples to create that perfect bright brine that sinks into the carrots and keeps them vibrant. I always keep the vinegar and salt stocked just for spontaneous pickling projects. Let’s see what you need to pull together this amazing batch.
Main Components for Pickled Carrots
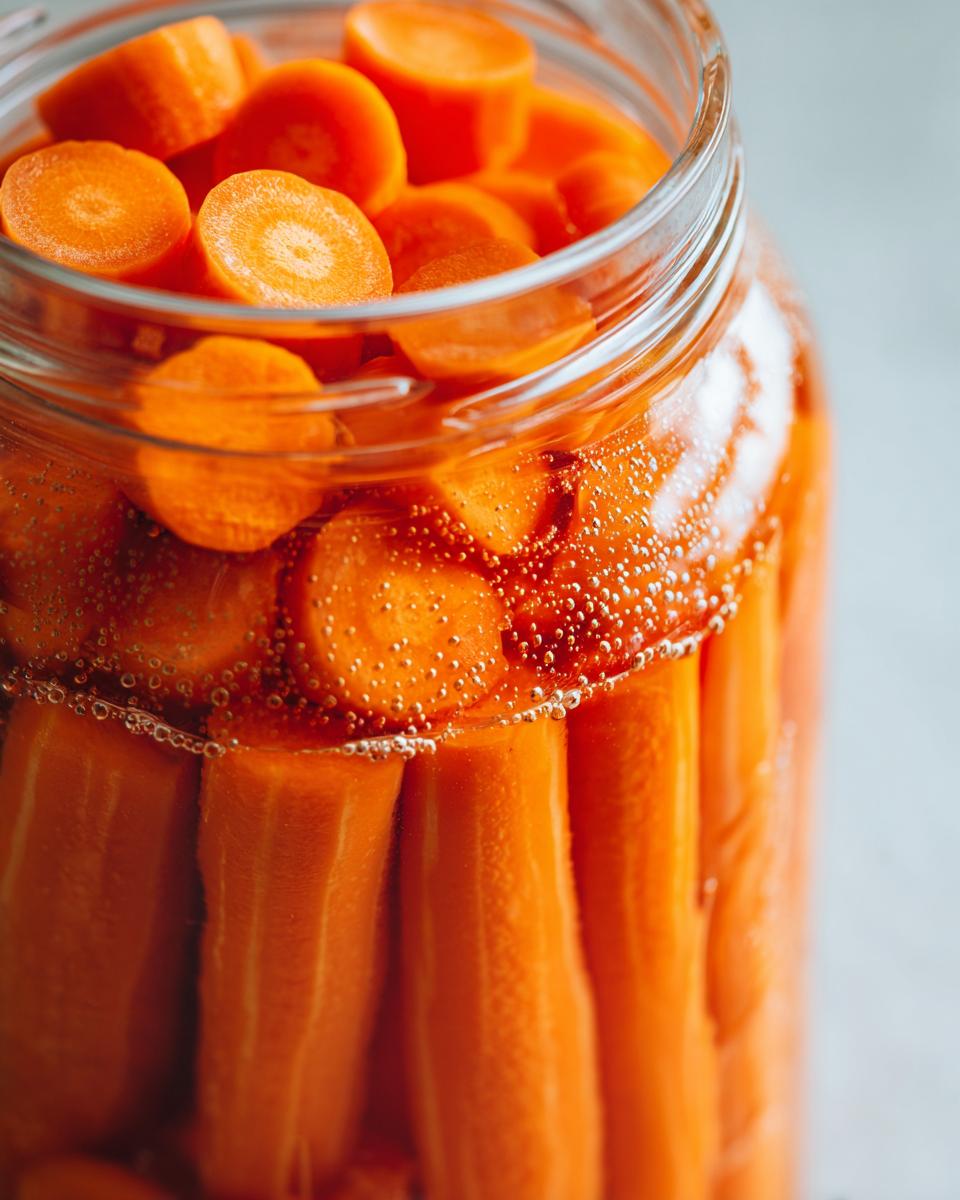
- 2 cups carrots, cut into spears or coins (your choice on shape!)
- 1 cup white vinegar (standard distilled white works beautifully)
- 1 cup water
- 2 tablespoons granulated sugar
- 1 tablespoon kosher salt
- 2 cloves garlic, smashed (if you’re adding this magic!)
- 1 teaspoon black peppercorns (optional, but they add a nice little bite)
How to Make Refrigerator Pickled Carrots Step-by-Step
Okay, ready to see the magic happen? This is where we turn those lovely spears into fantastic **refrigerator pickled carrots** that will brighten up dinner all week. The total active time is incredibly short—we’re looking at about 10 minutes for prep and maybe 5 minutes of simmering for the brine. Remember, making these at home is the best way to ensure you get that beautiful, lasting crunch!
Preparing the Carrots and Assembling the Jar
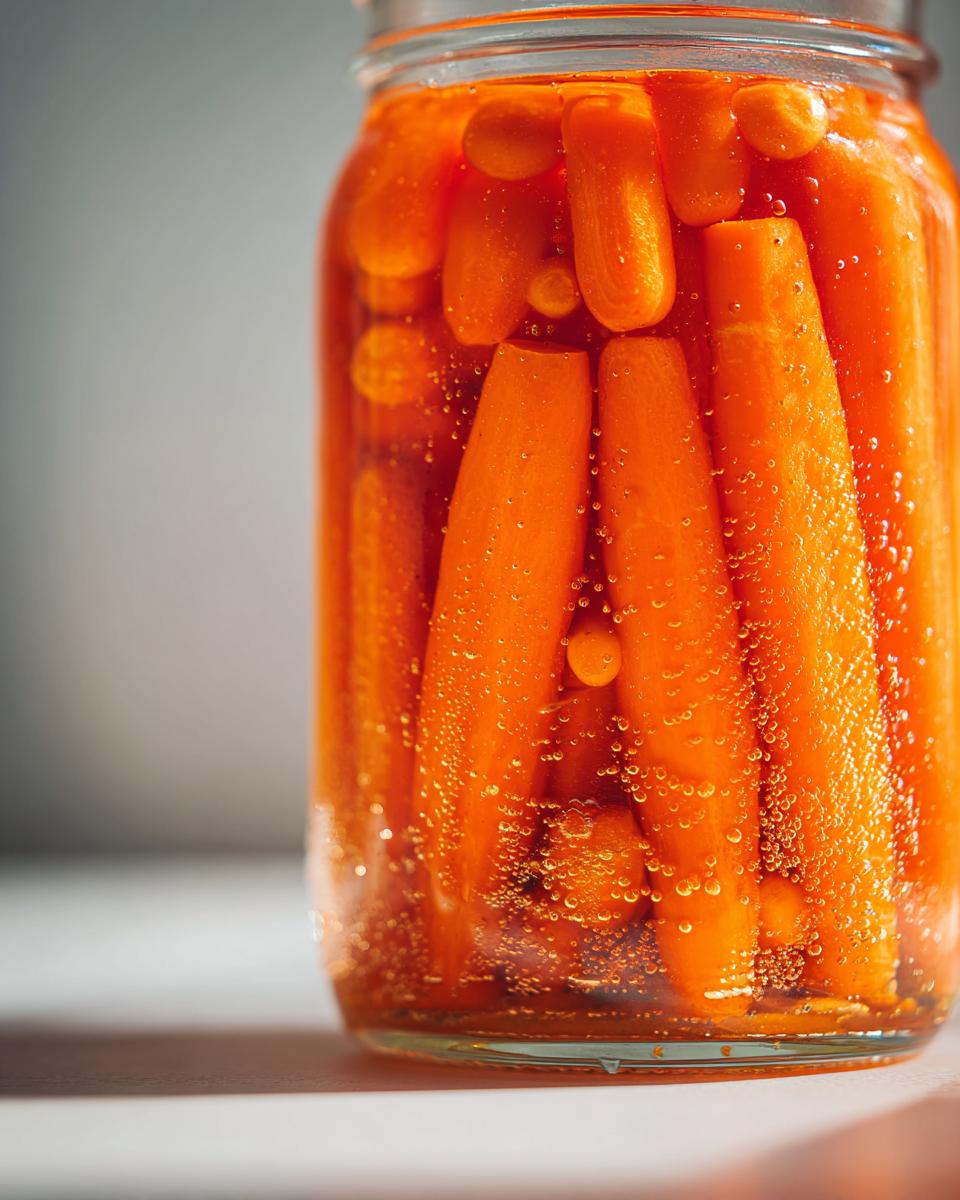
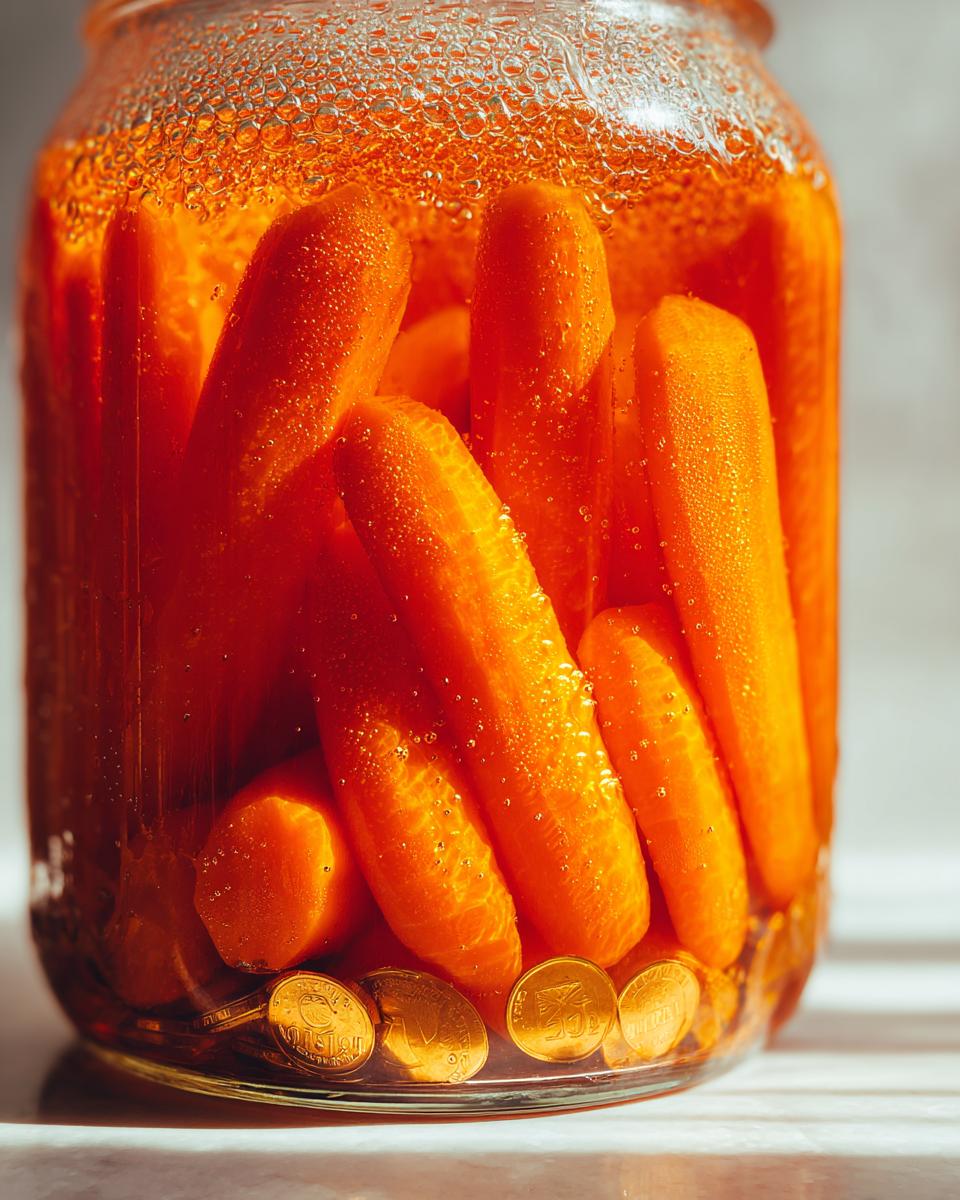
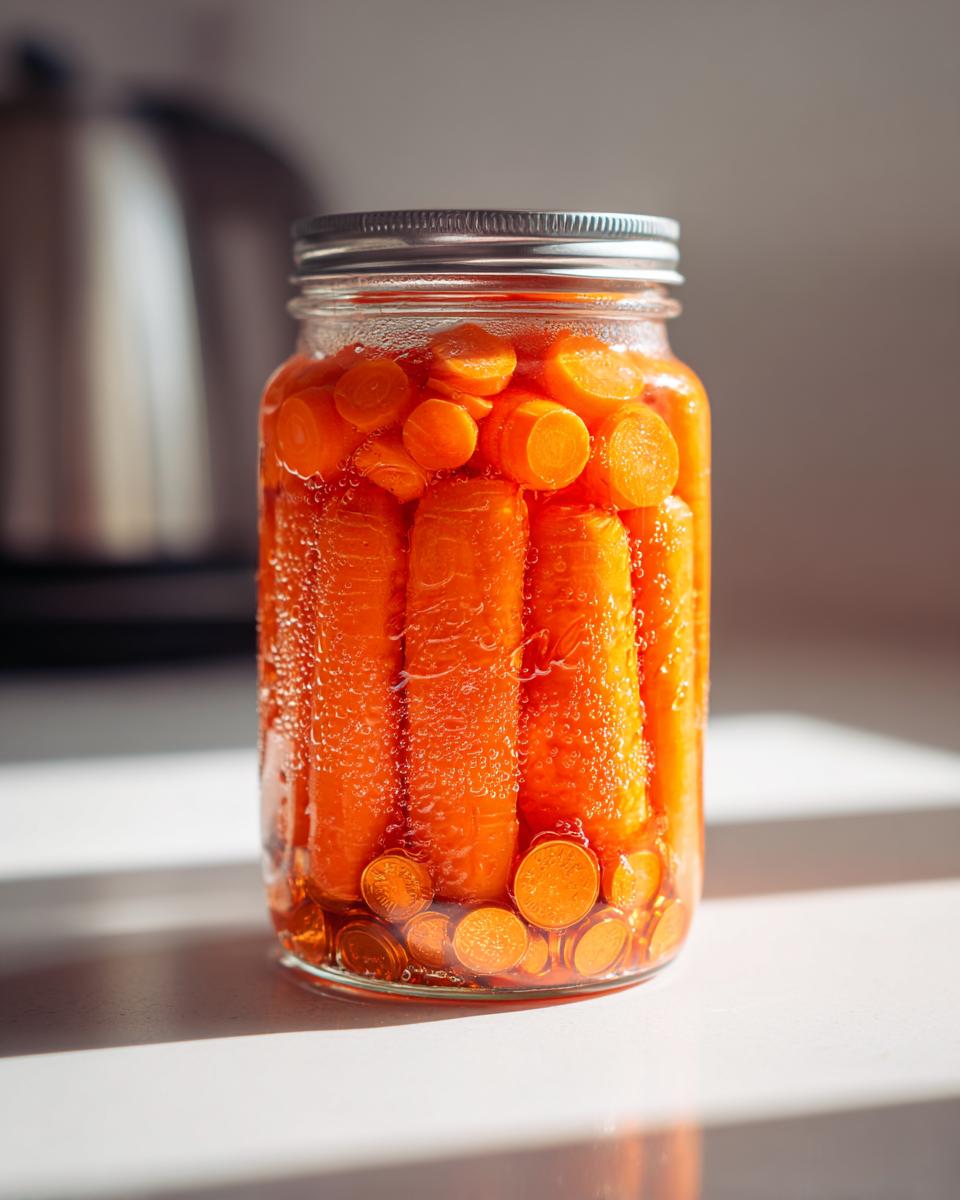
First up, grab those 2 cups of carrots! Wash them well, naturally, and then decide on your shape. I often go for spears or thick coins when I want that ultimate bite—it really helps keep the carrots nice and **crispy pickled carrots**. Once they are cut, pack them tightly into your clean pint jar. If you’re adding garlic or peppercorns, just toss them in now, right on top of those carrots. Don’t worry about getting them completely down; the hot liquid will help settle things in a minute.
Creating the Quick Pickle Recipe Brine
Now for the brine—the heart of this **quick pickle recipe**! In a small saucepan, whisk together the vinegar, water, sugar, and salt. You need to heat this mixture medium heat, just stirring until you see that salt and sugar completely disappear. Here is the crucial part, and my absolute non-negotiable rule: Do not let this mixture boil! If it boils, it starts to change the vinegar’s potency and honestly, it steams the life out of your future pickles. We just want it hot enough to dissolve everything perfectly.
Cooling and Storing Your Pickled Carrots
Once that brine is perfectly clear and hot, pour it right over your packed carrots immediately. Pour slowly, and then take a moment to gently tap the side of the jar on your counter a couple of times. This helps release any tiny air pockets. After giving them a quick stir to make sure they are submerged, let the open jar cool on the counter for about 30 minutes. After that cooling period, slap that lid on tight and put them straight into the fridge. Honestly, you can sneak a taste after 2 or 4 hours, but trust me—for the best flavor that really sinks in, you need to wait 24 hours! You can find more tips on easy vegetable preservation right here on the site.
Expert Tips for Perfect Crispy Pickled Carrots
Now that you know the basic method for our **refrigerator pickled carrots**, let’s talk about leveling up! Building flavor and, most importantly, maintaining that incredible snap is what moves a good pickle to a great one. The quality of your brine really dictates how successful your **best pickled carrot brine** turns out. These little adjustments are what I learned from trial and error, so you don’t have to guess!
You absolutely want to eat these within three weeks. While they will technically remain safe longer, the texture is just unbeatable when they are fresh and perfectly crunchy. Anything beyond three weeks, and I find the carrots start to soften just a bit too much for my liking.
Flavor Adjustments for Your Pickled Carrots
If you’re looking to move past the classic tangy profile, customization is easy since we aren’t canning anything. For a real kick, I highly recommend adding a few thin slices of jalapeño right into the jar with your carrots. That gives you lovely **spicy pickled carrots** that are phenomenal leftover from Taco Tuesday! If you happen to prefer a punch of sweetness to balance the vinegar, feel free to bump that sugar up to 3 tablespoons. This creates a wonderful **sweet and sour carrots** effect that is fantastic for snacking.
Flavor Variations: Beyond Basic Pickled Carrots
You know me—I love taking something simple and giving it a personality boost! While the base tangy brine is honestly fantastic on its own, the beauty of pickled carrots made in the fridge is how easily you can tailor them to whatever you’re craving that day. Whether you need something to cut through the richness of a big meal or just want a vibrant snack, we can dial in the flavor profile perfectly.
If you’re looking for inspiration, check out how great these are served with my street corn bowls—the tanginess is just perfect with that smoky flavor! You can find that recipe right here.
Creating Dill Pickled Carrots Flavor Profiles
If you’re aiming for that classic deli or sandwich pickle taste, you need dill! It’s savory, clean, and so good. To get that wonderful **dill pickled carrots flavor**, toss in a full sprig of fresh dill right into the jar before you pour the hot brine over everything. If you don’t have fresh, a teaspoon of dried dill seed works just fine, too. I love cutting my carrots into long sticks—or **appetizer carrot spears**—when I go the dill route. They look beautiful arranged on a platter!
Making Spicy Pickled Carrots
For those days when I need a little fire to wake me up, I turn straight to making **spicy pickled carrots**. This is so easy. You can toss in just a pinch of red pepper flakes with your peppercorns for a gentle warmth. But if you want real heat, grab a jalapeño and slice it thinly—seeds and all! Add maybe five or six pepper coins per pint jar. They infuse the brine beautifully, giving you that spicy kick without overpowering the natural sweetness of the carrots. If you want to see how others do a spicy version, I saw a great one on a recipe site for authentic **Mexican style pickled carrots** that might inspire you, too (check it out here).
Serving Suggestions for Your Homemade Pickled Carrots
Now that you have this jar of tangy goodness sitting in your fridge, the fun really begins! These **pickled carrots** are ridiculously versatile; they never just sit around waiting for the right moment. Seriously, having these on hand makes assembling a quick meal so much more exciting.
If you’re feeling snacky, they are the ultimate **crunchy pickle snack**. Grab a fork and eat them straight from the jar—I won’t tell anyone! But if you’re putting together a plate, try serving them alongside my classic deviled eggs for a bright contrast (get the recipe here). They honestly shine the brightest when they get to act as a zesty foil to something richer.
They are non-negotiable when it comes to topping tacos, too. These carrots should be your go-to **carrots for tacos condiment**; they cut through rich meat and cheese beautifully. Throw them on top of my **easy shredded chicken tacos** and tell me I’m wrong! Charcuterie boards also need them—they add color and acidity.
Storage and Making Ahead for Meal Prep Pickled Vegetables
One of the best things about using the refrigerator method for these **pickled carrots** is how effortlessly they fit into your weekly routine. These are designed to be fantastic **meal prep pickled vegetables** because they last a good long while and only get better after that first day in the fridge. You can make a big batch on Sunday, and you’ve got a sharp, zesty side dish ready to go for lunches or quick dinners all week long!
Now, because we skipped the whole canning process and any high-heat sealing, the key to keeping them perfectly crunchy is refrigeration. Always keep your jar sealed tight in the cold. When stored properly, they should stay perfectly crisp for about three weeks. After that, while they are safe, they tend to lose the snap I know you’re looking for!
This recipe is naturally wonderful for folks with specific dietary needs, too. Since the base only uses vinegar, salt, sugar, and carrots, you’ll find that these are excellent as **vegan pickled carrots**, and if you swap out the sugar for a keto-friendly sweetener, they work beautifully as **keto pickled carrots** as well! Feel free to check out my tips for low-carb meal prepping here as well: quick low-carb meal prep ideas.
Frequently Asked Questions About Quick Pickled Carrots Recipe
It’s so common to have questions when you try a new, quick technique, especially when you want that perfect crunch! I compiled a few things I usually get asked about this **quick pickled carrots recipe**. Don’t second-guess yourself; if it helps you get the best results, it’s worth asking! For more about my philosophy on honest cooking, check out my About Page.
How long must I wait to eat these refrigerator pickled carrots?
This is the hardest part, I know! You want to dive right in, and you absolutely can. Technically, your **refrigerator pickled carrots** start tasting pickled after about 2 to 4 hours in the fridge. But honestly, if you can manage the patience, waiting a full 24 hours makes a world of difference. That extra time lets that salty, tangy brine really soak deep into the carrot spear, giving you that perfect, intense flavor profile.
Can I use apple cider vinegar in this quick pickle recipe?
Yes, you totally can! While the recipe calls for standard white vinegar because it gives the cleanest, sharpest tang, substituting with apple cider vinegar is a popular move. Just be aware that apple cider vinegar brings its own subtle fruitiness and a slightly mellower acidity. It will still make delicious **tangy carrot pickles**, but the flavor won’t be quite as bright and pure as the white vinegar version.
Do I have to peel the carrots beforehand?
That’s a great question about prep! For these quick pickles, peeling is entirely optional, but I usually skip it. If you use young, fresh carrots, the skin is super thin and adds a nice bit of texture—a little extra something for that **crunchy pickle snack** experience! If your carrots look a little dull or you prefer a perfectly smooth surface, go ahead and peel them, but don’t stress if you don’t want to!
Can I make these vegan or keto-friendly?
Absolutely! The base recipe as written is inherently vegetarian, and if you stick to the sugar called for, they are great for general enjoyment. For those watching carbs, you can easily swap the granulated sugar for your favorite keto-friendly sweetener, like erythritol or monk fruit blend. It really keeps these **easy pickled carrots** fitting right into lots of different eating styles!
Sharing Your Easy Pickled Carrots Experience
I truly hope this recipe for **easy pickled carrots** brings a little bit of brightness and that perfect crunch to your busy week! When you make a batch—whether you stuck to the classic tangy brine or went wild with the spicy or dill additions—I absolutely want to hear about it. Knowing how these simple dishes connect with your family life is why I do this.
Please take a moment to hit that five-star rating button right below the recipe card. It helps other busy cooks find their way to fantastic, honest food like this. And don’t be shy in the comments! Tell me what you served them with. Did you try them on tacos, or did you make them into a stunning appetizer spread? Drop your favorite flavor tweaks below, too—I’m always looking for new ways to make a good thing even better. If you ever have questions or just want to say hello, my contact page is always open!
PrintQuick Refrigerator Pickled Carrots: Tangy and Crunchy Snack

Make these easy refrigerator pickled carrots with a simple brine. They stay crunchy and are ready fast, perfect as a snack or a zesty condiment for tacos or charcuterie boards.
- Prep Time: 10 min
- Cook Time: 5 min
- Total Time: 15 min
- Yield: About 1 pint 1x
- Category: Appetizer
- Method: Refrigerator Pickling
- Cuisine: American
- Diet: Vegetarian
Ingredients
- 2 cups carrots, cut into spears or coins
- 1 cup white vinegar
- 1 cup water
- 2 tablespoons granulated sugar
- 1 tablespoon kosher salt
- 2 cloves garlic, smashed (optional)
- 1 teaspoon black peppercorns (optional)
Instructions
- Prepare the carrots: Wash and trim the carrots. Cut them into spears, sticks, or thin coins, depending on how you plan to serve them.
- Make the brine: In a small saucepan, combine the vinegar, water, sugar, and salt. Heat over medium heat, stirring until the sugar and salt dissolve completely. Do not boil.
- Pack the jar: Place the prepared carrots and any optional flavorings (garlic, peppercorns) into a clean, pint-sized glass jar. Pack them tightly but leave about half an inch of headspace at the top.
- Pour the brine: Carefully pour the hot brine over the carrots, ensuring they are fully submerged. Tap the jar gently to release any trapped air bubbles.
- Cool and refrigerate: Let the jar cool on the counter for about 30 minutes. Once cool, seal the jar tightly and place it in the refrigerator.
- Wait for flavor: The carrots will be ready to eat in about 2 to 4 hours, but they develop the best tangy flavor after 24 hours in the refrigerator.
Notes
- For a spicy kick, add a few thin slices of jalapeño to the jar before pouring the brine.
- These refrigerator pickled carrots are best eaten within three weeks for maximum crunch.
- If you prefer a sweeter pickle, increase the sugar in the brine to 3 tablespoons.
Nutrition
- Serving Size: 1/4 cup
- Calories: 35
- Sugar: 4g
- Sodium: 350mg
- Fat: 0g
- Saturated Fat: 0g
- Unsaturated Fat: 0g
- Trans Fat: 0g
- Carbohydrates: 8g
- Fiber: 2g
- Protein: 0g
- Cholesterol: 0mg