
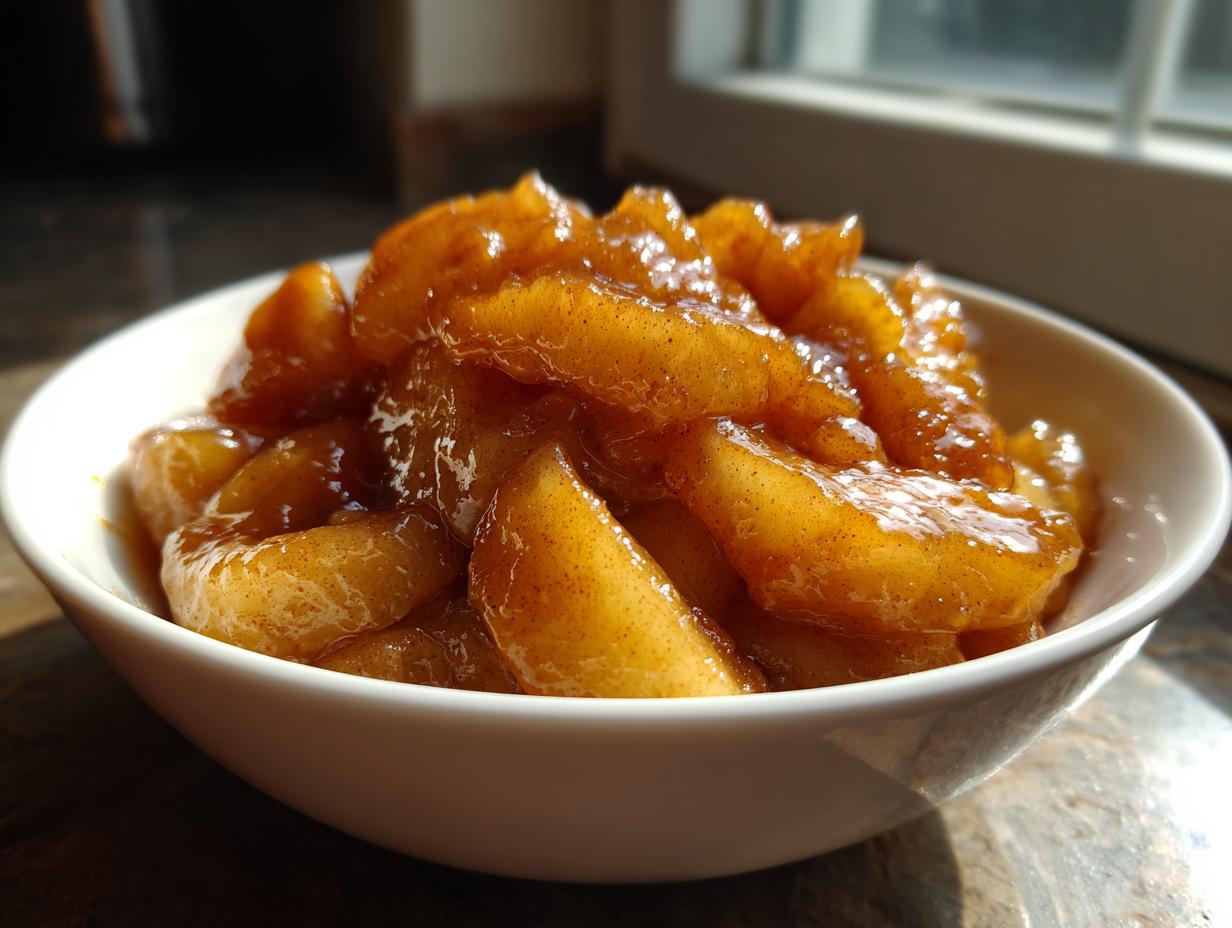
There is just nothing that smells more like home and comfort than warm apples simmering with cinnamon, is there? When I think about creating cozy, celebratory desserts, apple is always top of the list. But let’s be honest, sometimes you’re craving that perfect slice of pie or topping for your morning oatmeal but you just don’t have the time for a long bake or a slow simmer over the stove. That’s where this recipe comes in!
This is my go-to quick stovetop apple pie filling recipe—it truly comes together in about 15 minutes, and the best part is that it’s foolproof against wateriness. I developed this method because, even though I love sharing great recipes here at Bring Dish, I know how demanding life can be. This specific filling guarantees perfectly tender apples swimming in a thick, velvety sauce every single time. Whether you’re filling a pie crust or just spooning it over ice cream, you’ll feel like you spent hours fussing over it, even though you barely spent any time at all.

We’ve got a wonderful filling ready for you today. If you’re looking for more quick fixes that still taste like they took all day, check out my recipe for ultra-moist caramel cake—it uses a similar philosophy of maximizing flavor without fuss!
- Why This Homemade Apple Pie Filling Recipe Works So Well
- Gathering Ingredients for Your Quick Apple Pie Filling
- Step-by-Step Instructions for Easy Apple Pie Filling Stovetop
- Versatility: Using Your Cinnamon Apple Filling Recipe Beyond Pies
- Storage and Freezer Friendly Apple Pie Filling Tips
- Tips for the Best Spiced Apple Pie Filling
- Frequently Asked Questions About Apple Pie Filling
- Nutritional Estimate for This Fruit Filling
- Share Your Homemade Apple Pie Filling Creations
Why This Homemade Apple Pie Filling Recipe Works So Well
I know what you’re thinking: homemade filling takes forever and ends up soupy! But trust me, this homemade apple pie filling recipe solves those two huge problems beautifully. We designed this stovetop method to fit right into your busy week, giving you maximum comfort food flavor with minimal kitchen time.
It’s definitely the best way to make easy apple pie filling stovetop when you need something fast. You get all the flavor of slow-cooked apples without waiting around!
Speed: Ready in Under 15 Minutes Total
When I say quick, I mean it. The total time is only 23 minutes, and that includes peeling and chopping! The actual cook time hovering over the stove is just about 13 minutes. If you need a delicious base for a last-minute dessert, this speed makes it unbeatable.
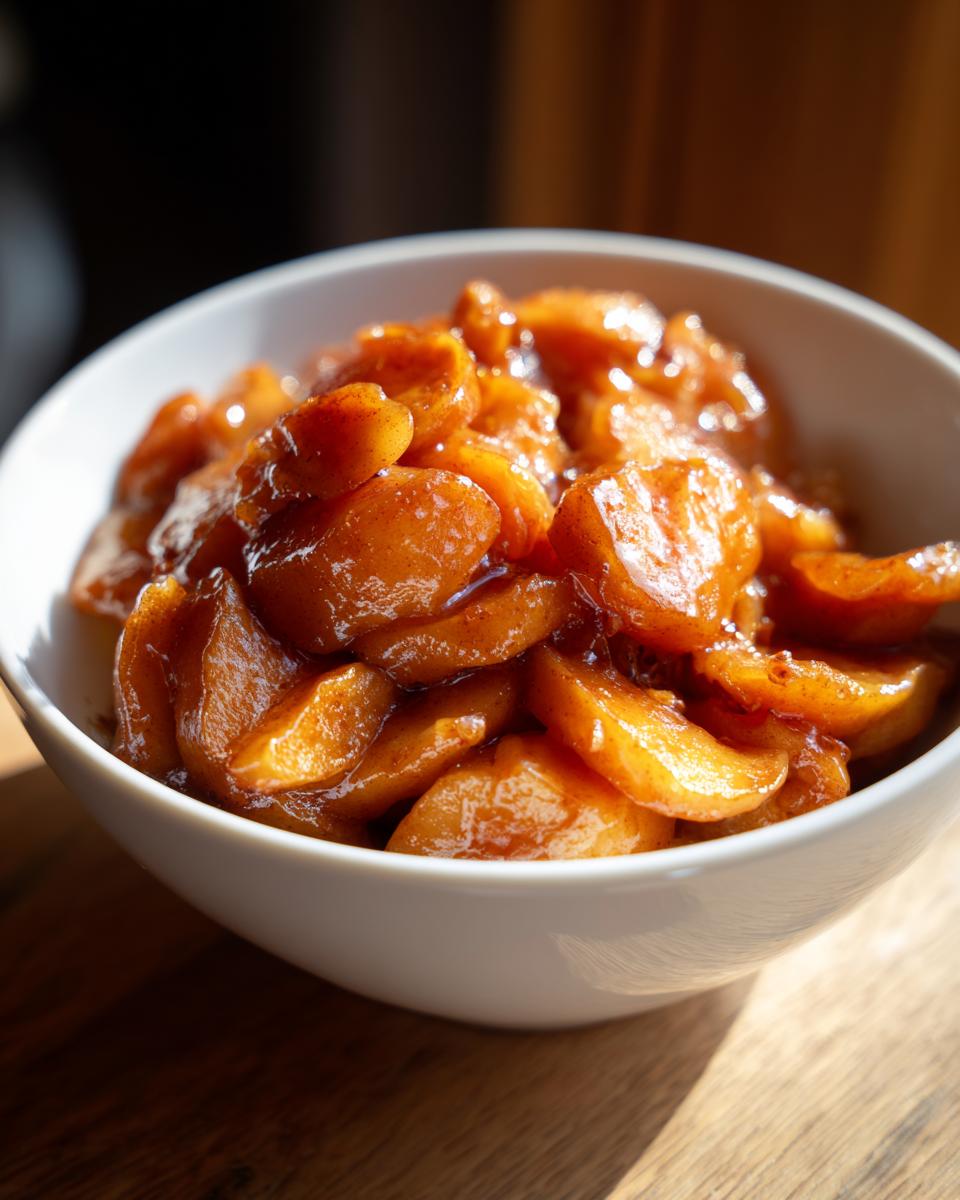
Texture Control: The Secret to Thick Apple Pie Filling
Okay, the texture part is crucial. The thick apple pie filling secret is twofold: we use cornstarch (which works way faster than flour for stovetop thickening) and we don’t rush the simmer. We cook it down just until that sauce coats the back of a spoon. That means you get a gorgeous, gooey apple fruit filling that won’t leak all over your bottom crust. For more tips on perfect textures, you absolutely have to see how I manage a set filling in my foolproof berry pie recipe!
Gathering Ingredients for Your Quick Apple Pie Filling
When we need to whip up a quick batch of apple pie filling, I always make sure I have these core items on hand. The beauty of this stovetop recipe is that it doesn’t call for any weird, obscure ingredients you have to chase down. It’s all pantry staples, which really helps during a busy week!
Here is what you’ll need for about four cups of luxurious sweet and spiced filling:
- 6 medium apples (Granny Smith or Honeycrisp recommended)
- 3/4 cup packed brown sugar
- 1/4 cup granulated sugar
- 2 tablespoons cornstarch
- 1 teaspoon ground cinnamon
- 1/4 teaspoon ground nutmeg
- 1/4 teaspoon salt
- 2 tablespoons unsalted butter
- 1 teaspoon vanilla extract
See? So straightforward! For tips on other easy bases for gatherings, my recipe for classic deviled eggs is always a huge hit.
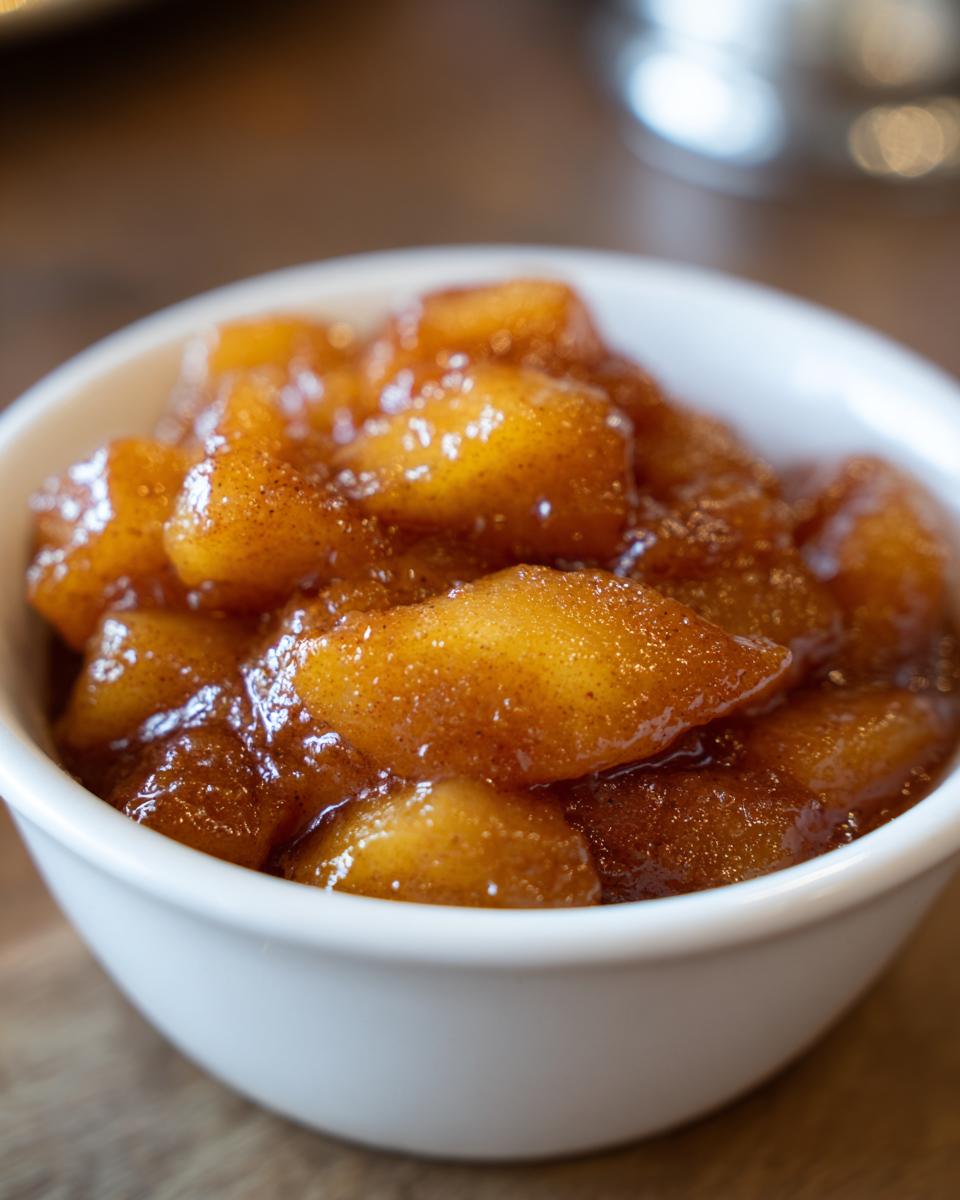
Apple Selection: Best Apple Type for Pie Filling
The apples you choose make a huge difference, especially since we aren’t baking these for an hour! I always lean on Granny Smith apples because they have that perfect tartness that cuts through the sugar, and they hold their shape wonderfully when cooked quickly on the stove. If you want them a little sweeter, a mix with Honeycrisp is just divine. They soften up nicely without turning completely to mush, which is key for that good texture.
Step-by-Step Instructions for Easy Apple Pie Filling Stovetop
I know we are aiming for speed, but remember the flavor foundation is everything! Even though this is a quick apple pie filling, you can’t just throw things in a pot and hope for the best. We need structure for that perfect texture.
If you want to see how I handle similar quick-cooking bases for savory meals, my creamy pumpkin curry uses a very similar whisking technique to avoid lumps right at the start.
Preparing the Apples and Sugar Mix
First up, grab your apples. You need to peel, core, and slice them into pieces that are about 1/4-inch thick. Don’t go too thin, or they’ll dissolve while cooking! Once your apples are in a large saucepan, turn your attention to the dry stuff. In a separate little bowl—this is important—you need to whisk together your brown sugar, white sugar, cornstarch, cinnamon, nutmeg, and salt. Whisk it really well! If you skip this, you end up with little pockets of dry cornstarch instead of that smooth, luxurious sauce we want.
Simmering to Achieve the Perfect Apple Pie Filling Texture
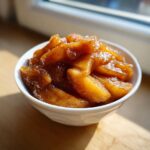
Now, pour that dry mixture right over your apples and give everything a gentle stir until all those slices are coated. Pop the pan on medium heat. You’ll stir frequently until you see the mixture bubbling and the sugar has completely dissolved—that usually takes about 5 minutes. Once it bubbles, reduce the heat right down to low. Keep simmering and stirring often for another 5 to 8 minutes. This is where the magic happens! You are watching that sauce thicken up until it looks like a lovely, rich gravy coating the apples. That means you conquered the wateriness! When it looks perfectly thickened, take the pan off the heat immediately. Stir in your butter and vanilla right at the end, just until that butter melts completely into the sauce. Let it cool down before you even *think* about putting it into a pie crust!
Versatility: Using Your Cinnamon Apple Filling Recipe Beyond Pies
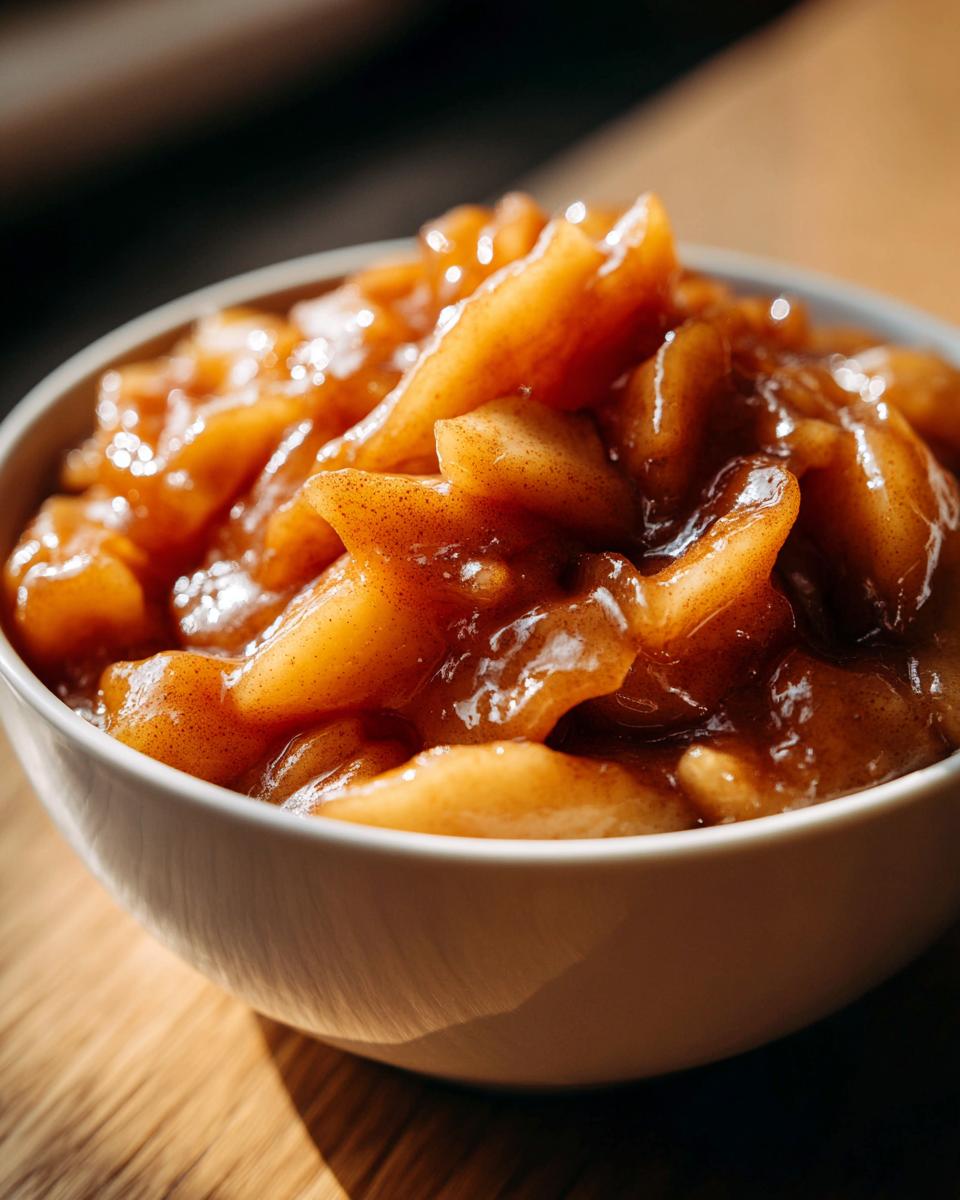
The absolute best part about having a fantastic, thick batch of apple pie filling ready to go? You don’t have to stop at just pie! If you’ve whipped up this recipe, you now have a versatile, flavor-packed base ready for, well, almost anything. It’s so fantastic for making an apple pie filling for crisps and cobblers; just crumble that oat topping over the top and bake until golden.
We use this filling constantly as a decadent warm spice apple topping during the week. Seriously, forget those sugary jars from the grocery store. Drizzle this warm, gooey stuff over my fluffy buttermilk pancakes on a Sunday morning, or stir a big scoop into your oatmeal. It’s even amazing served warm on top of vanilla ice cream or alongside a slice of something savory, like my skillet-baked fried cornbread. If you want to skip the pie crust altogether, check out this other quick option I found online for a super easy weekday dessert base: Quick & Tasty Apple Pie Filling. It’s all about maximizing flavor goodness!
Storage and Freezer Friendly Apple Pie Filling Tips
Now that you’ve made this amazing sauce, you probably don’t want to use it all right away, right? Good news! This recipe is fantastic for making ahead, which is why I always tell people to double the batch. Having this on hand is a lifesaver for busy weeks.
This is definitely a freezer friendly apple pie filling. Once you’ve made it, you need to let it cool down completely—think room temperature, not just slightly warm. Once it’s totally cool, scoop the filling into airtight, freezer-safe containers. Don’t pack them right to the top, though; leave a little bit of headspace for expansion.
It keeps beautifully in the deep chill for up to six months. When you’re ready to use it later, just transfer the container to the refrigerator the night before you plan to bake or serve. Thawing it slowly in the fridge ensures the apples stay firm. If you enjoy baking chewy treats like old-fashioned fruitcake cookies, having this filling ready for toppings makes everything easier!
Tips for the Best Spiced Apple Pie Filling
I love sharing the standard recipe, but these little expert nudges are what truly elevate your baking—this is the stuff Grandma would tell you when nobody else was listening! When making this apple pie filling, pay attention to texture balance. If you’re using super tart Granny Smiths, they’ll stay firm, which is great, but you might need to bump up that brown sugar by a tablespoon or two to keep the sweetness right.
Conversely, if you use an apple that cooks down faster, watch that simmer time and pull it off the heat a minute earlier. If you want a truly robust flavor profile, try sprinkling in just a tiny pinch more nutmeg than the recipe calls for. It deepens that warm spice flavor wonderfully. For more ideas on how to get that perfect consistency, I always reference Maya Thompson’s take on the best apple pie filling; it’s great reading!
And hey, if you’re making a double batch for freezing, make sure you have some delicious chewy chocolate chip cookies on hand for snacking while you stir! It’s the best part of the process.
Frequently Asked Questions About Apple Pie Filling
I always get questions popping up when I post this recipe, and that is totally normal! It’s all about making sure your filling is perfect, whether you’re using it for a lattice top or just eating it with a spoon. If you’re looking for other holiday staples, you might want to check out my recipe for creamy homemade eggnog!
Can I use pre-sliced apples for this apple pie filling recipe?
You absolutely can, but I always plead with people to slice their own if they have the time! When you slice them yourself, you control the thickness—we want those 1/4-inch pieces so they don’t turn to applesauce on the stovetop. If you’re using the bagged ones, just give them a quick rinse under cold water before tossing them in the pot. It helps wash off any preservatives that might mess with our thickening sauce.
How do I prevent my apple pie filling from being too sweet?
This is where the apple choice comes into play! If you use sweeter apples like Fuji or Gala, you might want to cut back the granulated sugar by about 1 tablespoon to start. Since we recommend Granny Smith for that great tart kick, you might find the amount listed is perfect. If you taste it before it thickens and it seems too sweet, just use a little less brown sugar next time, or add an extra squeeze of lemon juice right at the end!
What is the best way to make apple pie filling without wateriness?
This is the million-dollar question! The absolute key is twofold: use the exact amount of cornstarch listed, and don’t be shy about simmering. You need that cornstarch to activate fully. Keep stirring over low heat after the initial boil until the sauce is thick enough to coat the back of a spoon completely. If you pull it too soon, you’ll end up with runny liquid pooling at the bottom of your pie dish. Trust the simmer!
Nutritional Estimate for This Fruit Filling
I always like to give folks a heads-up on the nutrition, though remember these numbers are just estimates based on the ingredients listed above. As I always say around here, these recipes are made for real life, and sometimes real life means we don’t measure out every single molecule perfectly! This estimate is based on a serving size of about half a cup of the finished filling.
If you are counting macros or watching sugar intake, keep this general guide in mind when you’re dolloping this delicious topping onto your pancakes or folding it into a crust:
- Serving Size: 1/2 cup
- Calories: 285
- Sugar: 45g (That brown sugar really adds up, doesn’t it? Worth it!)
- Sodium: 110mg
- Fat: 4g
- Saturated Fat: 2g
- Carbohydrates: 63g
- Fiber: 3g
It’s dessert, after all, but knowing what’s in your delicious, gooey apple fruit filling sure helps when planning the rest of the day!
Share Your Homemade Apple Pie Filling Creations
I really hope you try making this apple pie filling soon! Honestly, seeing what you all create in your own kitchens is the best part of my job here at Bring Dish. Taking this classic apple pie base recipe and adapting it for your family pies, or maybe even spooning it over a slice of my creamy homemade eggnog, warms my heart.
If you loved how quick and lump-free this recipe turned out, please take a moment to leave us a star rating right below. Stars help other busy home cooks find reliable recipes, and your feedback means the world to me!
And don’t be shy—snap a picture of your finished pie or crisp and tag us on social media! I absolutely adore seeing all those perfectly spiced apple creations. Happy baking, friends. I can’t wait to hear how this simple stovetop filling made your week a little more delicious!
PrintQuick Stovetop Apple Pie Filling Recipe
Make this easy homemade apple pie filling on the stovetop in under 15 minutes. This recipe guarantees tender apples in a thick, perfectly spiced sauce, avoiding wateriness for your pies, crisps, or toppings.
- Prep Time: 10 min
- Cook Time: 13 min
- Total Time: 23 min
- Yield: About 4 cups 1x
- Category: Dessert Base
- Method: Stovetop
- Cuisine: American
- Diet: Vegetarian
Ingredients
- 6 medium apples (Granny Smith or Honeycrisp recommended)
- 3/4 cup packed brown sugar
- 1/4 cup granulated sugar
- 2 tablespoons cornstarch
- 1 teaspoon ground cinnamon
- 1/4 teaspoon ground nutmeg
- 1/4 teaspoon salt
- 2 tablespoons unsalted butter
- 1 teaspoon vanilla extract
Instructions
- Peel, core, and slice the apples into 1/4-inch thick pieces. Place them in a large saucepan.
- In a small bowl, whisk together the brown sugar, granulated sugar, cornstarch, cinnamon, nutmeg, and salt.
- Pour the sugar mixture over the apples in the saucepan. Stir gently to coat the apples evenly.
- Cook over medium heat, stirring frequently, until the sugar dissolves and the mixture begins to bubble, about 5 minutes.
- Reduce the heat to low and continue to simmer, stirring often, until the apples soften slightly and the sauce thickens to a gravy-like consistency, about 5 to 8 minutes. This step prevents wateriness.
- Remove the saucepan from the heat. Stir in the butter and vanilla extract until the butter melts completely and is incorporated into the sauce.
- Let the apple pie filling cool for at least 20 minutes before using it in a pie crust or as a topping.
Notes
- For the best texture, use a mix of tart and sweet apples. Granny Smith holds its shape well.
- To freeze this freezer friendly apple pie filling, cool it completely, then store it in an airtight, freezer-safe container for up to 6 months. Thaw overnight in the refrigerator before using.
- You can use this thick apple pie filling as a warm spice apple topping for pancakes or oatmeal.
Nutrition
- Serving Size: 1/2 cup
- Calories: 285
- Sugar: 45
- Sodium: 110
- Fat: 4
- Saturated Fat: 2
- Unsaturated Fat: 2
- Trans Fat: 0
- Carbohydrates: 63
- Fiber: 3
- Protein: 0
- Cholesterol: 8