
When you walk into a gathering, what’s the first thing that vanishes from the platter? It’s almost always the eggs! Here at Bring Dish, I’m Maya Thompson, and I believe the best food connects people. My grandmother in Chicago taught me that a recipe is a story, and some stories—like the perfect appetizer—you repeat forever. That’s why I spent so much time perfecting the ultimate, fuss-free recipe for classic deviled eggs. Trust me, the secrets in this recipe guarantee something reliably creamy, perfectly balanced, and guaranteed to be the first thing gone when you set them out. Forget grainy fillings or sad, green-tinged yolks. We’re aiming for sheer appetizer perfection.
- Why This Is The Best Recipe for Classic Deviled Eggs
- Gathering Ingredients for Your Classic Deviled Eggs
- How to Make Perfect Classic Deviled Eggs: Step-by-Step
- Tips for the Ultimate Creamy Classic Deviled Eggs
- Presentation Ideas for Classic Party Snacks
- Make Ahead Appetizers: Storing Your Classic Deviled Eggs
- Variations on the Traditional Appetizer Recipe
- Estimated Nutrition for Classic Deviled Eggs
- Share Your Simple Deviled Egg Preparation Success
Why This Is The Best Recipe for Classic Deviled Eggs
When you’re hosting, you need appetizers you can count on. This isn’t just another recipe; it’s my method to ensure success every single time. I learned early on that people don’t want surprises in their egg filling—they want that familiar, comforting, classic taste. That’s why so many people tell me they stick to my recipe when looking for the creamy deviled eggs recipe.
- We nail the perfectly smooth filling; no gritty texture allowed!
- The hard-boiling method is foolproof, which means absolutely no frustrating, ugly grey rings around your yolks.
- It delivers that essential, slightly tangy yolk filling that separates this from bland versions.
If you’re looking for the definitive creamy deviled eggs recipe that disappears at every party, you’ve landed in the right spot. Everyone starts asking for my recipe after tasting these appetizers!
Gathering Ingredients for Your Classic Deviled Eggs
For the best classic deviled eggs, we stick to the basics—that’s where the magic happens! You will need a dozen large eggs, of course. Then, for that signature tang, grab half a cup of rich mayonnaise, about two teaspoons of sharp Dijon mustard, and just one teaspoon of plain white vinegar. Don’t forget the salt and pepper to sharpen those flavors. We keep things extremely traditional here, relying on a simple dusting of paprika when we get to the finish line. You can check out a full breakdown of what you’ll need over at that super easy classic deviled eggs guide for reference, but honestly, having these simple items ready is half the battle!
How to Make Perfect Classic Deviled Eggs: Step-by-Step
Okay, this is where we turn simple boiled eggs into the crowd-pleasing wonder everyone expects. Mastering how to make perfect deviled eggs really just depends on nailing two key moments: the cooking and the mixing. If you follow my time-tested process here, I promise you’ll end up piping out beautiful, restaurant-worthy appetizers. We’re moving from the stovetop right into the mixing bowl to get that signature smooth finish that people always comment on. Before we dive in, remember that good technique is key, much like when I make my easy homemade chocolate syrup recipe—precision matters!
Foolproof Hard-Boiling and Peeling for Classic Deviled Eggs
This trick is the reason I never see those yucky green-grey rings! Put your 12 eggs in a saucepan and cover them completely with cold water—that’s step one. Bring the water to a full, rolling boil over high heat. The second it hits that boil, kill the heat entirely, put the lid on tight, and let them stand there for exactly 12 minutes. Don’t peek! Once the timer goes off, you need to shock them immediately. Drain the hot water and dump them straight into an ice bath. Letting them sit in that icy water for about 15 minutes completely stops the cooking process. This stops the sulfur from reacting with the iron in the yolk, which is what causes those ugly rings. Once cool, peel them gently; they generally pop right off now!
Achieving the Creamy Yolk Filling for Classic Deviled Eggs
After slicing your whites in half and scooping those beautiful golden yolks into a bowl, grab a fork and mash them hard. I mean really mash them until they look like fine dust. If you try to mix in the mayo when there are still big lumps, you’ll end up needing a hand mixer, and we are keeping this easy homemade deviled eggs prep simple! Once they’re super fine, add in the mayonnaise, Dijon, vinegar, salt, and pepper. Mix everything until there are absolutely no clumps left—we want that smooth, spreadable texture. Always taste here! A little extra dash of salt or even a splash of pickle juice can really boost that tangy yolk filling, so don’t be afraid to adjust it before you pipe it back in. See the full methodology over at this chef-approved guide if you want to geek out on egg science!
Tips for the Ultimate Creamy Classic Deviled Eggs
We’ve mastered the boil and the mash, but to turn this into the truly creamy deviled eggs recipe everyone craves, a couple of pro moves make all the difference. If you want that silky smooth, almost whipped texture, that fine mashing from before is step one. But here’s my real secret weapon: if, after mashing with a fork, you still see little pockets that won’t break down, press the entire yolk mixture through a fine-mesh sieve directly into a clean bowl. Yep, it adds a dirty dish, but wow, the payoff is worth it!
I learned this the hard way when I tried serving these at my cousin’s wedding shower. The filling was good, but it was just a *little* chunky, and one of the more discerning relatives mentioned they preferred “a more refined texture.” Oops! Lesson learned—refined texture means perfect smoothness. Once it’s through the sieve, stirring in the mayo and mustard becomes effortless, creating the perfect final texture. This trick is a game-changer for anyone serious about the best potluck appetizers. For more ideas on texture, you might check out how I get my ultimate creamy mashed potatoes so fluffy!
Also, a quick whisper about spice: don’t skip tasting the filling before you pipe it! It needs bright acidity to cut through the richness of the yolk and mayo. If it tastes flat, add another tiny splash of vinegar or a pinch more salt. You can find more presentation inspiration for these amazing crowd-pleasing egg bites too!
Presentation Ideas for Classic Party Snacks
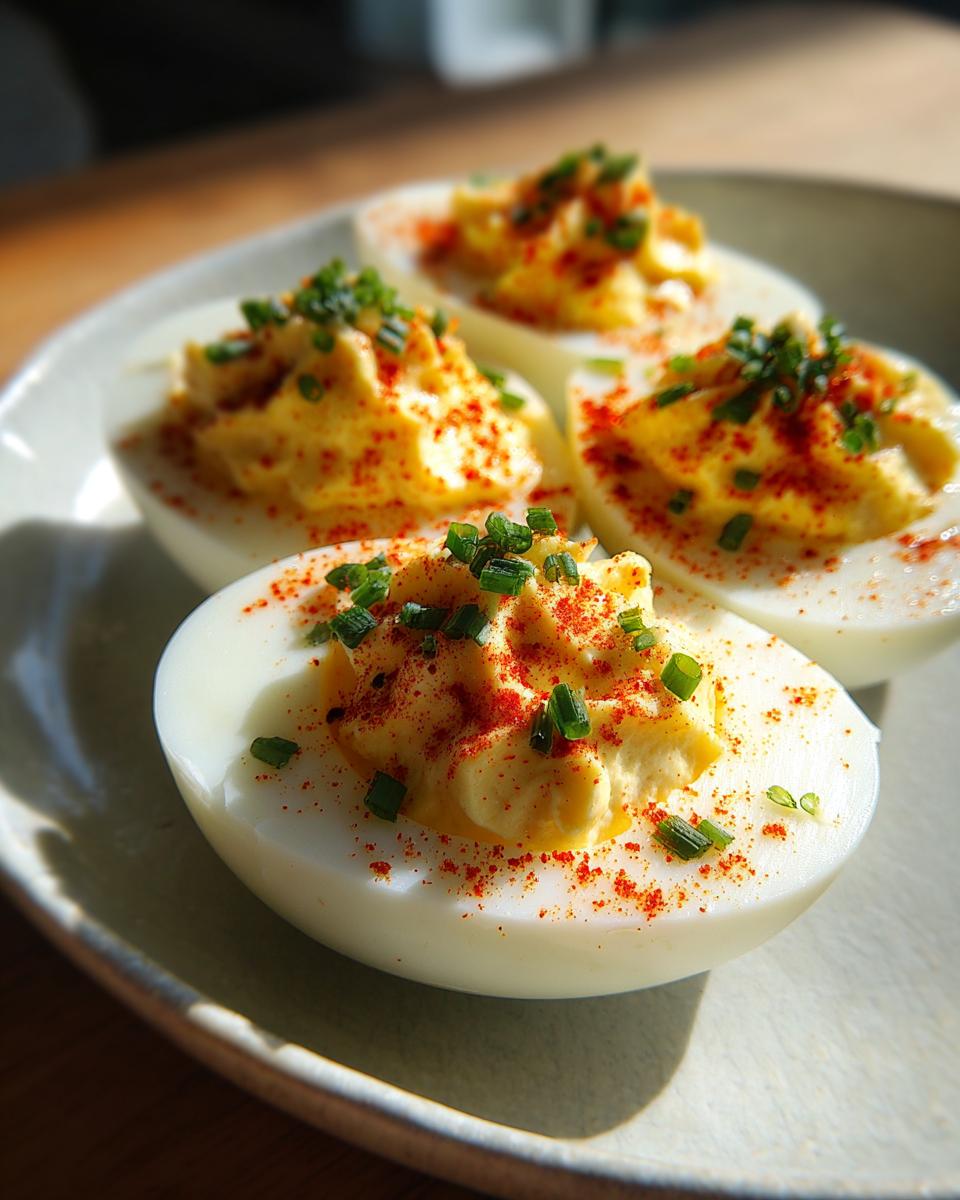
We’ve done the hard work getting that filling perfectly smooth and tangy, but let’s be honest—we eat with our eyes first, right? Making your classic deviled eggs look as good as they taste is what elevates them from simple snacks to absolute showstoppers at any gathering. How you get that filling back in the white really matters for presentation! You can certainly use two spoons for a rustic, mounded look, and that’s perfectly fine for a casual family lunch. But if you’re bringing these to a big event or celebrating a holiday, you absolutely need to pipe them.
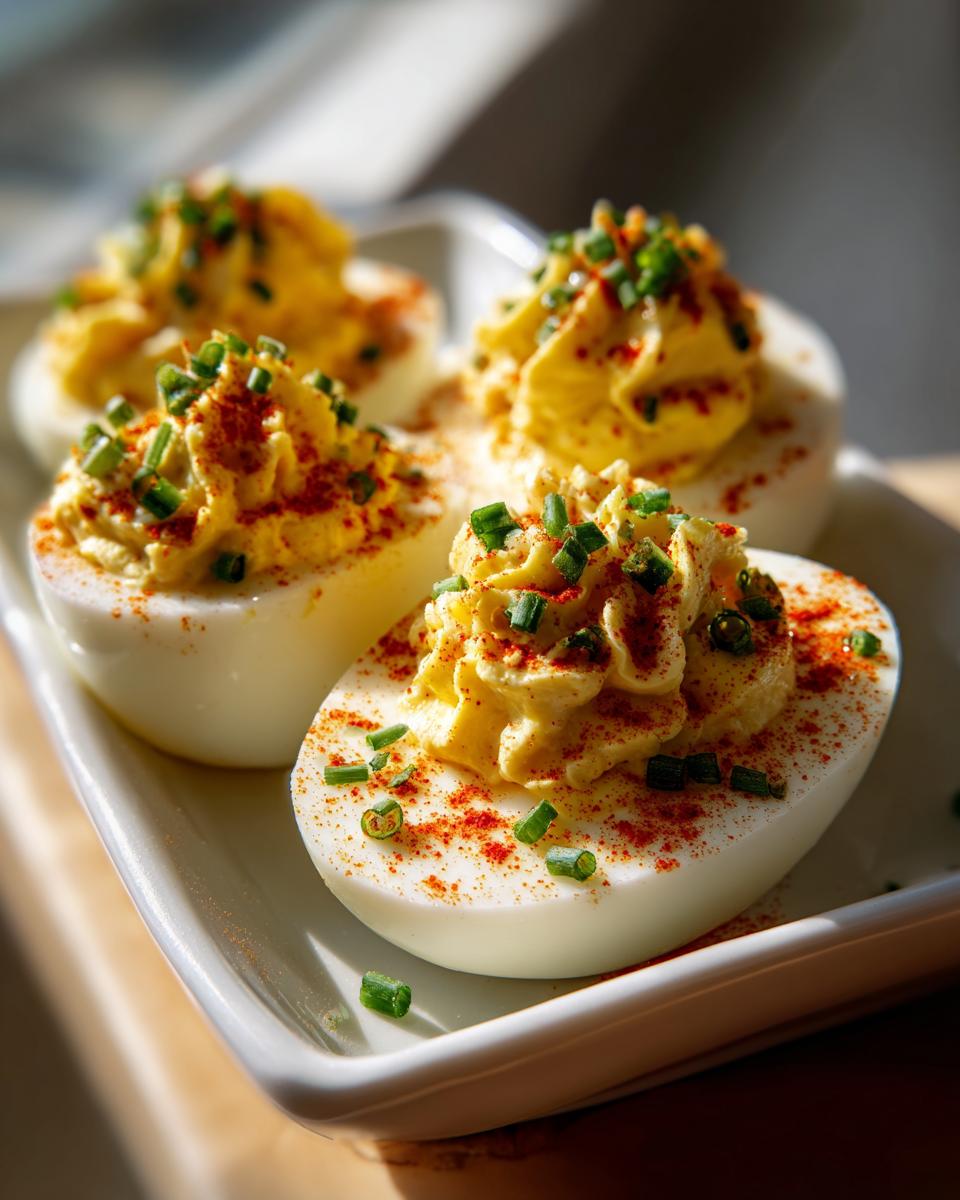
If you have a piping bag—even just a sturdy Ziploc bag with the corner snipped off—it makes such a difference. Fill the bag with your creamy mixture and pipe a little swirl right into the egg white cups. It instantly turns them into refined, classic party snacks. My favorite is cutting the tip so that the filling comes out with a star shape; that texture catches the light beautifully.
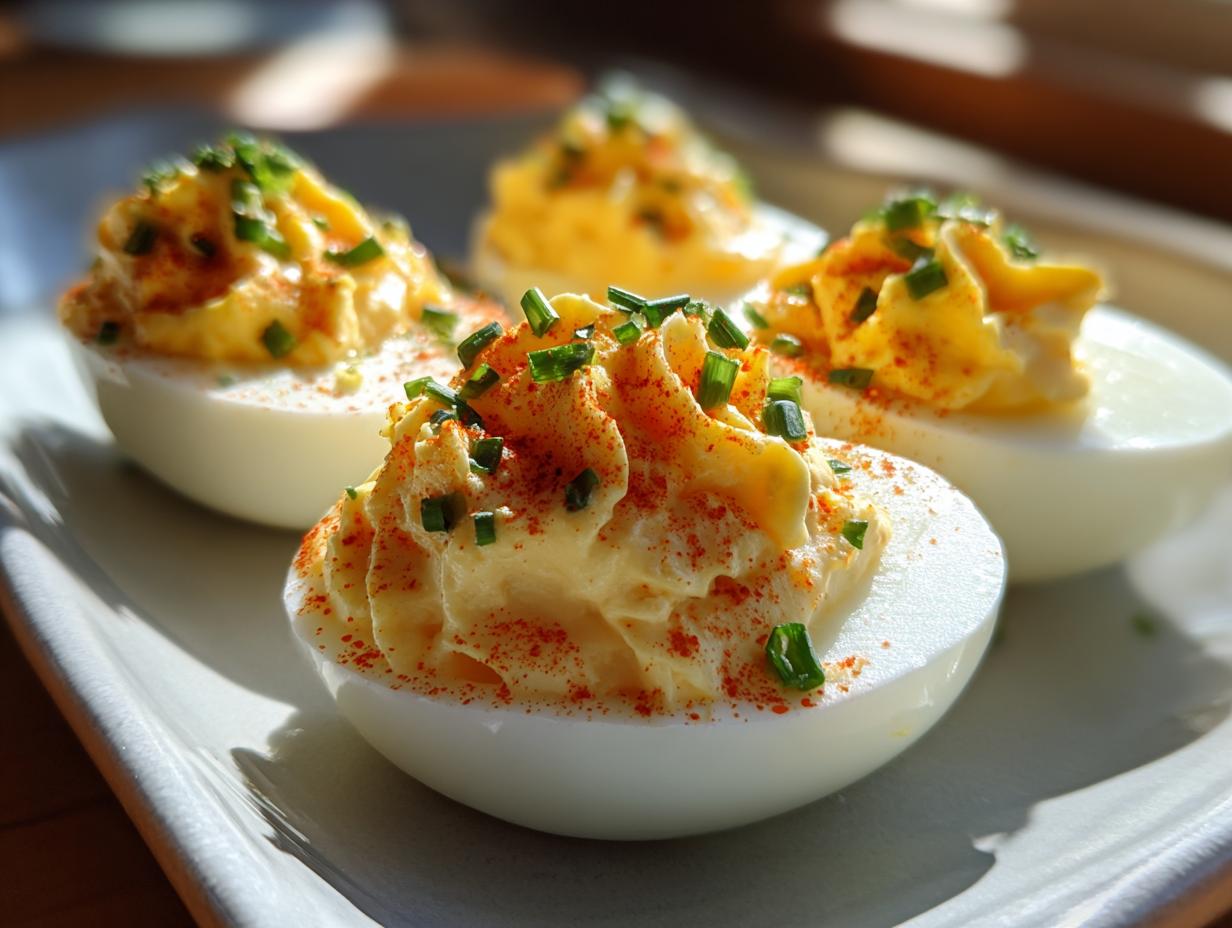
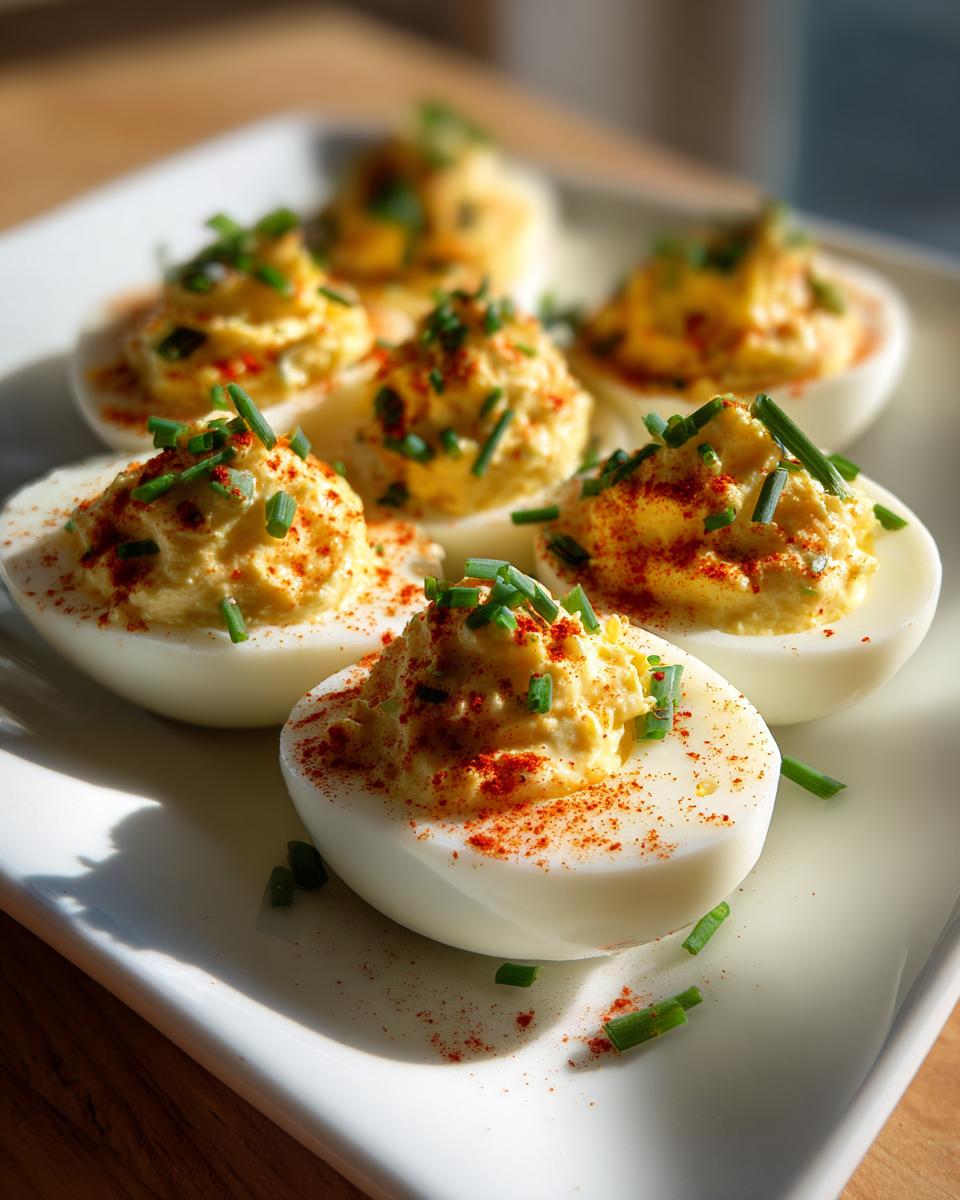
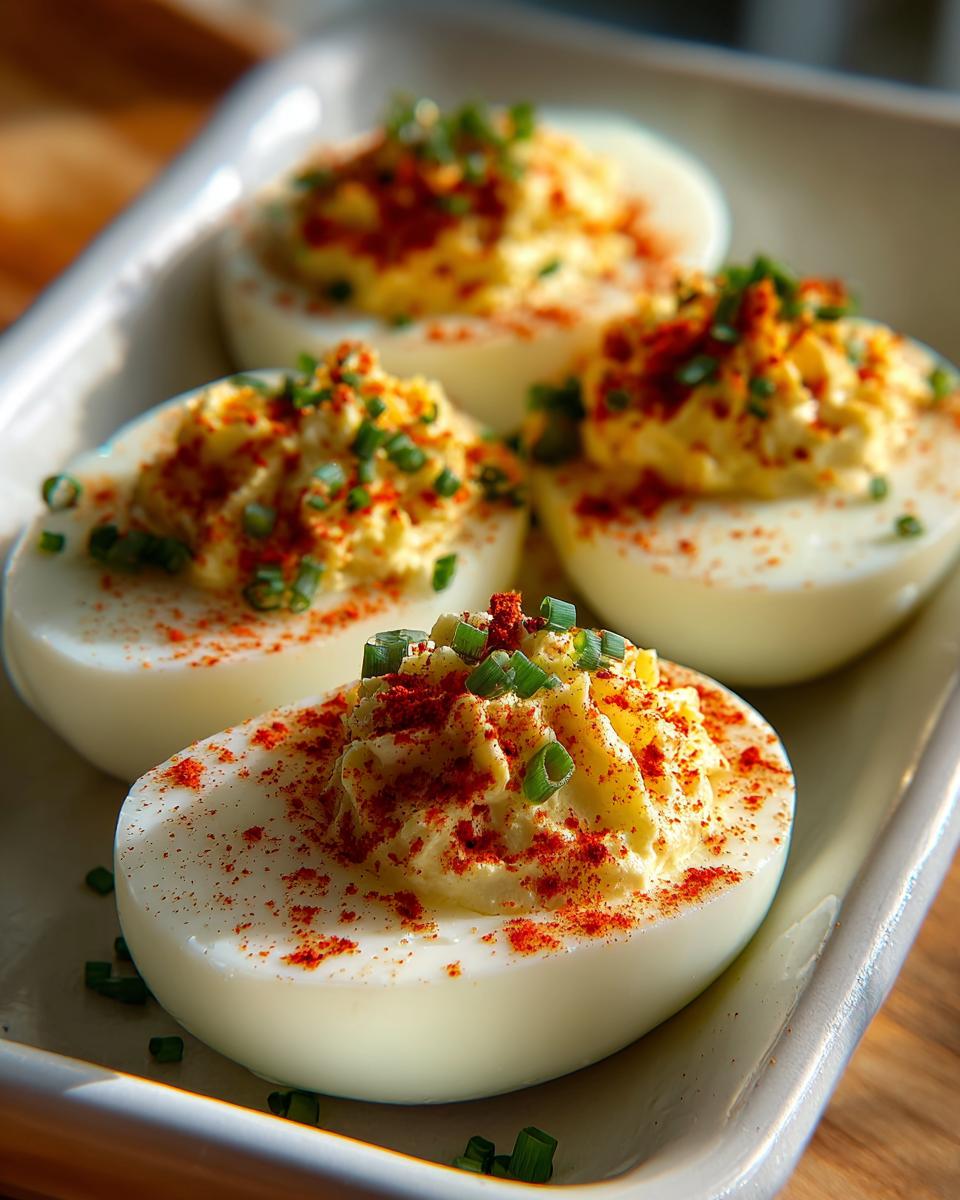
Now let’s talk finishing touches because the garnish is non-negotiable! The classic look always features a dusting of bright red paprika right over the top. It adds that pop of color we associate with this traditional appetizer recipe. If you want to step it up—and I highly recommend this for Easter or Mother’s Day—sprinkle on some finely chopped fresh chives. They add a lovely, subtle oniony counterpoint to the richness. You can find some really fun visual inspiration for topping ideas over at The Wooden Skillet if you want to see what else works well!
If you’re looking for other amazing, easy-to-present appetizers, you should take a peek at my recipe for cookie butter cheesecake cups. They’re simple, but they look like you slaved all day!
Make Ahead Appetizers: Storing Your Classic Deviled Eggs
Entertaining is always easier when you can get something done the day before, right? Absolutely! These genuinely are fantastic make ahead appetizers, but you have to be smart about how you store them. If you assemble the whole thing and then try to store them overnight, the whites sometimes get a little damp, and the filling can dry out or absorb fridge smells. So, I developed a system my family uses every single holiday.
Here’s the deal: You can boil and peel your eggs up to two days ahead of time. Keep those plain egg white halves in an airtight container in the fridge. Then, mix up your creamy yolk filling—keep that in a separate, sealed container. Store the filling in the fridge, too. When it’s time for the party, just mix the filling one last time to make sure it’s still smooth, spoon it back into the whites, garnish, and serve! This keeps everything tasting fresh. If you love prepping energy snacks ahead of time, you should check out my recipe for quick protein balls—same principle, different snack!
Variations on the Traditional Appetizer Recipe
While I preach sticking to the core recipe for true classic deviled eggs, I totally get that sometimes you want to tweak things just a bit to personalize them for your crowd. We’re not talking about adding bacon jam or capers here—we’re sticking to simple, time-tested additions that keep these firmly rooted in the traditional appetizer recipe category. My grandmother used to call these ‘optional enhancements,’ meaning they were only used if the neighbors requested them!
The easiest way to switch things up is with your acid. That splash of white vinegar provides a clean bite, but if you’re a fan of that slightly sweeter/sour punch, substitute the vinegar entirely with pickle juice. You should use the juice from jars of sweet pickles—it makes the filling just a little brighter and adds a fantastic flavor burst. If you prefer savory heat over that sweetness, try adding just two small dashes of your favorite vinegary hot sauce right into the yolk mixture. Not enough to make them spicy, just enough to give them a little kick!
Another super straightforward change involves texture. If you want an extra little *something* without messing up the creamy base, stir in one tablespoon of finely minced sweet pickle relish. Make sure you drain that relish super well first, or it will thin out your filling too much! This is a popular Southern Style modification, according to folks over at Mommy of Many Hats. It gives you a nice textural surprise against the smooth yolk. These little tweaks are great for bringing something new to the table while still feeling totally familiar. If you want to practice with pickling things in general, check out my recipe for quick pickled carrots—it’s all about that bright vinegar flavor!
Estimated Nutrition for Classic Deviled Eggs
Now, I know when you’re making huge platters of classic party snacks, you aren’t usually counting calories, but sometimes it’s helpful to know what you’re putting out there! Based on the ingredients list for 12 eggs yielding 24 halves, here is the breakdown per serving (two halves). Please remember that these are just estimates based on standard pantry items; your actual results might vary slightly depending on the brand of mayonnaise or mustard you use. It’s just a guideline so you can brag about how wholesome these crowd pleasing egg bites are!
- Calories: 90
- Fat: 8g
- Carbohydrates: 0.5g
- Protein: 3g
- Cholesterol: 95mg
See? Not bad at all for such a satisfying appetizer! These are certainly a better choice than a lot of those heavily processed classic party snacks you find in the freezer aisle, and they’re made with ingredients you recognize.
Share Your Simple Deviled Egg Preparation Success
Now that you’ve seen how straightforward this is, I truly want to know how your batch of classic deviled eggs turned out! Did the 12-minute soak time give you flawlessly smooth yolks? Did you decide to pipe them for that elegant look? Please take a moment to leave a rating right below this section. The community here loves seeing pictures and hearing success stories from the kitchen. Your feedback helps everyone gain confidence in making these incredible crowd pleasing egg bites. Also, I’m still curious: What is your absolute favorite garnish for these eggs?
If you ever have questions or want to share other simple deviled egg preparation stories, don’t hesitate to reach out via my contact page! If you are looking for other crowd-pleasing recipes, check out what my friends are making over at Downshiftology.
PrintThe Best Creamy Classic Deviled Eggs

Master this timeless appetizer with a recipe that yields a perfectly smooth, tangy yolk filling every time. These are the ultimate crowd-pleasing egg bites for any gathering.
- Prep Time: 20 min
- Cook Time: 15 min
- Total Time: 35 min
- Yield: 24 halves (12 servings) 1x
- Category: Appetizer
- Method: Boiling and Mixing
- Cuisine: American
- Diet: Vegetarian
Ingredients
- 12 large eggs
- 1/2 cup mayonnaise
- 2 teaspoons Dijon mustard
- 1 teaspoon white vinegar
- 1/4 teaspoon salt
- 1/4 teaspoon black pepper
- Paprika, for garnish
- 1 tablespoon chopped fresh chives, for garnish (optional)
Instructions
- Place the eggs in a saucepan and cover them completely with cold water. Bring the water to a full, rolling boil over high heat.
- Once boiling, immediately remove the pan from the heat, cover it, and let the eggs stand for exactly 12 minutes. This helps prevent grey rings.
- Drain the hot water and immediately cover the eggs with ice water to stop the cooking process. Let them cool completely, about 15 minutes.
- Peel the cooled eggs. Slice each egg in half lengthwise. Gently scoop the yolks into a medium bowl. Place the egg white halves on a serving platter.
- Use a fork to mash the egg yolks until they are completely fine and crumbly. This step is key for a smooth filling.
- Add the mayonnaise, Dijon mustard, white vinegar, salt, and pepper to the mashed yolks. Mix thoroughly until the filling is perfectly smooth and creamy. Taste and adjust seasoning if needed.
- Spoon or pipe the yolk mixture back into the hollows of the egg white halves. For a professional look, use a piping bag fitted with a star tip.
- Garnish each deviled egg with a light sprinkle of paprika and a few chopped chives, if using.
- Chill the deviled eggs for at least 30 minutes before serving to allow the flavors to set.
Notes
- For the smoothest filling, press the mashed yolks through a fine-mesh sieve before mixing in the wet ingredients.
- You can boil and peel the eggs up to two days in advance. Store the peeled whites and the yolk mixture separately in airtight containers in the refrigerator. Assemble just before serving.
- If you prefer a tangier flavor, substitute the white vinegar with pickle juice from jarred sweet pickles.
Nutrition
- Serving Size: 2 halves
- Calories: 90
- Sugar: 0.5
- Sodium: 120
- Fat: 8
- Saturated Fat: 2
- Unsaturated Fat: 6
- Trans Fat: 0
- Carbohydrates: 0.5
- Fiber: 0
- Protein: 3
- Cholesterol: 95