
When the afternoon slump hits, or you finish a tough workout, the last thing you want is to wrestle with an oven or complicated steps. You just need good, clean fuel immediately. That’s why I love bringing my energy back with these protein balls! Drawing on everything I learned while balancing corporate life and my grandmother’s kitchen wisdom, I designed this recipe to be ridiculously fast and satisfying. These are the ultimate no-bake solution when you need something quick, healthy, and honestly delicious. If you love these, you should check out my recipe for easy no-bake protein bars! Forget recipes that take hours; we’re making real food that fits your busy schedule right here at Bring Dish.
- Why These Are the Best No Bake Protein Balls You Will Make
- Gathering Ingredients for Your Easy Protein Ball Recipe
- How to Prepare Ultimate No Bake Protein Balls
- Expert Tips for Perfect Protein Balls Every Time
- Serving Suggestions for Post Workout Fuel Bites
- Storage and Make Ahead Protein Balls
- Frequently Asked Questions About Protein Balls
- Nutritional Estimates for These Protein Balls
- Share Your Favorite Protein Balls Creations
Why These Are the Best No Bake Protein Balls You Will Make
I’ve tried a million different snack concoctions over the years—some were overly sweet, some tasted like chalk, and others fell apart if you looked at them wrong. Trust me when I say this recipe is the keeper. It’s my response to those crazy deadlines when I needed real fuel, not just empty carbs. These healthy snack balls are truly the complete package for anyone running on a tight schedule.
- They satisfy that sweet tooth without any guilt!
- They are incredibly nutrient-dense and packed with clean energy.
- They turn into perfect, firm grab and go healthy snacks after a quick chill.
- They are so easy to customize once you get the base down.
I developed these with real life in mind—the goal was always satisfaction packed into a tiny, portable bite. If you’re planning ahead for the week, these are your new best friend! You can find more ideas like this when you look at my guide on make ahead healthy snacks.
Quick Protein Snacks Ready in Minutes
Seriously, this is the fastest recipe coming out of my kitchen. We are talking 10 minutes, tops, before they even hit the fridge. Since there is no baking involved, you skip the whole preheat, bake, and cool-down drama. You grab your ingredients, pulse them a few times in the food processor, and bam—you’ve got a snack base ready to go. It proves that quick protein snacks don’t have to taste manufactured.
Perfect for Meal Prep Protein Balls
This is where they really shine! I make a double batch every Sunday. Keeping these meal prep protein balls in the fridge means I have immediate post-workout fuel or an emergency afternoon snack ready to go straight out of the container. They hold their shape beautifully, provided you don’t skimp on that chilling time I mention later. They make sticking to a healthy plan so much easier when the option is right there waiting for you!
Gathering Ingredients for Your Easy Protein Ball Recipe
When I first started playing around with easy protein ball recipe ideas, I kept running into specialty ingredients I’d have to drive all over town for. That defeats the purpose when you need a quick snack, right? My goal here was to keep the ingredient list short and sweet, relying on staples you probably already have. These ingredients work together perfectly because the peanut butter acts as the binder, while the oats give us structure and fiber.
We are only using seven core components (plus the optional add-in!), which means less decision fatigue when you’re rushing out the door. Remember, the quality of these simple items really shines through since there’s no baking to mask anything!
Ingredient Specifications and Notes
For this recipe to work its magic, a few notes on the essentials will really help you nail the texture on your first try. First, I strongly suggest using a good quality vanilla protein powder—it blends perfectly with the chocolate peanut butter flavor profile we are going for here. If you want to explore making your own fudgy additions, check out my recipe for easy homemade chocolate syrup later!
The almond milk is your secret texture adjuster. It’s only used if the mixture is too dry to roll, so add it slowly, one tablespoon at a time. Don’t be afraid of the chocolate chips—they are optional, but honestly, why would you skip them? They give you those little pockets of sweetness that make eating healthy feel like a treat.
- 1 cup rolled oats
- 1/2 cup chocolate peanut butter (or creamy peanut butter plus a splash of cocoa powder if you prefer!)
- 1/4 cup vanilla protein powder
- 2 tablespoons honey or maple syrup (depending on if you need vegan)
- 1 tablespoon chia seeds
- 1 teaspoon vanilla extract
- 2-4 tablespoons almond milk (keep this handy but add slowly!)
- 1/4 cup mini chocolate chips (optional, but highly recommended!)
How to Prepare Ultimate No Bake Protein Balls
Alright, let’s get these made! Since we are skipping the oven entirely, the process is super efficient. The key to getting that fantastic texture is using the food processor correctly—it helps break down the oats just enough so the balls hold together without being grainy. These steps are simple, but following them ensures you get the perfect texture for your protein balls every single time. If you’re after even more quick bites, check out my guide on easy homemade energy balls for subtle variations!
Mixing the Dough for Perfect Protein Balls
First things first, we need to prep the dry base. Toss your rolled oats, protein powder, and chia seeds right into the food processor bowl. You need to pulse this mixture a few times—don’t just turn it on! Pulsing breaks the oats down into a coarse flour consistency, which is crucial for binding without making the whole dough tough. Once they look finely ground, add in the chocolate peanut butter, the honey (or maple syrup), and that teaspoon of vanilla extract.
Process everything until you see it start clumping together into a sticky mass. This is the moment where confusion sometimes strikes! If the mixture looks crumbly and won’t stick when you squeeze a bit between your fingers, that means it’s too dry. Now, carefully add that almond milk, tablespoon by tablespoon, processing briefly after each addition until the dough is workable. Stop adding milk the second it starts holding shape in the processor!
Rolling and Chilling Your Healthy Snack Balls
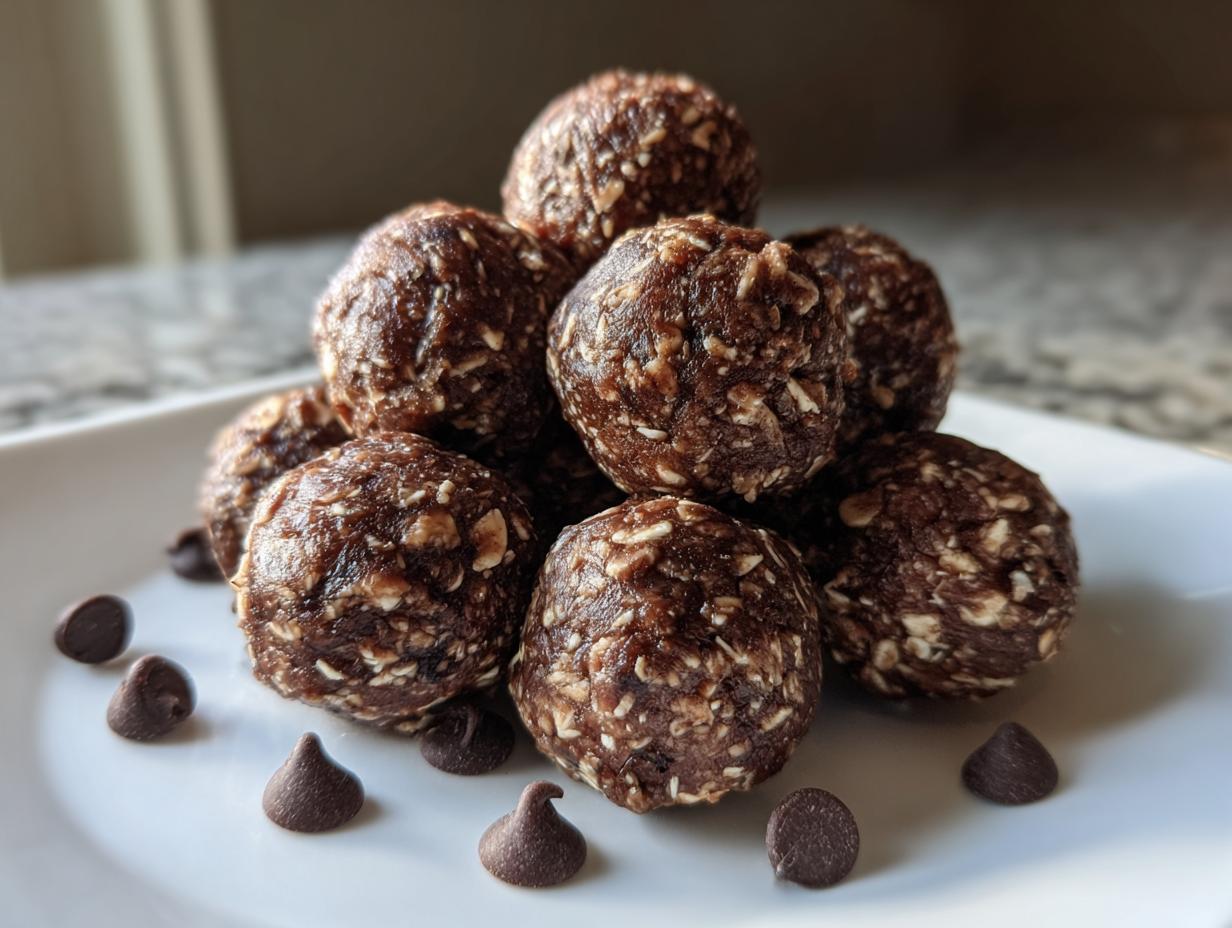
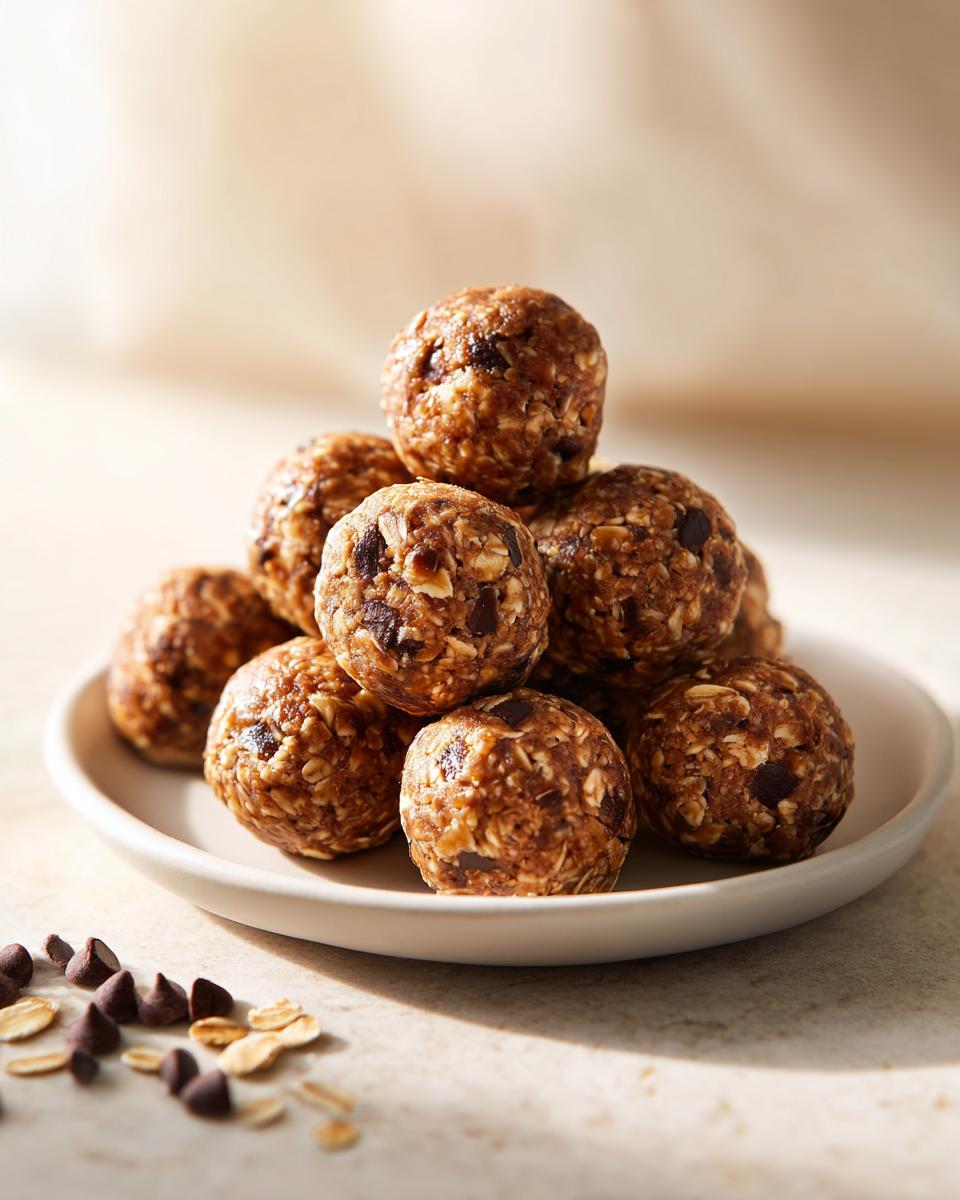
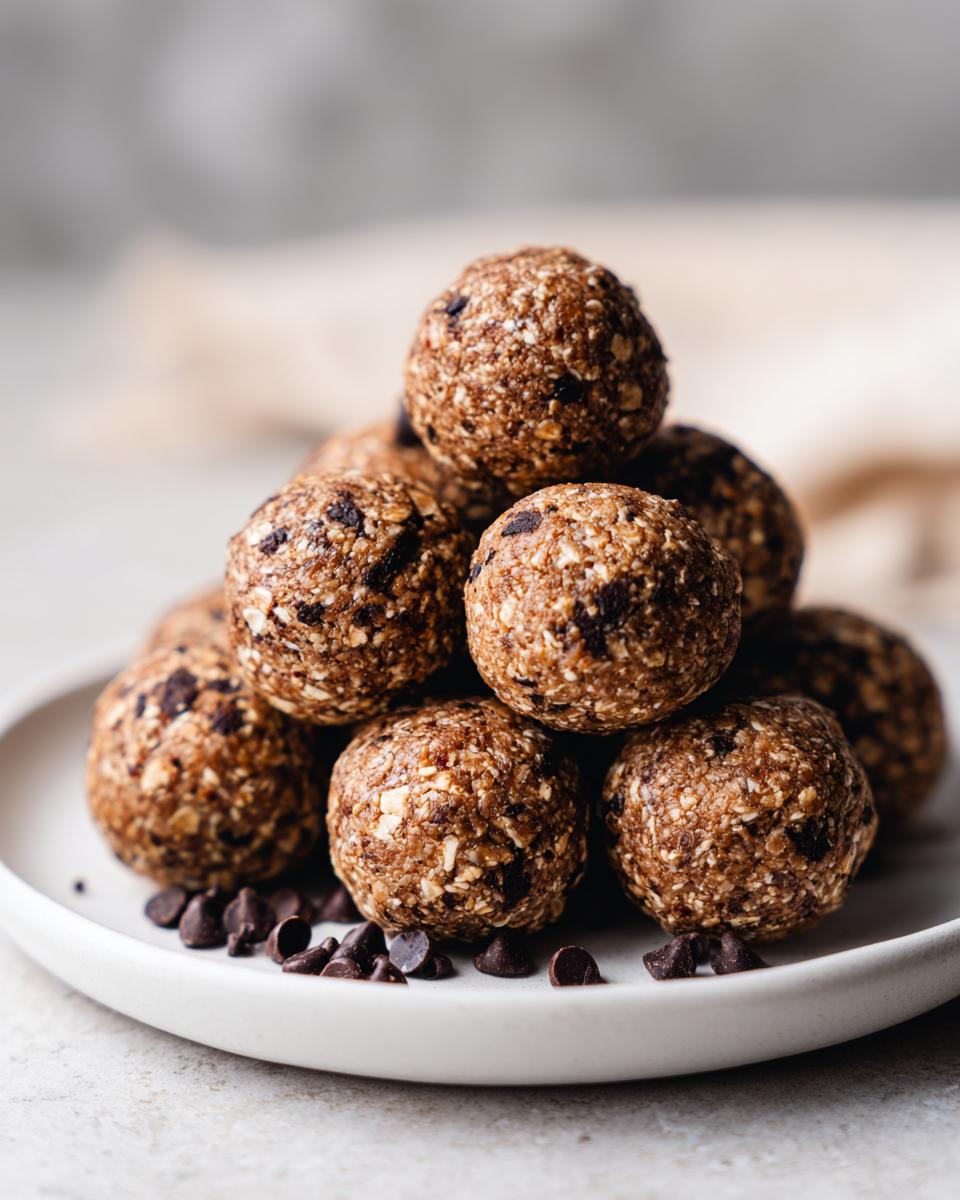
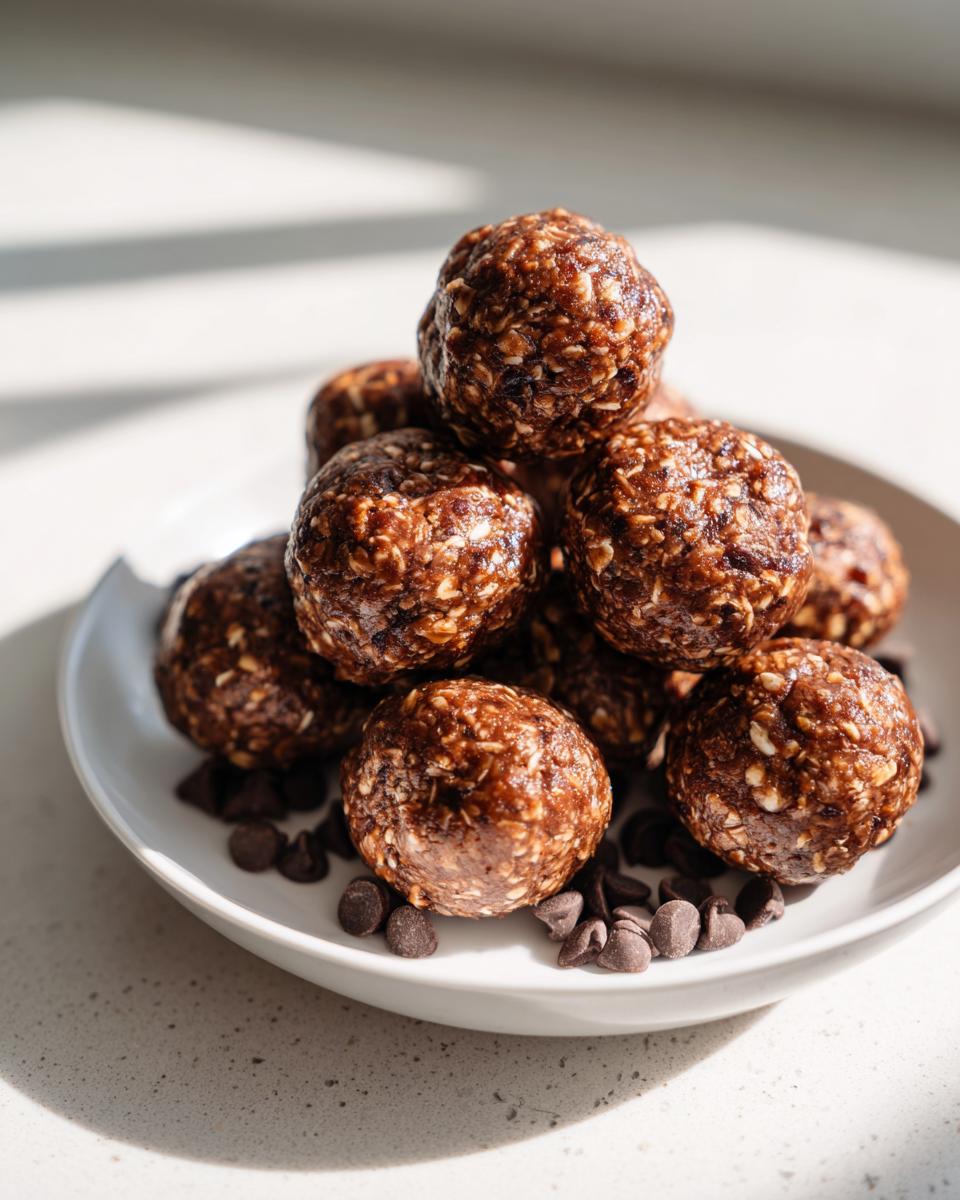
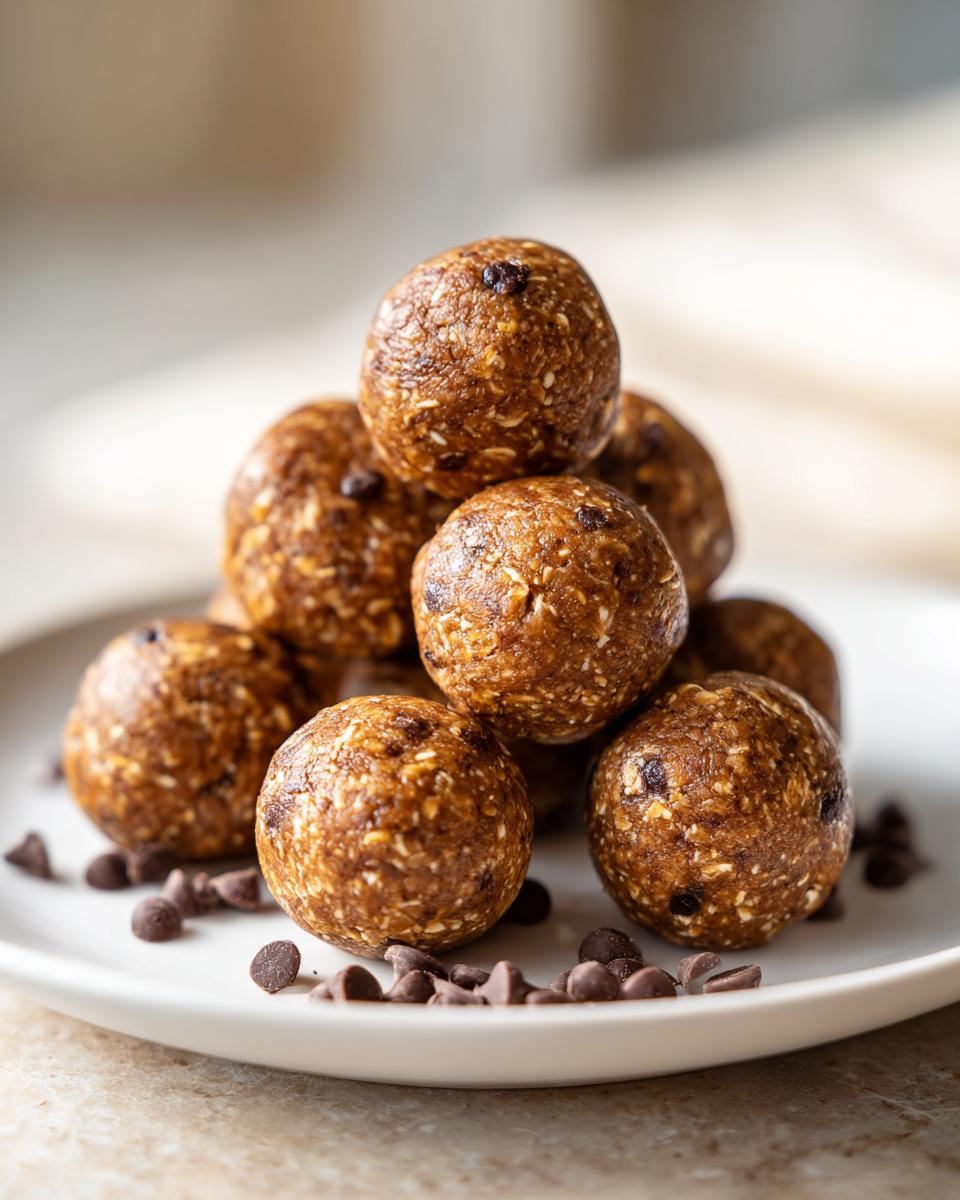
Once the dough is just right—sticky but manageable—take it out. If you decided to use those mini chocolate chips, gently fold them in by hand now. You want to avoid overworking the dough once the chips are in. Scoop out portions using a small cookie scoop or just a teaspoon, and roll them firmly between your palms to form balls about one inch across. Don’t press too hard, though; we want them tender!
Line a tray or plate with parchment paper—this prevents any accidental sticking! Lay your beautiful, finished healthy snack balls out onto the tray. Now, the hardest part: chilling! These must go into the refrigerator for at least 30 minutes. This time is essential because it allows the oats and seeds to absorb any remaining moisture and firm up properly. If you try to eat them before that, they might be a little too squishy!
Expert Tips for Perfect Protein Balls Every Time
Even the simplest recipes can go sideways if you don’t know a few little chef secrets. Since I’ve been perfecting these protein balls for years—especially when I was trying to slash sugar content—I have a few key pieces of advice to make sure your results are always firm, flavorful, and ready when you need them.
The beauty of this base recipe is how adaptable it is. Think of it as your ultimate canvas for healthy snacking. If you want to stay on the clean eating path but need a flavor shake-up, you can easily swap things around. For extra inspiration, you can check out my related post on sugar free protein balls for a deep dive into sweeteners!
Customizing Your High Protein No Bake Treats
Swapping nut butters is the easiest way to change things up. If you’re tired of peanut butter, use almond butter or even sunflower seed butter if there are allergies in the house. It changes the flavor profile completely! You can also play with your protein powder—if you switch from vanilla to chocolate protein powder, you’ll end up with a rich, darker bite that’s amazing.
Want more texture and an omega boost? Toss in some flax seeds or hemp hearts along with the chia seeds. If you want a little warming spice, a tiny dash of cinnamon when you pulse the dry ingredients makes these high protein no bake treats taste almost like cookie dough. The possibilities for these portable energy bites are endless, so don’t be afraid to experiment once you’ve mastered the base recipe!
Serving Suggestions for Post Workout Fuel Bites
So, you have your batch of perfectly chilled protein balls ready to go—fantastic! Now, how do you best enjoy them? I primarily rely on these as post workout fuel bites because they hit that perfect balance of satisfying hunger and delivering quick protein for recovery. They are absolutely my favorite way to incorporate clean eating energy boosters into a hectic schedule.
They are seriously delicious right out of the fridge, but they are also great alongside a hot cup of coffee mid-morning or chased with a big glass of water right after the gym. Because they are so convenient, you never have an excuse to reach for something less healthy when you need that quick boost. If you’re looking for a more substantial meal option after a huge workout, you might also want to check out my avocado chicken salad recipe for a fresh lunch idea!
Storage and Make Ahead Protein Balls
One of the best parts of making these, hands down, is that they are designed for your busy life. These are truly the easiest make ahead healthy snacks you can whip up! Once they are chilled for that initial 30 minutes, they firm right up and are stable enough to store beautifully. I keep mine in an airtight container right in the refrigerator. They stay deliciously fresh and perfectly chewy for up to a week—which is usually how long mine last before I have to start another batch!
If you really get ambitious and decide to double the recipe (which I highly recommend for serious meal prepping!), you can definitely freeze them. Just layer the finished balls with parchment paper between the layers in a freezer-safe container. They freeze incredibly well! When you need a quick grab-and-go snack later, just pull out what you need, and they thaw really quickly on the counter, or even in your lunch bag. It makes packing those easy lunch containers so simple when you have ready-made fuel!
Frequently Asked Questions About Protein Balls
I get a ton of questions whenever I share this recipe because everyone wants to make sure their protein balls turn out just right for their needs. Here are a few things readers ask me most often when they are trying to nail down their perfect batch of healthy snacks.
Can I make these sugar free protein balls without honey?
Absolutely! If you’re looking to avoid maple syrup or honey, you totally can. One of my favorite ways to make genuinely sugar free protein balls is by using a liquid sweetener alternative. Just a few drops of liquid stevia or monk fruit sweetener will give you the sweetness you need without adding the sugar content. Start small, though, because those are potent!
What if I don’t have a food processor for these easy homemade energy balls?
Oh, that’s an easy fix. You don’t *need* fancy equipment here! While the food processor gets those oats ground perfectly, you can definitely manage without one for these easy homemade energy balls. Just dump everything—the oats, sweetener, peanut butter, everything—into a large, sturdy mixing bowl. You’ll need a strong spoon or even your hands, but put some muscle into it! Mix until everything is thoroughly combined and forms that sticky dough. It might take a little extra elbow grease, but the results are just as delicious.
How long do these no bake energy bites last in the fridge?
That’s the best part about these! Since they are no-bake and full of good fats, they hold up really well. If you store them correctly in an airtight container, these no bake energy bites will stay perfectly fresh and ready-to-eat in the refrigerator for up to a full week. They are already my go-to for a week’s worth of grab-and-go fuel!
If you have any other questions about substitutions or need help troubleshooting a batch, feel free to reach out to me directly on the contact page. Happy rolling!
Nutritional Estimates for These Protein Balls
When we talk about making food for real life, sometimes we need a little transparency about what we’re actually eating, right? Since these protein balls are made with real, whole ingredients, the exact breakdown depends on the specific brands of protein powder or peanut butter you use. However, I ran the numbers on the base recipe, and I want to share those estimates with you so you know exactly what you’re fueling up with.
This information is designed to give you a clear picture of why these are such effective quick protein snacks. They are designed to be balanced—enough healthy fat to keep you full, and a solid hit of protein to satisfy those post-workout needs. Please remember these are estimates based on the ingredient ratios I provided; your values will vary slightly based on your choices regarding honey vs. maple syrup!
- Serving Size: 1 ball (about 1 ounce)
- Approximate Calories: 135 per ball
- Total Protein: 8g
- Total Carbohydrates: 12g (Includes 2g of Fiber)
- Total Fat: 8g (2g Saturated)
- Estimated Sugar: 6g
See? That protein count is fantastic for such a small, easy-to-eat bite! It’s a perfect, clean energy boost. I strive for that kind of nutritional honesty in every single recipe I share here at Bring Dish, making sure the food we share is both delicious and supports your healthy lifestyle goals.
Share Your Favorite Protein Balls Creations
You’ve got the recipe, you’ve got the tips, and now you’ve got a batch of delicious, homemade protein balls in your fridge—that’s an accomplishment worth celebrating! Food is all about connection for me, whether it’s the connection I feel when recreating my grandma’s recipes or the connection I feel when I hear from you about how a meal or snack fits into your life.
I truly want to know how this chocolate peanut butter combo turned out for you! Did you skip the chocolate chips, or did you throw in some coconut flakes instead? Did you use maple syrup or honey? Please, take a minute to leave a rating and share your thoughts in the comments down below. Hearing what works for your family helps me continue to create honest, accessible recipes for everyone here at Bring Dish.
If you snap a picture while you’re rolling these awesome quick protein snacks, tag us on social media! Seeing your creations makes my day and reminds me why I left the corporate world to share these moments with you. It’s all about bringing good food and great company together, and I’m so glad you’re part of this community. For more about why we focus on food that connects people, you can always read more on our About page!
PrintUltimate No-Bake Protein Balls: Quick, Healthy Meal Prep Fuel
Make these easy, no-bake protein balls for a quick, high-protein snack perfect for post-workout fuel or meal prepping grab-and-go energy bites.
- Prep Time: 10 min
- Cook Time: 0 min
- Total Time: 10 min
- Yield: 12 servings 1x
- Category: Snack
- Method: No Bake
- Cuisine: American
- Diet: Vegetarian
Ingredients
- 1 cup rolled oats
- 1/2 cup chocolate peanut butter
- 1/4 cup vanilla protein powder
- 2 tablespoons honey or maple syrup
- 1 tablespoon chia seeds
- 1 teaspoon vanilla extract
- 2–4 tablespoons almond milk (as needed for consistency)
- 1/4 cup mini chocolate chips (optional)
Instructions
- Place the rolled oats, protein powder, and chia seeds into a food processor. Pulse until the oats are finely ground.
- Add the peanut butter, honey or maple syrup, and vanilla extract to the food processor. Process until the mixture comes together and forms a sticky dough.
- If the mixture seems too dry to hold a shape, add almond milk one tablespoon at a time until the dough is workable.
- Stir in the mini chocolate chips by hand, if using.
- Scoop out the mixture and roll it between your palms to form small balls, about 1 inch in diameter.
- Place the finished protein balls on a parchment-lined plate or tray.
- Refrigerate for at least 30 minutes to firm up before serving.
- Store the finished protein balls in an airtight container in the refrigerator for up to one week.
Notes
- For a sugar free protein balls version, substitute the honey with a few drops of liquid stevia or monk fruit sweetener.
- Swap peanut butter for almond butter or sunflower seed butter for different flavors.
- If you do not have a food processor, mix all ingredients thoroughly in a large bowl using a sturdy spoon until fully combined.
- These are excellent as post workout fuel bites or healthy kid snacks.
Nutrition
- Serving Size: 1 ball
- Calories: 135
- Sugar: 6g
- Sodium: 65mg
- Fat: 8g
- Saturated Fat: 2g
- Unsaturated Fat: 6g
- Trans Fat: 0g
- Carbohydrates: 12g
- Fiber: 2g
- Protein: 8g
- Cholesterol: 0mg