
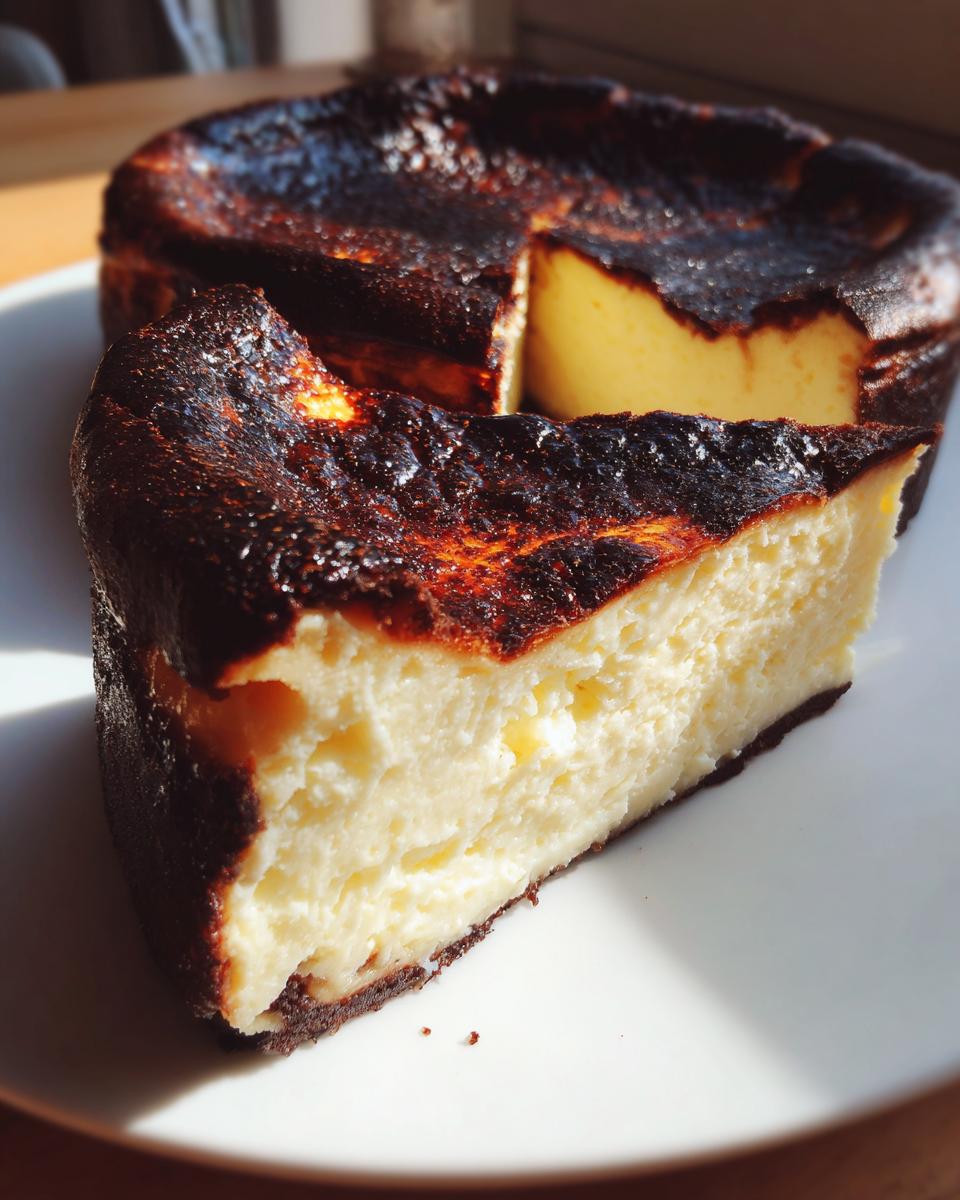
There is just something magical about food that looks like it flirted a little too long with the heat, isn’t there? That deep, smoky caramelization promises intense flavor, and let me tell you, the basque cheesecake delivers that drama without any of the actual stress. When I think about the kind of food I want to put on the table—the kind that connects everyone while feeling utterly gourmet—this is it. It’s a return to simple, joyful food preparation that I learned watching my grandmother, which is why I share so much about our approach over at our story. This is the ultimate dessert because it’s gloriously crustless, needs zero fussy water bath setup, yet gives you a beautifully burnt top covering an unbelievably creamy interior. Trust me, this Spanish dessert recipe will become your new go-to for impressing people!
- Why This is the Best Creamy Basque Cheesecake Recipe
- Gathering Ingredients for Your Basque Cheesecake
- Step-by-Step Instructions for Your Easy Basque Cheesecake
- Tips for Success with Your Homemade Cheesecake Recipe
- Variations: Making a Loaf Pan Cheesecake
- Serving Suggestions for This Elegant Cheesecake
- Storage and Reheating Instructions for Leftover Basque Cheesecake
- Frequently Asked Questions About Burnt Basque Cheesecake Recipe
- Sharing Your Experience with This Impressive Dessert
Why This is the Best Creamy Basque Cheesecake Recipe
Look, when I bring a dessert to a gathering, I want it to look like I spent hours fussing, but secretly I want it done in 15 minutes of active work. This basque cheesecake is the answer to that wish list! It’s stunning, tastes incredibly luxurious, and breaks all the old cheesecake rules. Forget chilling it overnight to avoid cracks; here, the cracks and the char are the point.
- It’s practically foolproof because we skip the messy crust entirely—hello, crustless cheesecake magic!
- No water bath required! That means no fiddling with aluminum foil or praying your springform pan doesn’t leak.
- It yields that deep, almost pudding-like texture that makes everyone ask for the recipe.
If you’ve been intimidated by classic New York style, you’ll find so much more joy in these simpler cups or this full cake.
Achieving the Signature Caramelized Top Dessert
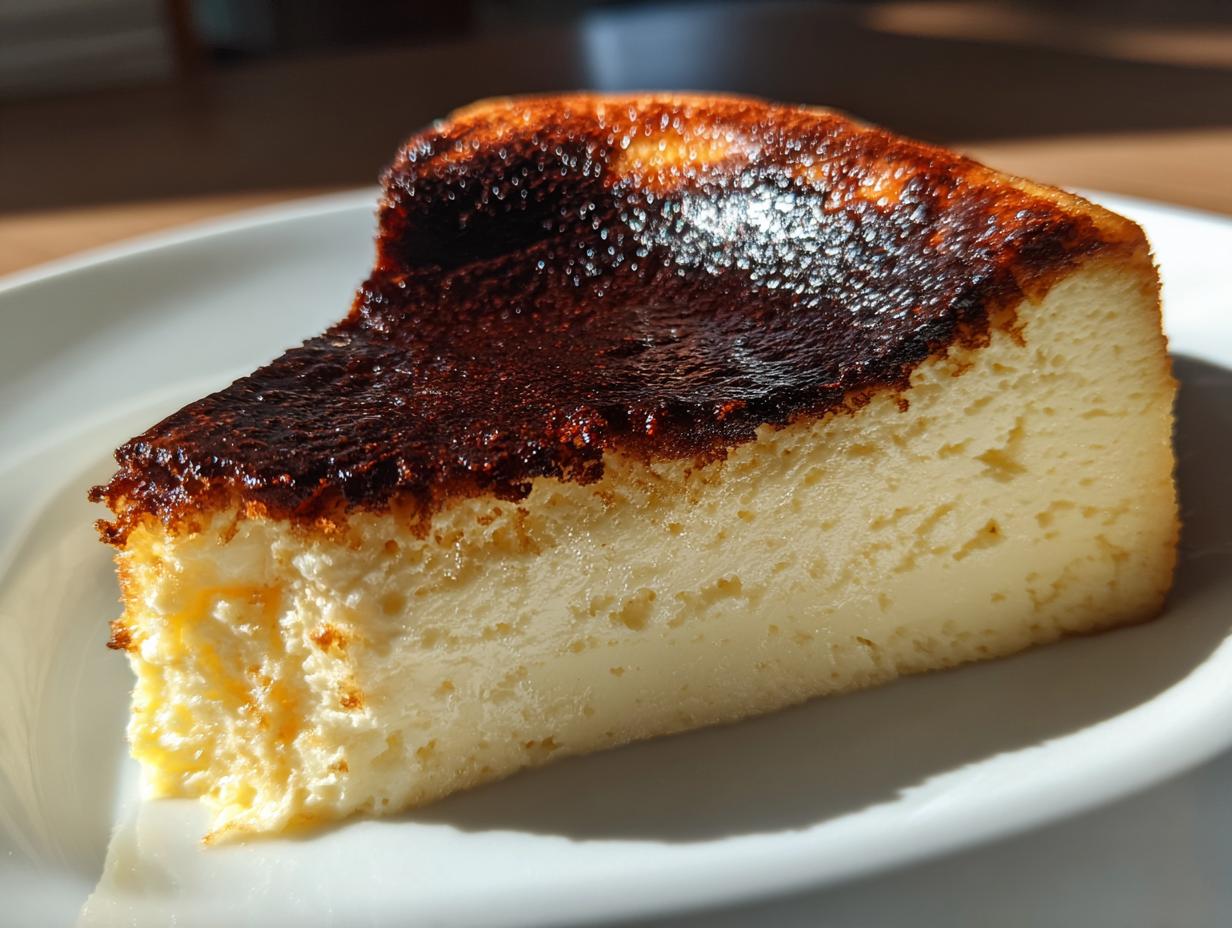
The top is where all the action is! You achieve that deeply browned, nearly black, wonderfully flavored exterior simply by cranking the heat up high. That intense heat blisters the sugar and cream on top, creating the signature look of a Caramelized Top Dessert. Don’t pull it out just because it looks a little too dark; that char is what balances the sweetness underneath. It’s intentional, and frankly, it’s the best part!
The Secret to a Truly Custardy Cheesecake Center
The key to that incredible, almost wobbly center—that famous Custardy Cheesecake Center—is twofold. First, every single ingredient must be fully softened and at room temperature. Cold cream cheese equals lumps, and we don’t want lumps! Second, once those eggs are in there, you mix gently. You are integrating, not whipping air in. Overmixing those eggs is the fastest way to create a dry, dense cake instead of the silky smooth bite we are aiming for.
Gathering Ingredients for Your Basque Cheesecake
I always tell people that the success of a basque cheesecake really hinges on respecting the ingredients before you even turn the mixer on. Because this recipe relies on such rich, simple components—there’s no flour or crust to disguise anything—you have to treat them right. The absolute non-negotiable step, which I cannot stress enough, is grabbing your cream cheese and eggs about two hours before you plan to start mixing. Room temperature ingredients blend into that beautiful, smooth batter we want, avoiding any lumps that could slow down our impressive dessert efforts!
- 900g full-fat cream cheese, softened to room temperature
- 1 1/4 cups granulated sugar
- 6 large eggs, room temperature
- 2 cups heavy cream
- 1 teaspoon vanilla extract
- 1/4 teaspoon salt
- 2 tablespoons all-purpose flour (optional, for slight structure)
Step-by-Step Instructions for Your Easy Basque Cheesecake
This is where that high heat comes into play! We are going straight for that deep caramelization, and we aren’t going to waste time with fussy steps. Remember, preparation is everything here, especially getting that parchment paper situated just right. I like to think of this cake as being beautifully relaxed. It doesn’t need perfection; it needs high heat and confidence! If you ever need an easy drizzle for the side, perhaps over some leftover slices, check out my recipe for easy homemade chocolate syrup, but for now, let’s focus on the main event.
Preparing the Pan for a Crustless Cheesecake
First things first: get your oven preheated to a whopping 400°F (200°C). Grab a 9-inch springform pan—that’s key for a perfect circle, even though we are making a crustless cheesecake. Now, the parchment paper. You’re going to need two large sheets, and you need to layer them crisscross in the pan. Really press them down into the bottom and sides. It’s okay if the paper sticks up way over the rim; that high, crinkly edge is part of what gives this basque cheesecake that gorgeous, rustic look when it’s done. Don’t try to smooth it out too much; the texture of the paper transfers to the sides of the cake!
Mixing the Creamy Cheesecake Batter Correctly
Take your smooth, room-temperature cream cheese and beat it until it’s velvety soft. Then, slowly stream in your sugar and mix until everything looks creamy. Here’s the crucial moment for that smooth texture: add your eggs one at a time. You want each one just incorporated before you add the next. Once the eggs are in, you stop whipping it hard! You’re just folding things in gently from here on out. Slowly pour in the heavy cream, vanilla, and salt. If you’re using that optional flour, sift it on top now and mix on the lowest speed until you see a uniform batter. If you overbeat after the eggs go in, you risk incorporating too much air, and you won’t get that desirable, heavy, custardy cheesecake center.
Pour that beautiful batter right into your lined pan—it should look about three-quarters full. Now, into that hot oven it goes for 50 to 60 minutes!
Tips for Success with Your Homemade Cheesecake Recipe
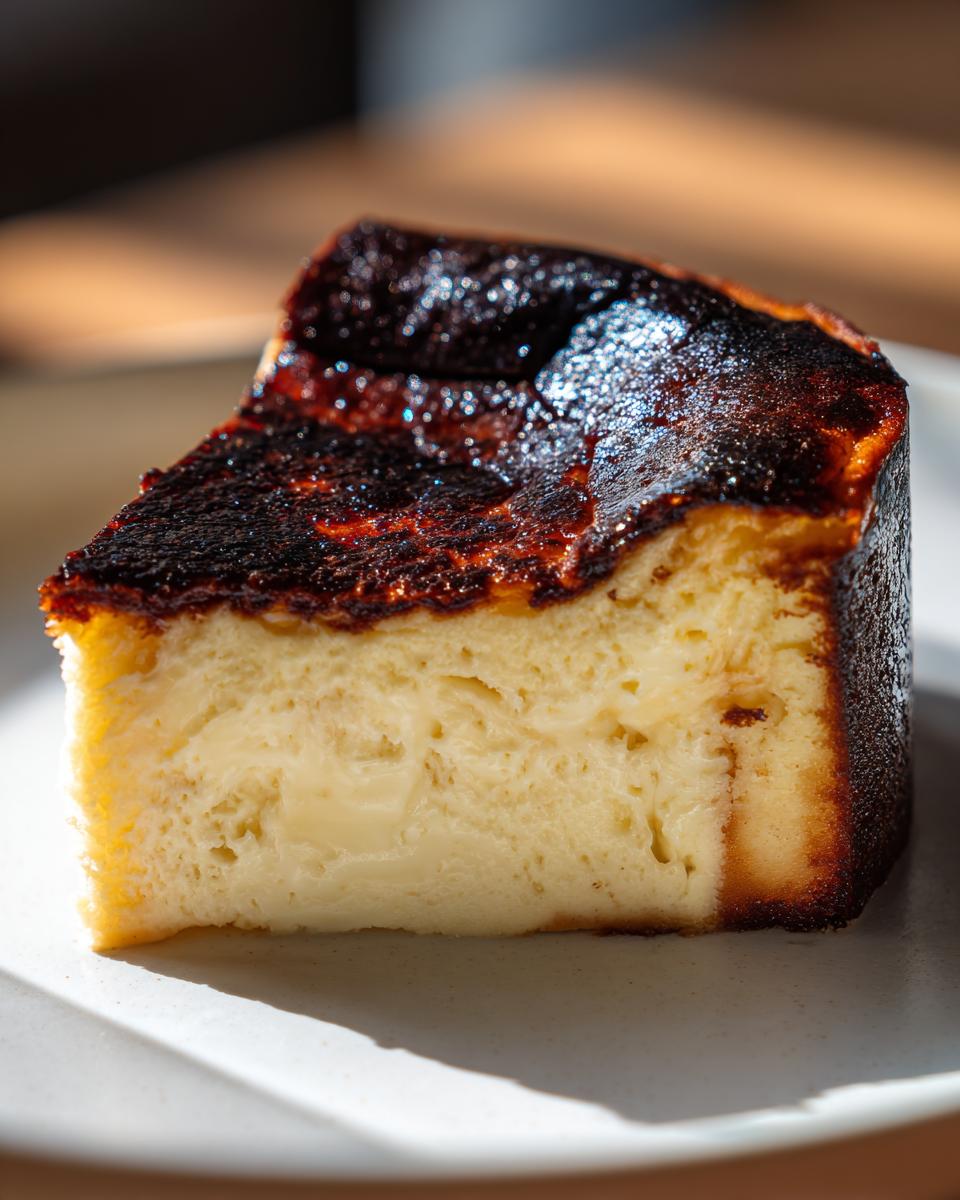
Making a truly excellent homemade cheesecake recipe like this one takes just a tiny bit of faith, especially when you first pull it out of the oven. I remember the first time I saw that massive, jiggly center, and my heart stopped! You have to trust the process when the top looks dark brown or even black. That high-heat blast is what creates the caramelized flavor we crave, and the interior will look almost liquidy—that’s exactly what we need for that signature texture. If you’re tempted to stick it back in, don’t! Patience is your best friend here.
Once it comes out, you need to let go completely. It will deflate dramatically as it cools down on the counter over the next couple of hours. Seriously, don’t panic when it seems to sink into itself. That deflation is what guarantees the dense, silky bottom layer beneath the burnt top. After it’s cool, move it into the fridge for at least six hours, but honestly, overnight is even better for the best slices to cut cleanly.
Baking and Cooling Your Basque Cheesecake
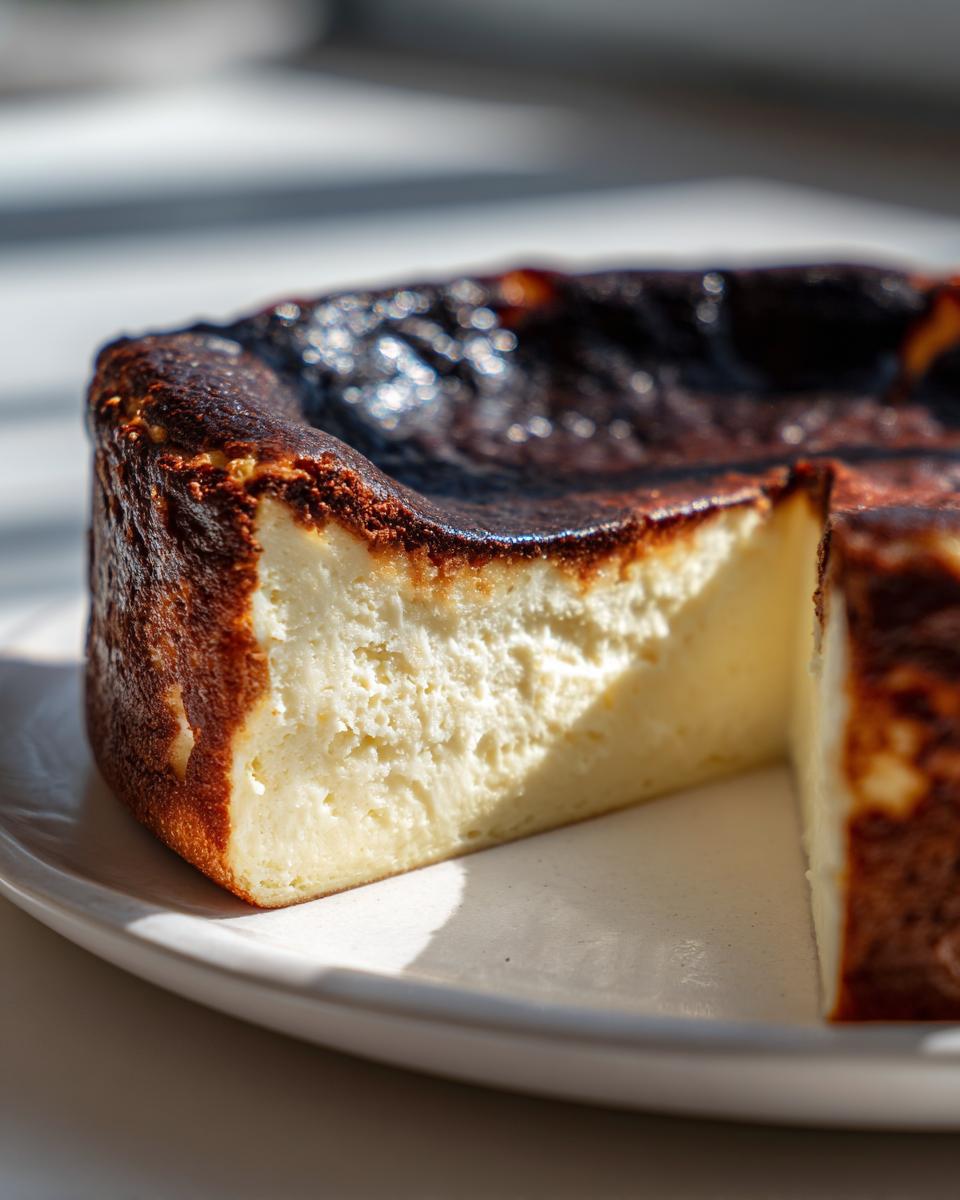
When you check your basque cheesecake around the 50-minute mark, you’re looking for a top that is deeply colored and set around the edges, but the middle should still wobble visibly, almost like an unset custard. That high bake temperature is absolutely essential for getting that contrast between the slightly crispy, smoky edge and the tender middle. If the top is only light brown, keep baking! It needs to look almost scary dark. During cooling, the cake will deflate significantly, sinking down from the high parchment paper edges—this is normal and fantastic. It settles into that dense, stunning texture only achievable with this method. If you want some ideas for pairing this rich dessert with something warm and gooey on the side, check out my recipe for chocolate cinnamon rolls, though this cheesecake needs no help!
Variations: Making a Loaf Pan Cheesecake
I know not everyone needs a huge, impressive dessert for every craving, or maybe you just don’t have the right springform pan size on hand! If you want to make a smaller batch or serve fewer people, turning this into a loaf pan cheesecake is such a brilliant shortcut. It keeps that incredible creamy texture inside, but it’s so much easier to slice and serve, which is great for smaller dinner parties.
The process is basically the same—you still need that parchment paper, but let it hang high over the long sides of the loaf pan so you have handles to pull the finished cake out later. Since the batter is deeper in the pan, you usually need to cut the baking time down by about 10 to 15 minutes. Keep an eye on it! You’re aiming for that same jiggly center when you pull it out. If you happen to have a great stash of cookie bars ready to go, you can serve those alongside for extra indulgence, like my recipe for easy sugar cookie bars, but this loaf cake stands perfectly on its own!
Serving Suggestions for This Elegant Cheesecake
Because this basque cheesecake is so rich on its own—all that cream cheese and cream—you really don’t need much to dress it up. That’s what makes it such a fantastic elegant cheesecake! If you want to add a little color or contrast, keep it simple. A light dusting of powdered sugar is classic, but if you’re feeling fancy, a side of fresh berries always looks stunning against that dark, burnt edge. For a truly gourmet presentation, a small side of macerated raspberries or even a drizzle of something bright, like my simple Bananas Foster inspired sauce, makes it an impressive finish to any meal.
Storage and Reheating Instructions for Leftover Basque Cheesecake
Now, the real challenge might be having leftovers of this amazing basque cheesecake because it disappears quickly! The good news is that it keeps really well, which makes it a perfect make-ahead dessert for parties. Once the cake is fully chilled—and I mean completely, truly chilled overnight—wrap the whole thing loosely in plastic wrap or transfer slices to an airtight container. It holds up beautifully in the refrigerator for about four to five days. That fridge time actually helps the texture firm up a bit more, making it denser, which is great if you prefer that style.
However, the absolute best texture—that creamy, melt-in-your-mouth experience—happens when it’s not fridge-cold. When you are ready to serve leftovers, you simply need to pull it out about 45 minutes to an hour before you plan to eat it. Letting your basque cheesecake come back toward room temperature allows those fats to soften up just enough to regain that signature luxurious creaminess. Don’t try to rush it in the microwave, please! That heat will ruin the custard structure completely. Just set it on the counter, let the chill fade away, and enjoy that incredible burnt flavor all over again.
Frequently Asked Questions About Burnt Basque Cheesecake Recipe
I get so many questions when readers first make this recipe, and honestly, those questions often come from years of learning the hard way! I totally get it—it looks unconventional, right? People worry about the dark color or the wobbly center. But don’t stress! I want you to feel total confidence making this incredible dessert. If you’re looking for tips on savory dishes to serve beforehand, maybe give my French Onion Soup a try, but let’s get your cheesecake sorted first!
Can I use a different pan size for this Easy Cheesecake?
You absolutely can use a different pan for your easy cheesecake, but you have to think about the depth. If you use a smaller 8-inch pan, for example, your batter will be much thicker, which means it will take longer to bake, and frankly, you won’t get that beautiful, deep caramelization we love! The high heat won’t penetrate as fast. If you want a taller cake that leans more towards a traditional cheesecake structure and less of that signature char, go smaller. But for the classic look, stick close to the 9-inch size or use the loaf pan variation!
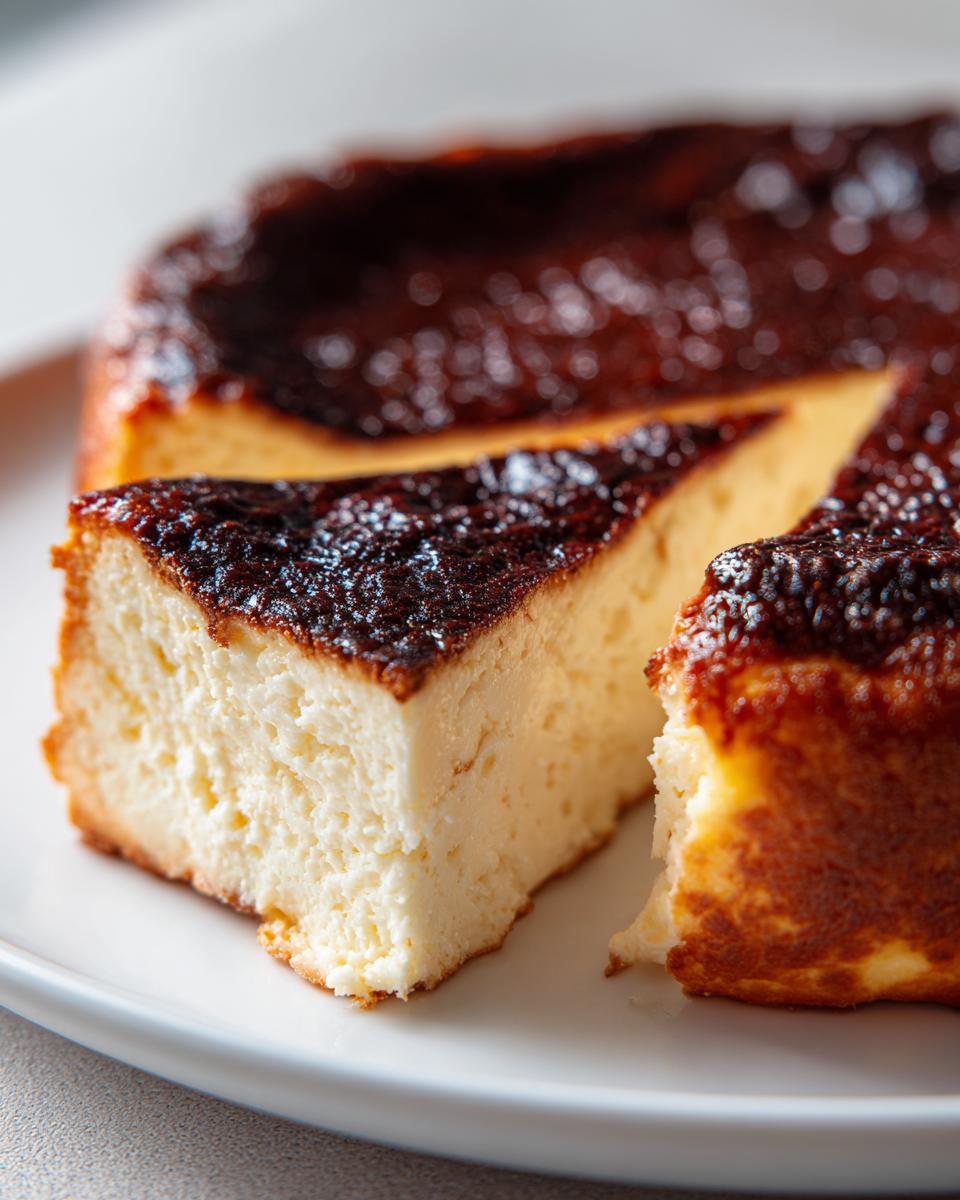
Is this a true San Sebastian Cheesecake?
Yes, honey, it is! This method—using lots of high-fat dairy, that high oven temperature, and skipping the crust entirely—is exactly what you see coming out of those bakeries in San Sebastian, Spain. It fits perfectly within the realm of authentic Spanish Dessert Recipes. The key is the textural contrast: that dark, smoky exterior hiding the soft, creamy interior. It’s rustic elegance on a plate, and you made it yourself!
Sharing Your Experience with This Impressive Dessert
Now that you’ve baked this stunning, unbelievably creamy basque cheesecake, I really, truly want to hear about it! Seeing your results—especially when you nail that perfect burnt top—is what makes all the recipe testing and writing worthwhile here at Bring Dish. I truly believe that cooking is about connection, and sharing your success is part of that connection.
Did you serve it with berries, or did you go completely plain? If you had any slight hiccups or major triumphs, please drop a comment below and let me know! We are all learning together here, and your feedback helps everyone else who is dreaming about making their first San Sebastian cake. If you want to show off your beautiful creation, snap a picture and tag me on social media—I love seeing these beautiful desserts at your tables! If you ever need help troubleshooting or swapping ideas, don’t hesitate to reach out through the contact page.
PrintThe Best Creamy Burnt Basque Cheesecake (No Crust, No Water Bath)
Make the famous Burnt Basque Cheesecake, also known as San Sebastian Cheesecake. This recipe delivers a rich, custardy interior and a deeply caramelized top without needing a crust or a water bath, making it an easy yet impressive gourmet dessert.
- Prep Time: 15 min
- Cook Time: 60 min
- Total Time: 7 hours 15 min
- Yield: 10 servings 1x
- Category: Dessert
- Method: Baking
- Cuisine: Spanish
- Diet: Vegetarian
Ingredients
- 900g full-fat cream cheese, softened to room temperature
- 1 1/4 cups granulated sugar
- 6 large eggs, room temperature
- 2 cups heavy cream
- 1 teaspoon vanilla extract
- 1/4 teaspoon salt
- 2 tablespoons all-purpose flour (optional, for slight structure)
Instructions
- Preheat your oven to 400°F (200°C). Get a 9-inch springform pan. Line the pan with two large sheets of parchment paper, pressing them firmly into the bottom and sides, allowing the edges to stick up high above the rim. This rustic look is part of the charm.
- In a large bowl, beat the softened cream cheese with an electric mixer on medium speed until completely smooth, about 2 minutes. Scrape down the sides.
- Gradually add the sugar and beat until fully combined and creamy.
- Add the eggs one at a time, mixing just until each egg is incorporated before adding the next. Do not overmix once the eggs are added.
- Slowly mix in the heavy cream, vanilla extract, and salt until the batter is uniform. If you are using flour, sift it in now and mix on low speed until just combined.
- Pour the batter into the prepared pan. The batter will fill the pan about three-quarters full.
- Bake for 50 to 60 minutes. The top should be deeply caramelized, almost black in spots, and the edges should look set. The center will still look very jiggly, like soft custard. This is correct for a creamy center.
- Remove the cheesecake from the oven. Let it cool completely on a wire rack at room temperature for about 2 hours. The center will deflate significantly as it cools.
- Once cool, cover the pan loosely with plastic wrap and chill in the refrigerator for at least 6 hours, or preferably overnight, for the best texture.
- To serve, carefully remove the outer ring of the springform pan. You can serve the cheesecake directly in the parchment paper liner for a rustic presentation. Serve at room temperature for the creamiest texture.
Notes
- For a truly custardy center, serve this cheesecake slightly warmer than straight from the fridge. Allow it to sit out for 30 minutes before slicing.
- If you want a smaller, easier-to-serve version, use a standard loaf pan lined with parchment paper. Adjust baking time down by about 10-15 minutes.
- Do not worry about cracks or the burnt top; this is the signature look of a Basque Cheesecake.
Nutrition
- Serving Size: 1 slice
- Calories: 450
- Sugar: 35g
- Sodium: 250mg
- Fat: 34g
- Saturated Fat: 21g
- Unsaturated Fat: 13g
- Trans Fat: 0g
- Carbohydrates: 30g
- Fiber: 0g
- Protein: 7g
- Cholesterol: 180mg