
When the holidays roll around, my table fills up fast, and frankly, sometimes I just don’t have hours to spend fussing over the oven. That’s why I love finding treats that deliver huge flavor with almost zero effort. And trust me, nothing beats these oreo balls when you need a showstopper quick. This recipe is the ultimate easy, 3-ingredient, no-bake solution that proves my philosophy: extraordinary meals absolutely do not require extraordinary effort. They transform simple Oreos and cream cheese into rich, decadent little bites. If you need something amazing for your next holiday cookie exchange ideas or just crave a sweet fix, these are your go-to crowd-pleasers. They are such a wonderful, low effort baked goods alternative!
- Why These are the Best Oreo Balls You Will Ever Make
- Gathering Your 3-Ingredient Treats for Perfect Oreo Balls
- How to Prepare Delicious Oreo Balls Step-by-Step
- Tips for Success with Your Simple Homemade Candy
- Presentation Ideas for Party Finger Foods Sweets
- Storage and Make-Ahead Tips for Oreo Balls
- Frequently Asked Questions About Oreo Truffles Recipe
- Nutritional Estimates for Your Bite Sized Sweets
- Share Your Favorite Oreo Balls Creations
Why These are the Best Oreo Balls You Will Ever Make
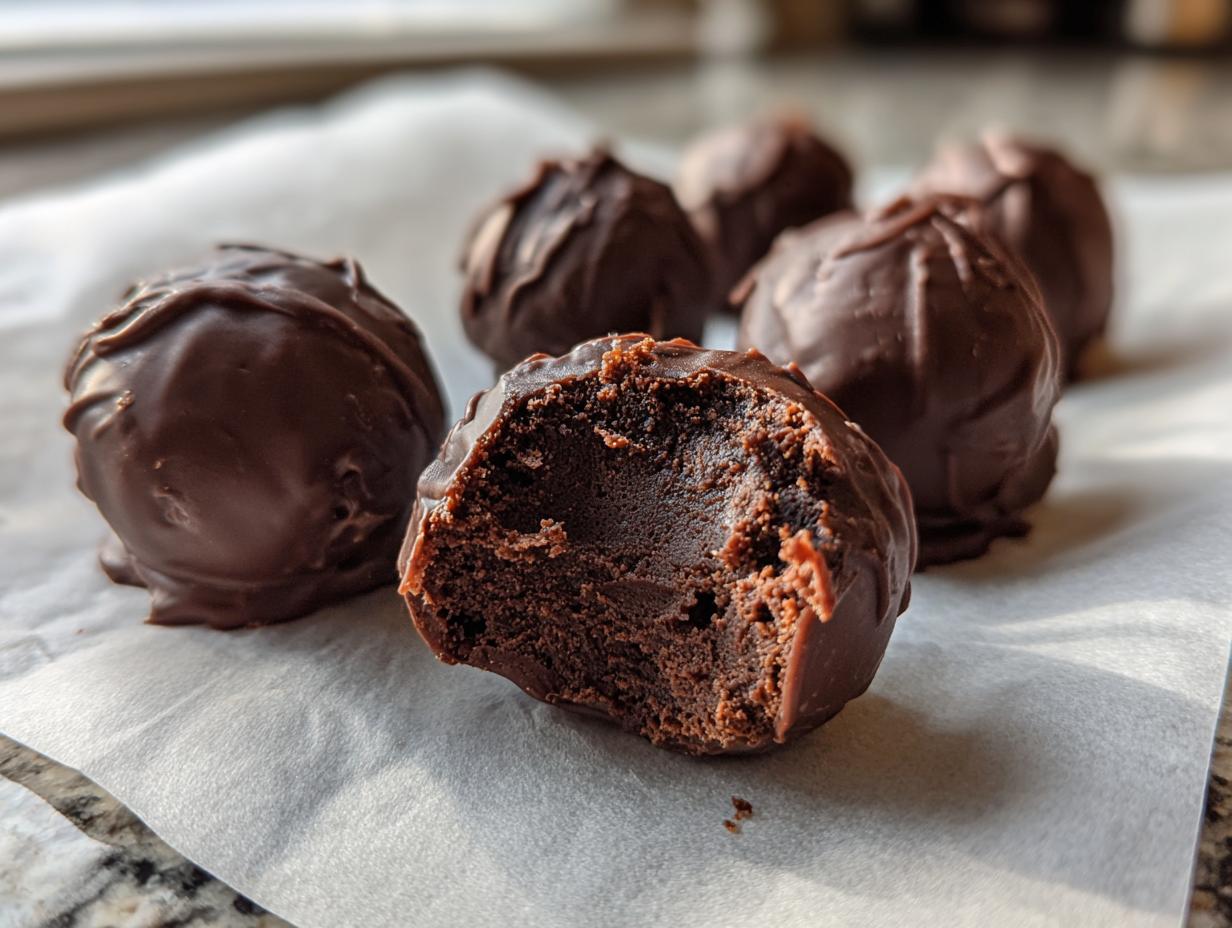
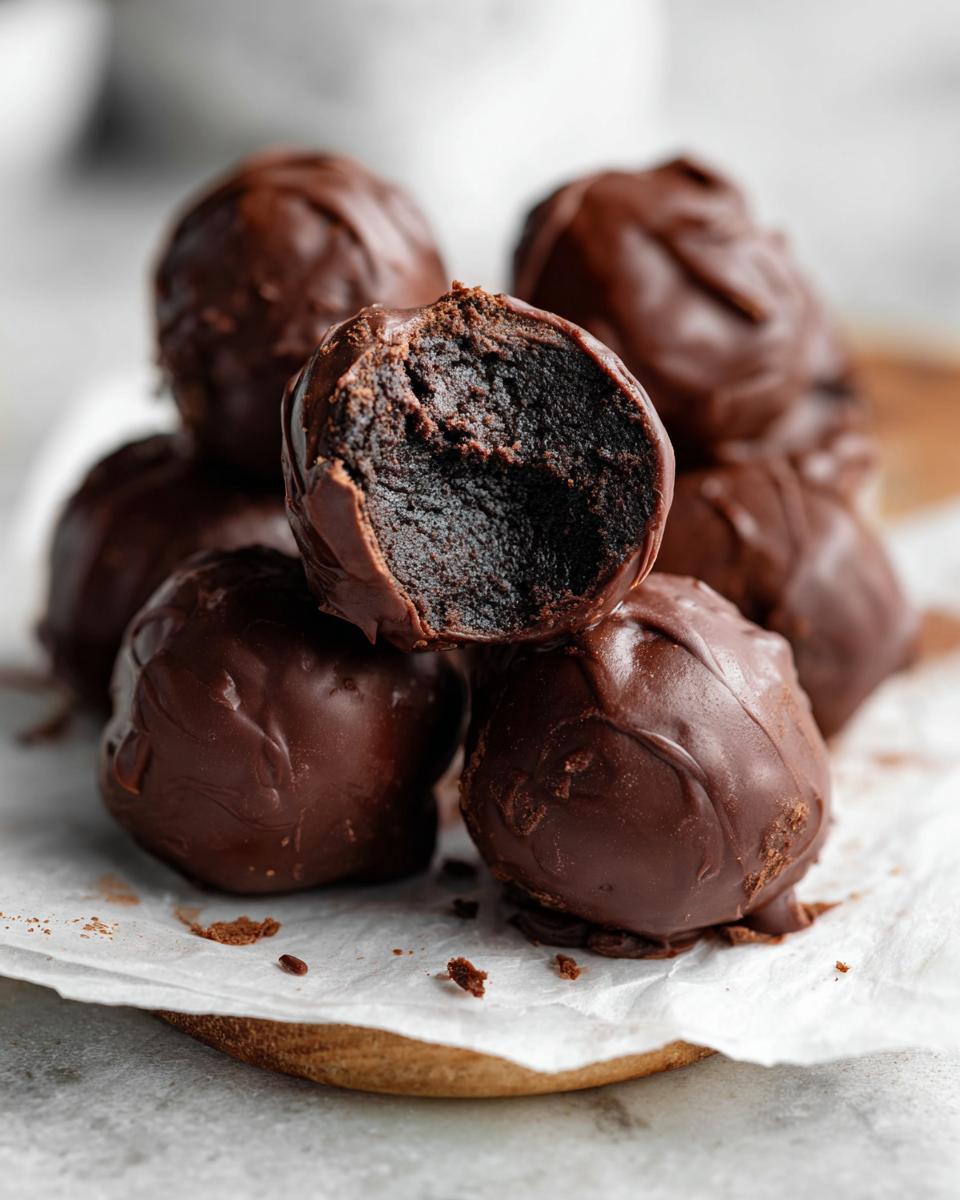
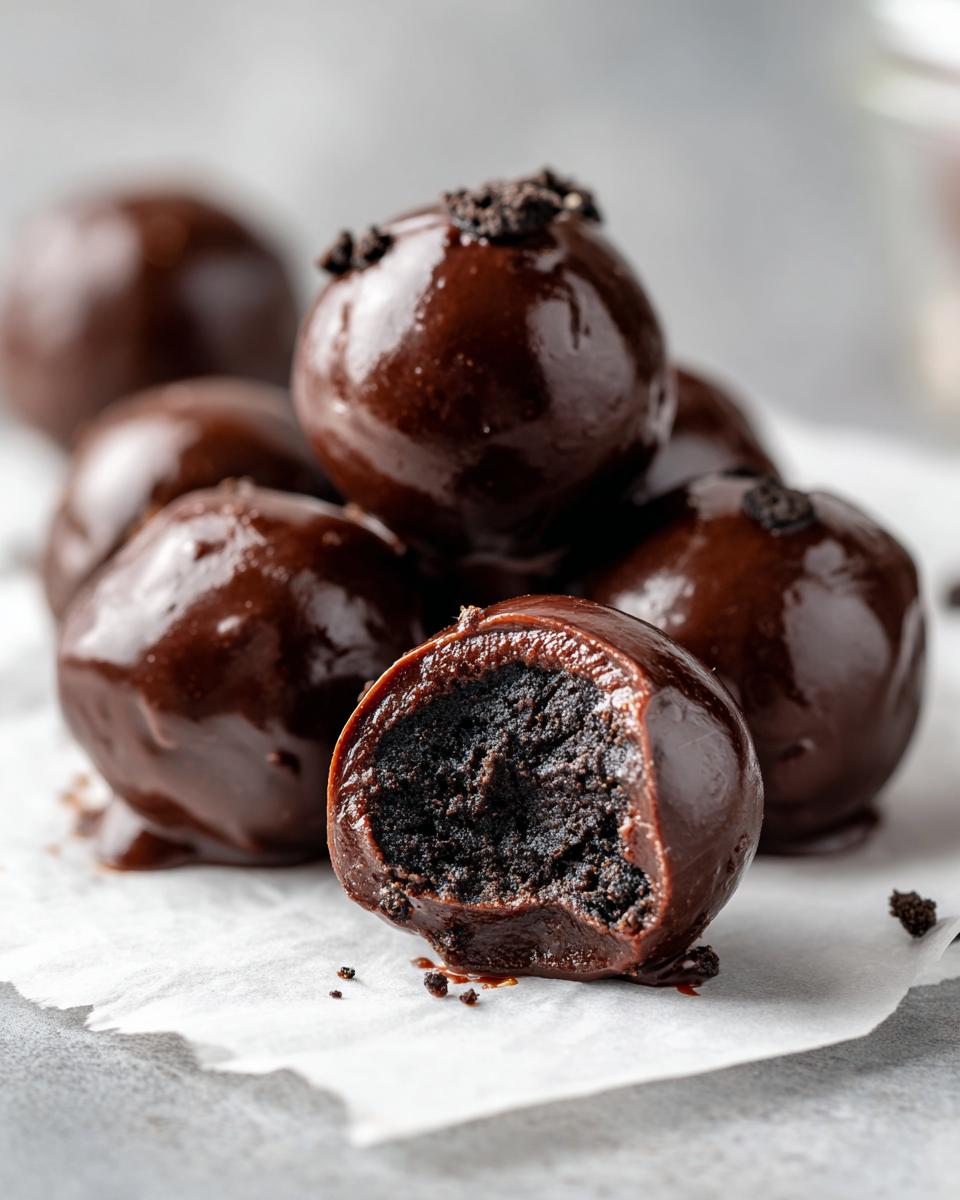
I make these oreo balls nearly every time I need a quick dessert that tastes like I spent all day on it. They seriously never fail, and that’s huge when you’re relying on a recipe for a big event. You get that rich, almost cheesecake-like center covered in crisp chocolate. They truly are one of the best oreo dessert options out there for speed and pure deliciousness. For more on how these are the ultimate party treat, check out this inspiration!
- They are truly no-bake—just mix, roll, and chill!
- Only three core ingredients mean no massive grocery trips.
- They look way fancier than the amount of effort they take.
- They freeze beautifully for whenever a sweet craving hits!
If you’re looking for a time-saver that still feels special, this is it. Check out the details below so you know exactly how fast you can get these chilling in the fridge.
Quick Dessert Recipe Facts
We believe in transparency here, so you can plan your kitchen time perfectly! You won’t believe how little hands-on work is required for these little gems, especially since they are strictly a no bake desserts method.
- Prep Time: 20 min
- Total Time: 55 min (most of that is chilling!)
- Yield: About 30 servings
Gathering Your 3-Ingredient Treats for Perfect Oreo Balls
You know I love recipes where the ingredient list is short and sweet, and this one knocks it out of the park! We are sticking to the absolute essentials to make these amazing oreo balls. Honestly, you just need cookies, cream cheese, and chocolate, and you’re halfway to dessert heaven. I always try to get the cream cheese out about 30 minutes before mixing because it has to be beautifully soft, otherwise, you’ll end up with lumps!
Here is what you need to pull together this super easy dessert:
- 1 package (14.3 oz) Oreo cookies (yes, the whole thing, filling and all!)
- 8 oz cream cheese, make sure it’s softened!
- 16 oz melting chocolate wafers or good quality chocolate chips (for dipping and coating)
You can check out some other quick tips from bakers I trust over at this helpful post!
Ingredient Notes and Substitutions
The chocolate coating is often where people get frustrated, but I have a little secret from my notes! If you are using standard chocolate chips instead of melting wafers, you absolutely must add about one tiny teaspoon of vegetable shortening or coconut oil when you melt them.
This keeps the chocolate fluid and shiny, ensuring you get a perfect dip every time. Also, if you’re making these for Christmas and want to get festive, skip the plain chocolate! Melt some green candy melts instead, and when you dip the balls, toss them with a few red sprinkles right away. That’s how you make the adorable Grinch oreo balls!
How to Prepare Delicious Oreo Balls Step-by-Step
Okay, let’s get to the fun part! Making these oreo balls couldn’t be simpler, but the order matters a lot so things don’t get messy. Think of this as a three-stage process: make the dough, chill it, and dip it! I promise you, skipping the chilling step is a rookie mistake that leads to melted chocolate everywhere. For more guidance on the whole process, this post has some great visual pointers: check it out!
Making the Cream Cheese Dessert Balls Base
First, we need crumbs! Toss those whole Oreos—yes, everything, the cream and the cookie—right into your food processor. Blitz them until they look like fine, delicious sand. Pour those fine crumbs into a bowl and add your softened cream cheese.
Now, you mix! I use my hand mixer for this because it gets everything evenly incorporated fast. You want a thick dough to form—it should feel like heavy play-doh, not sticky stuff that clings to your fingers. Roll them into little balls, about an inch wide, and line them up on a baking sheet lined with parchment paper. They look cute even at this stage, don’t they?
Mastering Chocolate Coating Techniques for Oreo Truffles Recipe
This is where the magic happens, but you need cold dough! Pop those balls into the fridge for at least 30 minutes until they are rock solid. This keeps them from falling apart when they hit the hot chocolate!
Next, melt your chocolate. If you use a double boiler, great. If you use the microwave, do it in short bursts—30 seconds max—stirring hard in between each burst so it doesn’t burn. Use a fork to dip each chilled ball completely under the chocolate. Gently lift it out and tap that fork against the side of the bowl. Let the extra chocolate drip off so you don’t waste coating or end up with thick, gloppy bottoms.
Set them back onto the parchment paper. If you’re feeling fancy, throw some sprinkles on top immediately before the chocolate sets up. Chill them again for about 15 minutes until everything is firm. That’s it—you’re done with the cooking!
Tips for Success with Your Simple Homemade Candy
Even though these are easy oreo balls, a couple of little secrets can take them from good to absolutely standout perfect. The first big tip I always give people is about temperature for the cream cheese. It must be fully softened, not warm or melty, but soft enough so your finger leaves a deep dent. If it’s cold, you get chunks in your dough, and those lumps won’t roll neatly.
Secondly, do not rush that chilling time! I know we’re focused on speed when making these no bake desserts, but if the balls aren’t firm when they go into the chocolate, they *will* get soft and start to melt, mixing with your beautiful coating. Thirty minutes minimum in the fridge is non-negotiable if you want that gorgeous, smooth, professional-looking chocolate dipped truffle finish.
If you follow those temperature and chilling rules, I guarantee your simple homemade candy success rate will skyrocket!
Presentation Ideas for Party Finger Foods Sweets
Making these little sweets the star of the snack table is half the fun! Since these little party finger foods sweets are so simple at their core, dressing them up makes a huge impact, especially if you are putting them out for a big gathering or a holiday cookie exchange ideas party.
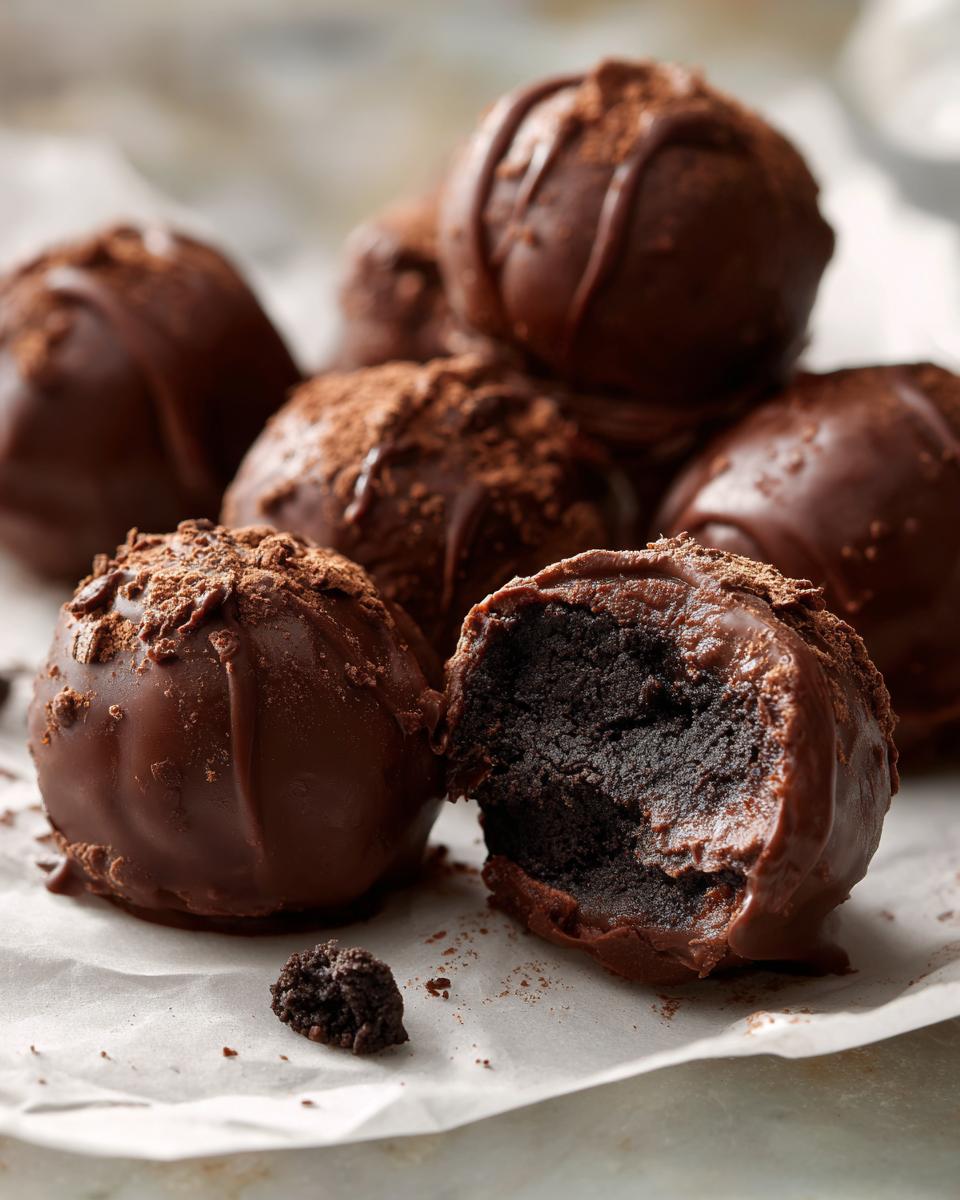
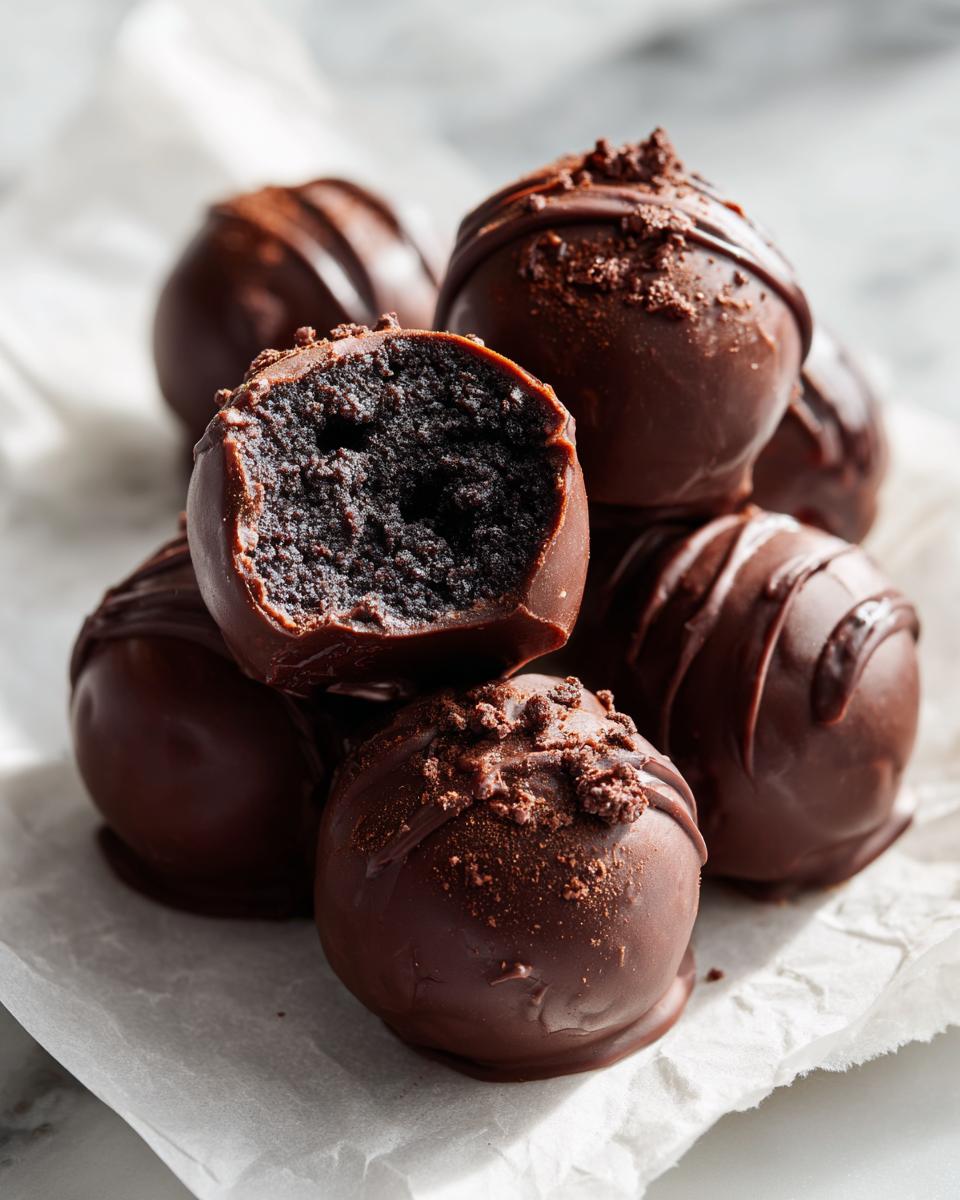
Once you’ve let the chocolate coating set, you can really get creative. You can do a fancy drizzle of white chocolate across the ones you coated in dark chocolate. Or, if you want that ultra-festive look, think about making a batch using those green candy melts we talked about earlier for a perfect Grinch look! They truly become amazing festive dessert recipes with just a little peek of color.
For an elegant look, try pressing a single candied cranberry or a small piece of chopped pistachio onto the top right after dipping, before the chocolate hardens. It gives them height and texture! You can find some gorgeous Christmas inspiration over at this site that will give you quick ideas for using up any leftover sprinkles you have hanging around!
Storage and Make-Ahead Tips for Oreo Balls
One of the absolute best things about these oreo balls is that they are fantastic make-ahead treats. Seriously, I often make two batches right before Christmas so I can just pull them out when guests arrive! They store perfectly well, which is such a relief when life gets busy.
You need to keep them in an airtight container. I prefer glass containers because they seal nicely, but any good, sturdy container works. Keep them tucked away in the refrigerator. They stay fresh and delicious for up to two full weeks—though honestly, mine never last that long!
They also freeze like a dream, which is great for prepping really far out. If you decide to freeze them, just make sure they are fully set, and seal the container tightly. Pop over to this page to see how long others keep theirs!
Frequently Asked Questions About Oreo Truffles Recipe
I always get a ton of questions about these little chocolate treasures once people try them. It’s natural when you’re working with a super simple recipe—you just want to make sure you’re not missing a tiny crucial step! Here are the ones I hear most often about turning Oreos into these fantastic chocolate dipped truffles.
Can I make these without cream cheese?
Honestly, no, you really can’t! The cream cheese is the entire binder here. It’s what gives the centers that rich, slightly tangy flavor almost like a quick cheesecake truffle recipe center. If you skip it, you just end up with dry cookie crumbs, and you won’t be able to roll them! It is the key ingredient that holds everything together so you can get those perfect little shapes.
What is the best chocolate for dipping?
This is a big one, and it impacts how professional your final treats look! I highly recommend using high-quality melting wafers or dedicated candy melts if you can find them. They melt super smoothly and set up hard and glossy without any fuss. If you only have chocolate chips on hand, that works too, but like I mentioned before, you absolutely need to thin them out just a bit with a tiny teaspoon of shortening to help them flow nicely. That little trick makes all the difference when you are trying to make beautiful easy chocolate balls!
Are these considered no bake desserts?
Yes! That’s the best part! This falls squarely into the wonderful category of things you don’t have to turn the oven on for. It’s a fantastic low effort baked goods alternative when you need something sweet fast or when your oven is already tied up with a main dish. You only need about 5 minutes of hands-on time before you pop them into the fridge to chill. Super simple, right?
Nutritional Estimates for Your Bite Sized Sweets
Now, I’m not a nutritionist, so please take these numbers with a grain of salt! Since we are using whole Oreos and good cream cheese, these aren’t exactly “diet food,” but they are so small that portion control is easy. These estimates are based on one little ball. For a quick rundown, each serving has about 150 calories and 9 grams of fat.
- Calories: 150
- Carbohydrates: 16g
- Protein: 2g
Keep in mind that these are just my best guess based on the standard ingredients used, so your brand of Oreo or chocolate could change things slightly. If you’re curious about variations on the chocolate coating, check out some ideas here!
Share Your Favorite Oreo Balls Creations
That’s truly everything you need to know to conquer these delicious little treats! I hope you give these oreo balls a try the next time you need a quick win in the kitchen. They are one of my absolute favorites because they take such little effort but always get rave reviews.
Once you’ve made yours, please come back and tell me how they turned out! Drop a rating using the five stars below and let me know if you tried any fun variations, like using different colored melts or adding a festive drizzle. I always love seeing what you all create around the table. For more inspiration on perfecting this recipe, have a look at this guide!
Happy baking—or in this case, happy *no-baking*!
PrintEasy 3-Ingredient No-Bake Oreo Balls Recipe

Make these simple, no-bake Oreo balls using just three ingredients. This recipe creates rich, chocolate-coated truffles perfect for holiday cookie exchanges or any party.
- Prep Time: 20 min
- Cook Time: 5 min
- Total Time: 55 min
- Yield: 30 servings 1x
- Category: Dessert
- Method: No Bake
- Cuisine: American
- Diet: Vegetarian
Ingredients
- 1 package (14.3 oz) Oreo cookies (about 36 cookies)
- 8 oz cream cheese, softened
- 16 oz melting chocolate wafers or chocolate chips (for coating)
Instructions
- Place the entire Oreo cookies, filling included, into a food processor. Pulse until you have fine crumbs.
- Transfer the Oreo crumbs to a medium bowl. Add the softened cream cheese. Mix with a hand mixer or by hand until the mixture is fully combined and forms a thick dough.
- Roll the dough into small balls, about 1 inch in diameter. You should get approximately 30 to 35 balls. Place the balls on a parchment-lined baking sheet.
- Chill the Oreo balls in the refrigerator for at least 30 minutes until firm. This step is important for easy dipping.
- Melt the chocolate wafers according to package directions. You can use a double boiler or microwave in 30-second intervals, stirring in between.
- Dip each chilled ball into the melted chocolate, ensuring it is fully coated. Use a fork to lift the ball out, tapping the fork gently on the side of the bowl to let excess chocolate drip off.
- Return the coated balls to the parchment-lined baking sheet.
- If desired, immediately sprinkle the tops with festive sprinkles before the chocolate sets.
- Refrigerate the finished Oreo balls for about 15 minutes, or until the chocolate coating is completely firm.
Notes
- For a smoother coating, add 1 teaspoon of vegetable shortening or coconut oil to the melting chocolate.
- If you want to make Grinch Oreo Balls, use green candy melts for the coating and add red sprinkles on top.
- These simple homemade candy treats store well in an airtight container in the refrigerator for up to two weeks.
Nutrition
- Serving Size: 1 ball
- Calories: 150
- Sugar: 15
- Sodium: 80
- Fat: 9
- Saturated Fat: 5
- Unsaturated Fat: 4
- Trans Fat: 0
- Carbohydrates: 16
- Fiber: 0
- Protein: 2
- Cholesterol: 10