
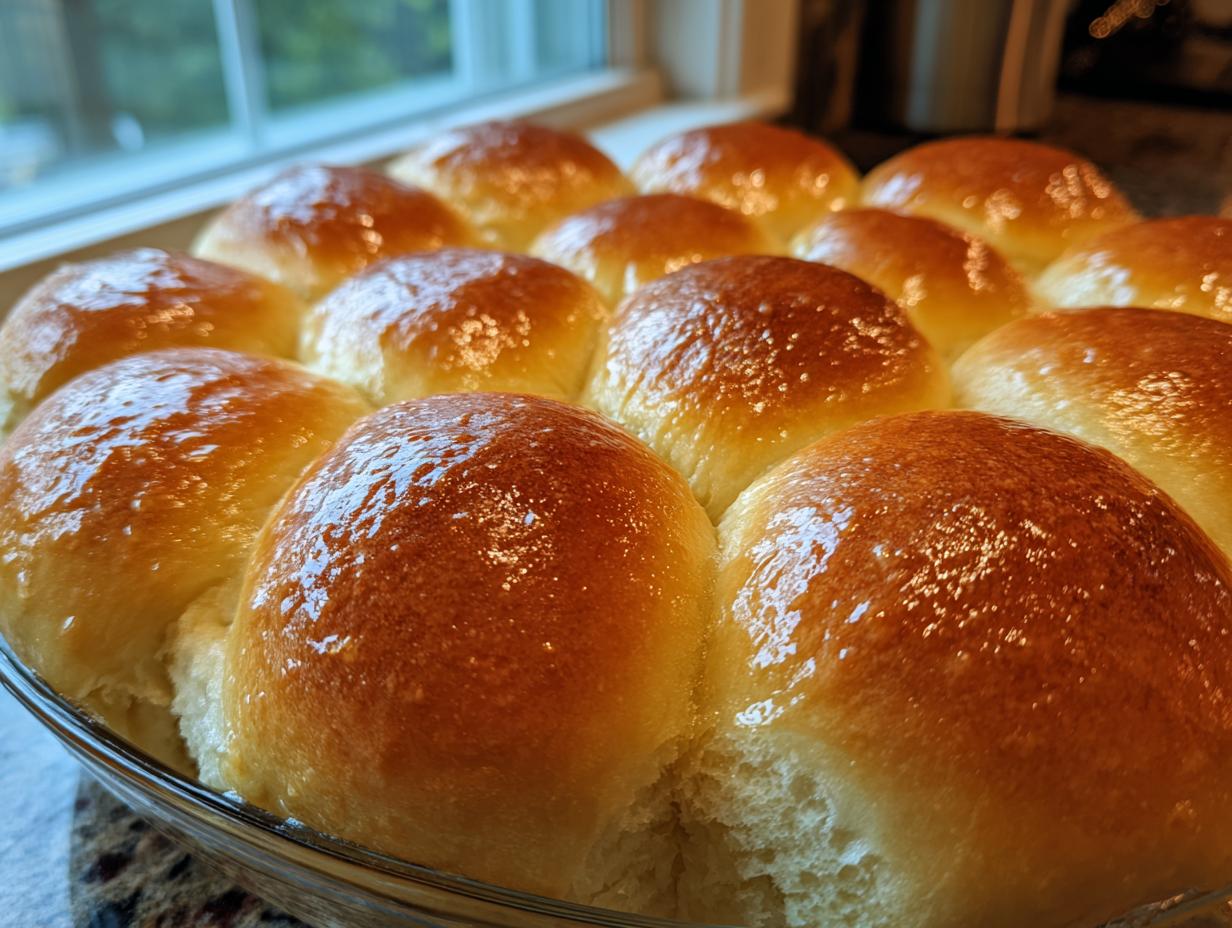
There is just something about a basket full of warm bread that makes any meal feel like a celebration, isn’t there? When I was developing these recipes for Bring Dish, I kept thinking about my grandmother’s kitchen—how the air always smelled like yeast and butter, instantly making you feel safe and welcomed. Forget those dry, sad things you pull out of a can; we are making the Ultimate Soft and Fluffy Homemade Dinner Rolls (Classic Buttery Recipe). These aren’t just good dinner rolls; they are the absolute benchmark for comfort food baking. I promise, once you master this technique, you won’t ever look at the store-bought stuff again!
- Why These Are the Best Homemade Rolls You Will Ever Make
- Ingredients for Ultimate Soft and Fluffy Dinner Rolls
- Step-by-Step Instructions for Perfect Dinner Rolls
- Expert Tips for Perfectly Risen Rolls Every Time
- Dinner Roll Variations: Beyond the Classic Buttery Dinner Rolls
- Make Ahead Dinner Rolls and Storage Instructions
- Frequently Asked Questions About Making Dinner Rolls
- Estimated Nutritional Data for These Dinner Rolls
- Share Your Soft and Fluffy Dinner Rolls Experience
Why These Are the Best Homemade Rolls You Will Ever Make
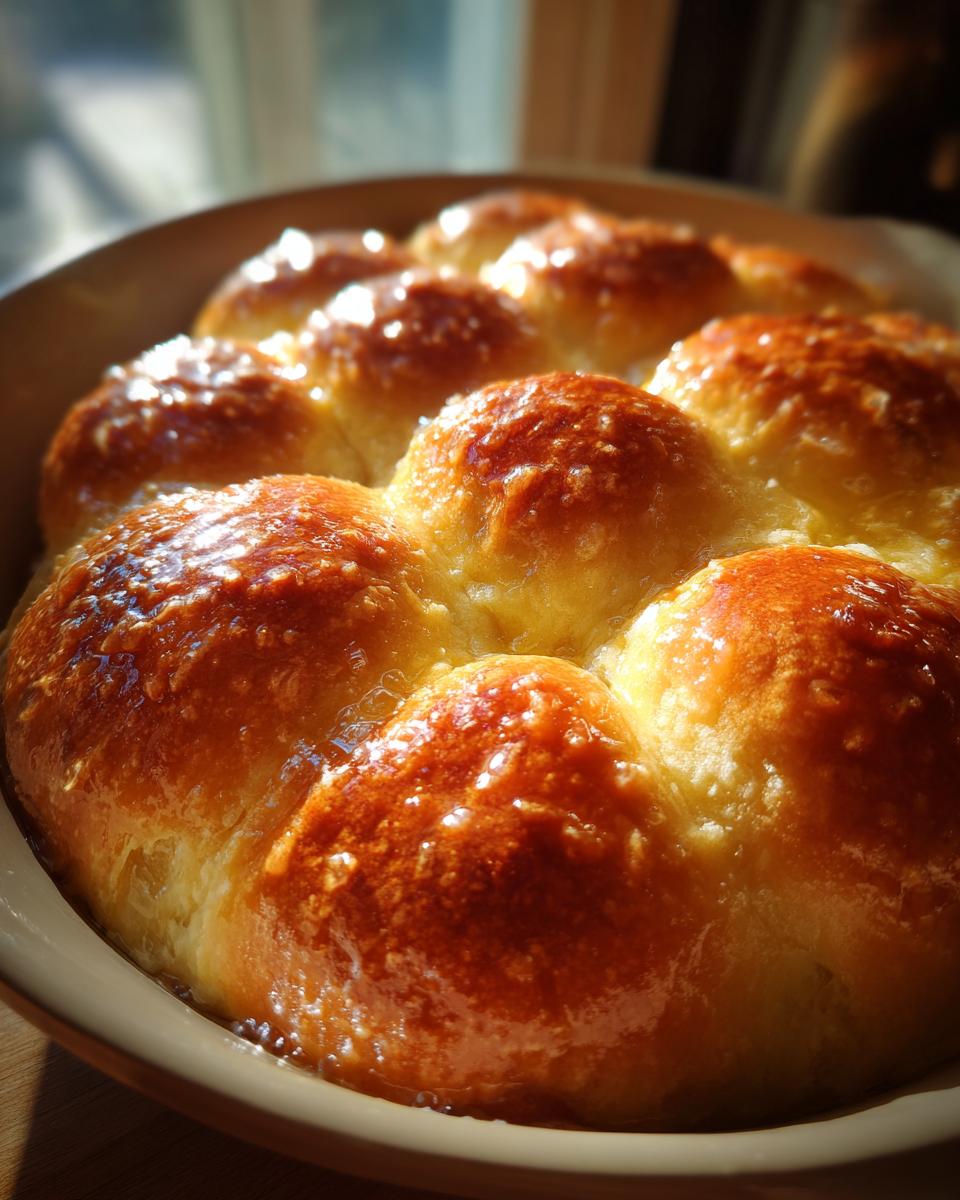
Listen, I’ve tried every trick in the book, but nothing beats a roll that practically dissolves in your mouth. These are hands-down the Best Homemade Rolls I have ever made, and honestly, that’s saying something coming from someone who learned baking at her grandmother’s knee! The secret is the balance—we use milk and melted butter for richness, which guarantees that ultra-rich, buttery yeast rolls flavor we all crave.
The texture? Forget about it. They are truly fluffy homemade bread, not dense hockey pucks. When you pull them apart, you get those gorgeous, feathery strands. This recipe has become my non-negotiable for every major holiday. If you’re planning your big Holiday Side Dish Baking spread, make these. I promise they disappear first, every single time!
Ingredients for Ultimate Soft and Fluffy Dinner Rolls
Okay, let’s talk about what goes into these glorious loaves. I’ve listed everything precisely because baking is chemistry, and getting these buttery yeast rolls just right means following the measurements. Don’t skip the warm water step—it’s essential for waking up that yeast! You’ll need the basics, but don’t worry if you’re new to yeast; just follow the temperature guide.
- 1 cup warm water (must be between 105–115°F)
- 2 1/4 teaspoons active dry yeast
- 1/4 cup granulated sugar
- 1/2 cup whole milk, warmed slightly
- 1/4 cup unsalted butter, melted, plus 4 tablespoons for brushing later
- 1 large egg
- 3 1/2 to 4 cups all-purpose flour (we might need a touch more for kneading!)
- 1 teaspoon salt
For the Optional Texas Roadhouse Style Rolls Topping
If you want that slightly sweet, signature finish that makes people ask for the recipe, you have to add this last bit! This topping melts right over the hot rolls, making them incredibly shiny and moist.
- 4 tablespoons butter, melted
- 1 teaspoon honey
- 1/4 teaspoon ground cinnamon
Step-by-Step Instructions for Perfect Dinner Rolls
Alright, this is where the magic happens! Making your own dinner rolls from scratch can seem intimidating, but trust me, it’s all about patience with the rising times. We are keeping the active steps fast so you can get back to your turkey stuffing or whatever amazing main course you’re preparing. Just follow these steps closely—especially the temperatures! If you want to check out my privacy commitment while you wait for the yeast to bloom, you can always read that here.
Activating the Yeast and Mixing the Dough for Buttery Yeast Rolls
First things first: we need to wake up that yeast. Use your warm water—and I mean warm, not hot! If it’s over 115°F, you’ll kill it, and then we’ve got a soggy mess instead of buttery yeast rolls. Mix the yeast with the warm water and just one teaspoon of sugar; let it sit until it gets foamy, usually about five to ten minutes. Once it looks like bubbly foam, whisk in the remaining sugar, the warm milk, the melted butter, and the egg.
Kneading and Achieving the First Rise for Fluffy Homemade Bread
In a separate bowl, whisk together your flour and salt. Now, start adding the flour mixture slowly to your wet ingredients. When it gets too stiff to stir, turn it out onto a lightly floured counter. You need to knead this for a good six to eight minutes. It’ll be sticky at first, so add flour just one tablespoon at a time until it’s smooth and elastic. My check? I try to gently stretch a piece thin enough to see light through it—that’s the windowpane test that ensures you get that fluffy homemade bread texture!
Toss your smooth dough into an oiled bowl, cover it up tight, and let it hang out somewhere warm for an hour to an hour and a half. It should practically double in size. Don’t rush this first rise; this is what develops the beautiful structure.
Shaping and the Second Rise: Preparing Dinner Rolls for Baking
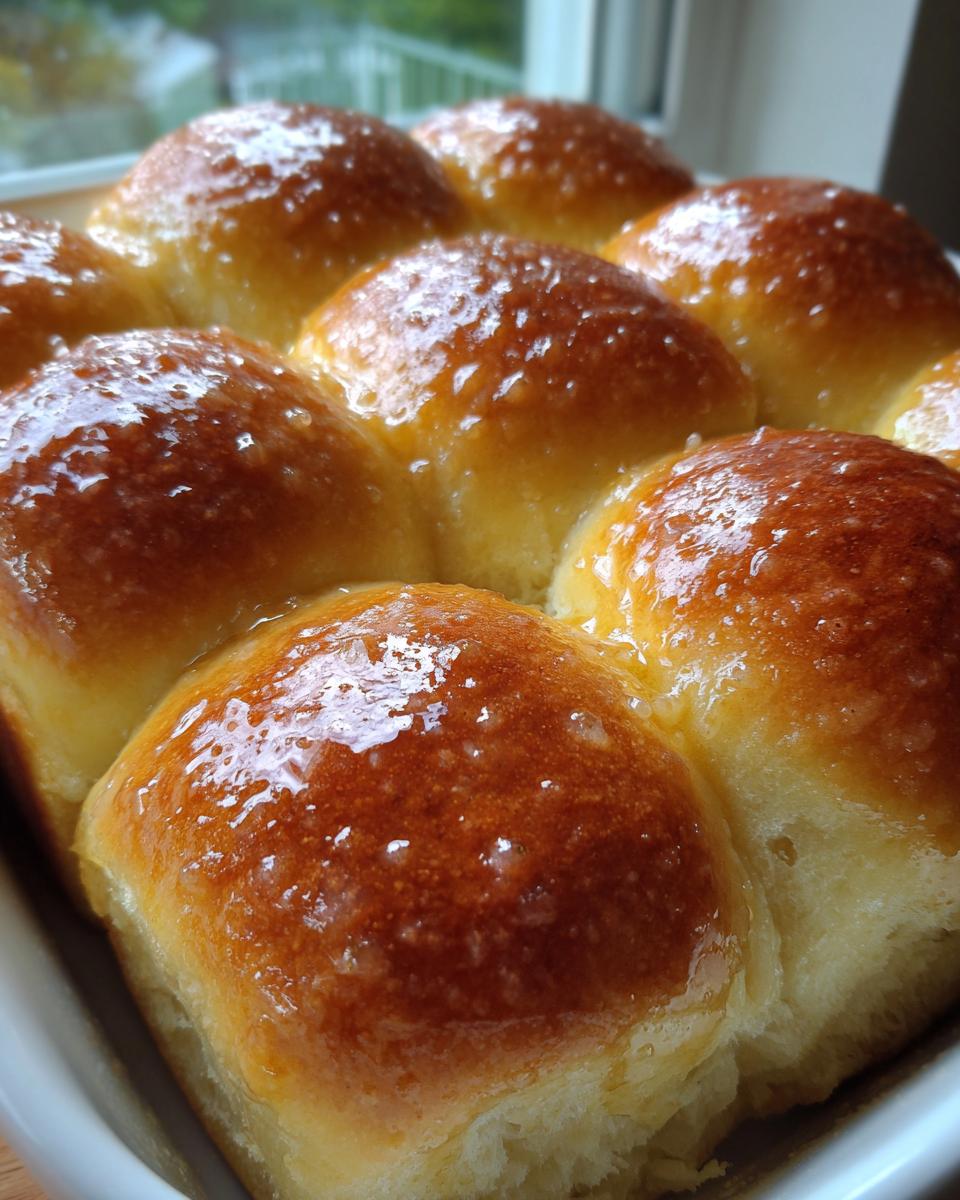
Gently—and I mean gently—punch the air out of your risen dough. Now, divide the dough evenly. I usually get 12 big ones or 16 slightly smaller ones for my 9×13 pan. Roll each piece into a perfect little sphere, like a tiny softball. Nestle them side-by-side in your prepared baking pan. They should be slightly touching so they bake up soft on the sides later! Cover them again and let them puff up for another 30 to 45 minutes. They should look puffy and happy before going into that hot oven.
Baking and Finishing Your Soft Dinner Rolls Recipe
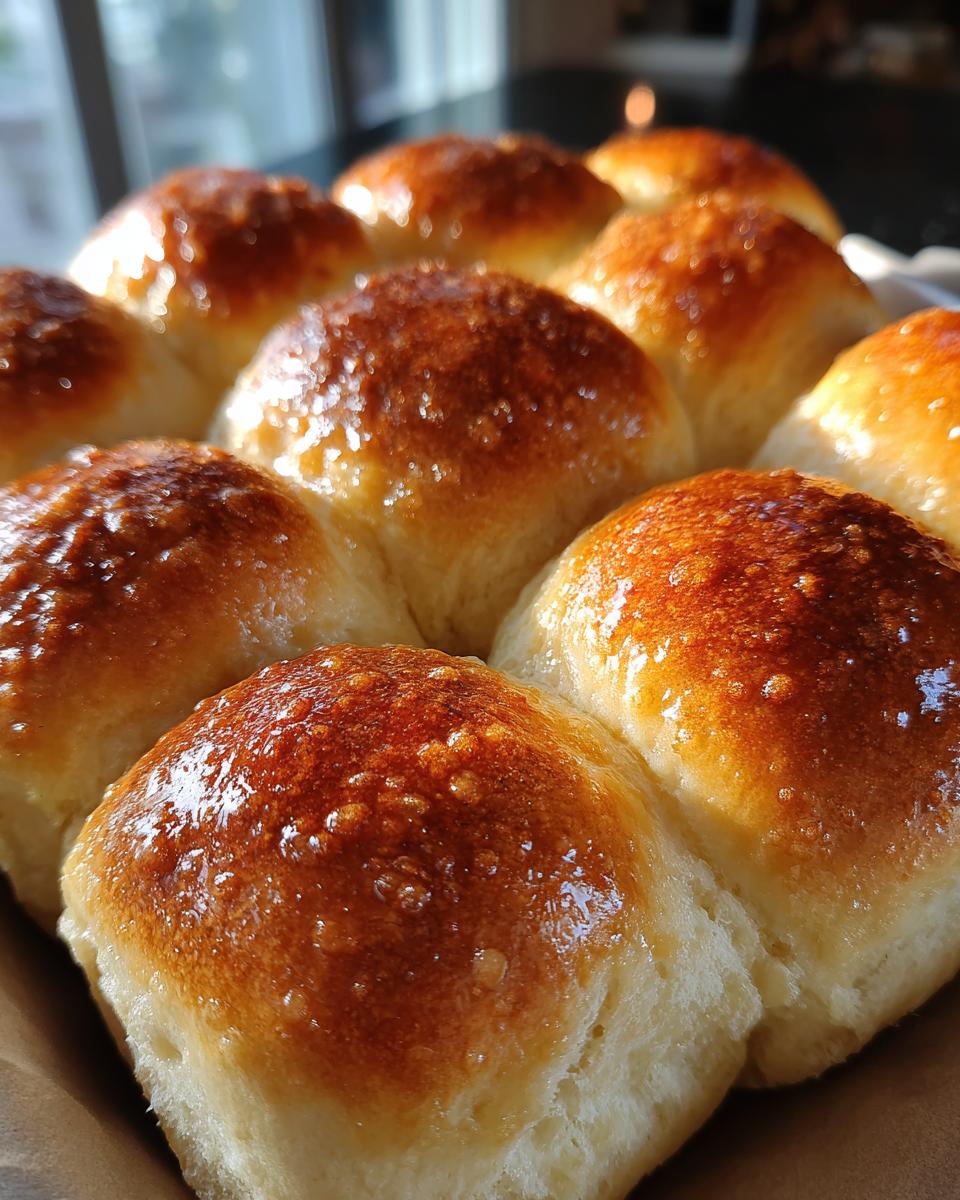
Get your oven preheated to 375°F (190°C). Bake these beauties for about 15 to 20 minutes, or until they are beautifully golden brown on top. This is the crucial moment for flavor payoff! As soon as they come out, grab those final 4 tablespoons of melted butter and brush them generously all over. That melted butter seals in the moisture and gives them that gorgeous sheen. If you want that famous copycat flavor, immediately whisk your topping ingredients together, and brush that cinnamon-honey butter mixture right over the hot tops. That’s how you get those amazing Texas Roadhouse Style Rolls Copycat wings!
Expert Tips for Perfectly Risen Rolls Every Time
We all want that bakery-style look, right? Getting Perfectly Risen Rolls really comes down to temperature and patience. If your dough seems sluggish and just isn’t rising during that first rest, check your kitchen climate. Yeast is happiest between 75°F and 85°F. If your kitchen is chilly, turn your oven *off*, turn the oven light *on*, and put the covered bowl inside. That little bit of warmth works wonders for an Easy Dinner Roll Recipe like this one.
Now, about sticking! We greased the pan, but sometimes rolls want to cling tight once they are cool. My number one tip is to let them cool in the pan for just about five minutes after they come out of the oven. Then, run a thin offset spatula around the edges, even if they aren’t sticking yet. You are creating a clean break. If you are nervous about removing them all at once, I sometimes just pull them out roll-by-roll with a serving spatula. Zero shame in that game!
Finally, never cover the dough with plastic wrap directly touching the surface during the rise. Plastic tends to suck moisture out of the dough surface and create those weird, tough spots. Use a clean kitchen towel or lightly oiled plastic wrap placed loosely over the bowl. That small detail makes a huge difference in the final, soft texture.
Dinner Roll Variations: Beyond the Classic Buttery Dinner Rolls
Once you master this base recipe for the softest dinner rolls imaginable, the sky is truly the limit! You see, this dough is just begging for a little personality boost depending on what you’re serving.
If you’re making something savory, like chili or a hearty beef stew, you absolutely have to try the Garlic Butter Rolls Recipe variation. Right after the rolls come out of the oven, instead of just plain butter, melt four tablespoons of butter with two cloves of minced garlic and a pinch of dried parsley, and brush that mixture all over while they are piping hot. Wow—that scent alone will stop traffic!
For something a little richer and perfect for a holiday brunch, you can easily turn these into Sweet Dinner Rolls. Try skipping the spicy topping and instead whisk up a very simple glaze. Just beat together 1/2 cup of powdered sugar with one tablespoon of milk and a teaspoon of vanilla extract until it’s runny enough to drizzle. It’s a lovely, slightly sweet finish that pairs wonderfully with the buttery dough.
Make Ahead Dinner Rolls and Storage Instructions
This is the part of the recipe I love most because it’s how we actually survive Thanksgiving without dissolving into a total stress ball. If you’re planning a big dinner or just want fresh dinner rolls ready for a busy weeknight, organization is everything! The great news is that this dough is fantastic for making ahead.
For Make Ahead Dinner Rolls, complete the entire process up until the shaping step—that means activating the yeast, mixing, kneading, and letting it have that first big rise. Once it’s doubled, you gently punch it down, divide it, and roll all those little balls into your greased pan just like normal. But here’s the trick: cover the pan *tightly* with plastic wrap—make sure it’s snug this time around—and pop the whole thing into the refrigerator. It can happily chill out there for 24 hours!
When you’re ready to bake them the next day, just take them out of the fridge and let them sit on the counter for about 45 minutes to an hour to warm up a tiny bit. Then they go into the second rise, and finally into the oven for baking. Just remember, sometimes baking straight from the fridge means adding an extra 5 to 10 minutes to the bake time, so keep an eye on that golden color. If you are looking for a fast solution for a Weeknight Bread Recipe, this make-ahead strategy is a life-saver!
And what about leftovers? Because there usually aren’t many, but if you have some, they freeze wonderfully! Let the rolls cool completely—this is important, they must be room temperature. Then, tuck them into a heavy-duty, airtight freezer bag. I always press out as much air as possible before sealing. They hold their fluffy texture for up to three months! Reheating is simple: just throw them on a sheet pan in a medium oven (around 350°F) for about 8 minutes until they are warm through. You won’t even be able to tell they were frozen.
Frequently Asked Questions About Making Dinner Rolls
Can I use bread flour instead of all-purpose for my dinner rolls?
That is such a common question when baking from scratch bread! Yes, you absolutely can substitute bread flour for all-purpose flour here. Bread flour has a higher protein content, which means it develops more gluten when kneaded. If you use it, you might find your dough springs back a little faster and the final texture is slightly chewier—but still super soft!
Because bread flour absorbs more liquid, start with 3 1/2 cups instead of the full 4 cups listed in the recipe. You can always add that last bit of flour if the dough feels tacky, but starting lower gives you a better chance of achieving those fluffy homemade bread results without ending up tough.
My yeast looks dead! Why didn’t my yeast activate?
Nothing is more frustrating than expecting a beautiful rise and getting nothing but warm, sugary water. Usually, this means the temperature was way off. If the water was too cold (under 100°F), the yeast just stayed asleep. If it was too hot (over 120°F), well, you unfortunately cooked it right out of existence!
For this recipe, make sure your milk and water together hit that magic 105°F to 115°F range. If everything felt right temperature-wise and it still didn’t foam up after 10 minutes, your yeast might be old! It’s always a good idea to keep fresh yeast on hand, especially if you bake often. Don’t proceed if you don’t see that foamy top; it just means your beautiful **dinner rolls** won’t rise.
How do I get that restaurant-style soft top on my rolls?
This is one of my favorite tricks for getting those bakery-quality tops! It’s twofold: first, when you shape the dough, make sure you place the balls relatively close together in your 9×13 pan. As they have their second rise and bake, they touch each other, forcing the sides to steam instead of bake hard. That’s how you get that tender, pull-apart texture.
But the real secret sauce for that buttery shine, especially if you’re going for the Texas Roadhouse style? You must brush them with melted butter *immediately* after they come out of the oven. The heat of the rolls absorbs the butter beautifully and seals in the softness. If you’re using the honey option, brush that sweet mixture on immediately, too! That hot bread soaks up all that flavor goodness.
Are these considered an Easy Dinner Roll Recipe for beginners?
I absolutely designed this to be an Easy Dinner Roll Recipe! While kneading takes a moment, the hands-on time is minimal for such a spectacular return. The only real challenge is temperature control for the yeast, which you nail after doing it once or twice. I’ve seen people who’ve never touched yeast before nail these for Thanksgiving. If you follow the warming step of the milk and water precisely, I promise these will work. They’re simple enough for a **weeknight bread recipe** but special enough for the holidays!
If you run into any trouble while you’re whipping these up, please don’t hesitate to get in touch with us through our contact page—I’m always happy to help troubleshoot your bake!
Estimated Nutritional Data for These Dinner Rolls
Now, I have to preface this section by saying that I’m a baker, not a nutritionist! Since these are from scratch bread and we are loading them up with butter (which is the best part, let’s be honest), these numbers are just estimates based on the ingredients used, specifically making 14 rolls with the standard butter topping. Don’t treat this as medical advice, but just a guideline for what you’re enjoying at the table!
A single serving of these soft dinner rolls recipe delights comes out somewhere in this ballpark:
- Serving Size: 1 roll
- Calories: Around 180
- Fat: About 6g (That’s the glorious butter talking!)
- Carbohydrates: Roughly 28g
- Protein: Just about 4g
See? Not too bad at all, especially when you consider the sheer joy these buttery yeast rolls bring to a holiday table or a simple Tuesday night dinner. Nothing made at home with real ingredients is ever really “bad,” in my book!
Share Your Soft and Fluffy Dinner Rolls Experience
Well, now that you have the secrets to the absolute best homemade rolls in your apron pocket, I really want to hear how they turned out! Baking is a journey, and successes—especially with yeast—should always be celebrated.
Did you manage to get that perfect pillow-soft texture? Were you able to pull off the sticky, sweet topping for that authentic Texas Roadhouse style flavor? Or maybe you found a different way to jazz them up? Drop a comment below and let me know! Seriously, seeing photos of your gorgeous, golden-brown dinner rolls makes my day.
If you’re looking for a really quick option next time, remember that some folks manage truly quick dinner rolls in under an hour, like the recipe I saw over at Chop and Eat, though I always prefer the deeper flavor of the longer rise we used here. But please, share your results! Whether they came out perfectly fluffy or you learned something new for next time, sharing your experience helps the whole community bake better. I’m especially curious if anyone tried the freezing method, like the tips I saw someone using here!
Don’t be shy—tell me how your buttery yeast rolls tasted served alongside your dinner!
PrintThe Ultimate Soft and Fluffy Homemade Dinner Rolls (Classic Buttery Recipe)

Make incredibly soft, fluffy, and buttery dinner rolls from scratch. This recipe delivers comfort food baking that tastes far better than store-bought options, perfect for holiday side dishes or any family meal.
- Prep Time: 20 min
- Cook Time: 20 min
- Total Time: 2 hours 20 min
- Yield: 12 to 16 servings 1x
- Category: Side Dish
- Method: Baking
- Cuisine: American
- Diet: Vegetarian
Ingredients
- 1 cup warm water (105-115°F)
- 2 1/4 teaspoons active dry yeast
- 1/4 cup granulated sugar
- 1/2 cup whole milk, warmed
- 1/4 cup unsalted butter, melted, plus 4 tablespoons for brushing
- 1 large egg
- 3 1/2 to 4 cups all-purpose flour
- 1 teaspoon salt
- For topping (Optional Texas Roadhouse Style): 4 tablespoons butter, melted, 1 teaspoon honey, 1/4 teaspoon ground cinnamon
Instructions
- Activate the yeast: In a large bowl, combine the warm water, yeast, and 1 teaspoon of the sugar. Let stand for 5 to 10 minutes until foamy.
- Mix wet ingredients: Add the remaining sugar, warm milk, 1/4 cup melted butter, and egg to the yeast mixture. Whisk until combined.
- Combine dry ingredients: In a separate bowl, whisk together 3 1/2 cups of the flour and the salt.
- Form the dough: Gradually add the flour mixture to the wet ingredients, mixing until a shaggy dough forms. Turn the dough out onto a lightly floured surface.
- Knead the dough: Knead for 6 to 8 minutes, adding more flour one tablespoon at a time if the dough is too sticky, until the dough is smooth and elastic. It should pass the windowpane test.
- First rise: Place the dough in a lightly oiled bowl, turning to coat. Cover the bowl with plastic wrap or a clean towel. Let it rise in a warm place for 1 to 1.5 hours, or until doubled in size.
- Shape the rolls: Gently punch down the dough. Divide the dough into 12 or 16 equal pieces. Roll each piece into a smooth ball. Place the balls close together in a greased 9×13 inch baking pan.
- Second rise: Cover the pan loosely and let the rolls rise again in a warm spot for 30 to 45 minutes, or until puffy.
- Bake: Preheat your oven to 375°F (190°C). Bake for 15 to 20 minutes, or until the tops are golden brown.
- Brush with butter: Immediately after removing the rolls from the oven, brush the tops generously with the remaining 4 tablespoons of melted butter.
- Optional topping: For Texas Roadhouse Style Rolls, whisk together the 4 tablespoons of melted butter, honey, and cinnamon. Brush this mixture over the hot rolls immediately after baking.
- Serve warm.
Notes
- For make ahead dinner rolls, you can complete the shaping step, place the rolls in the pan, cover tightly, and refrigerate for up to 24 hours before the second rise and baking. Add 5-10 minutes to the baking time if baking directly from the refrigerator.
- If you need quick dinner rolls, ensure your water and milk are the correct temperature to speed up the yeast activation and rising time.
- These rolls freeze well after baking. Cool completely, place in an airtight freezer bag, and freeze for up to 3 months. Reheat in the oven or microwave.
Nutrition
- Serving Size: 1 roll
- Calories: 180
- Sugar: 4g
- Sodium: 210mg
- Fat: 6g
- Saturated Fat: 4g
- Unsaturated Fat: 2g
- Trans Fat: 0g
- Carbohydrates: 28g
- Fiber: 1g
- Protein: 4g
- Cholesterol: 25mg