
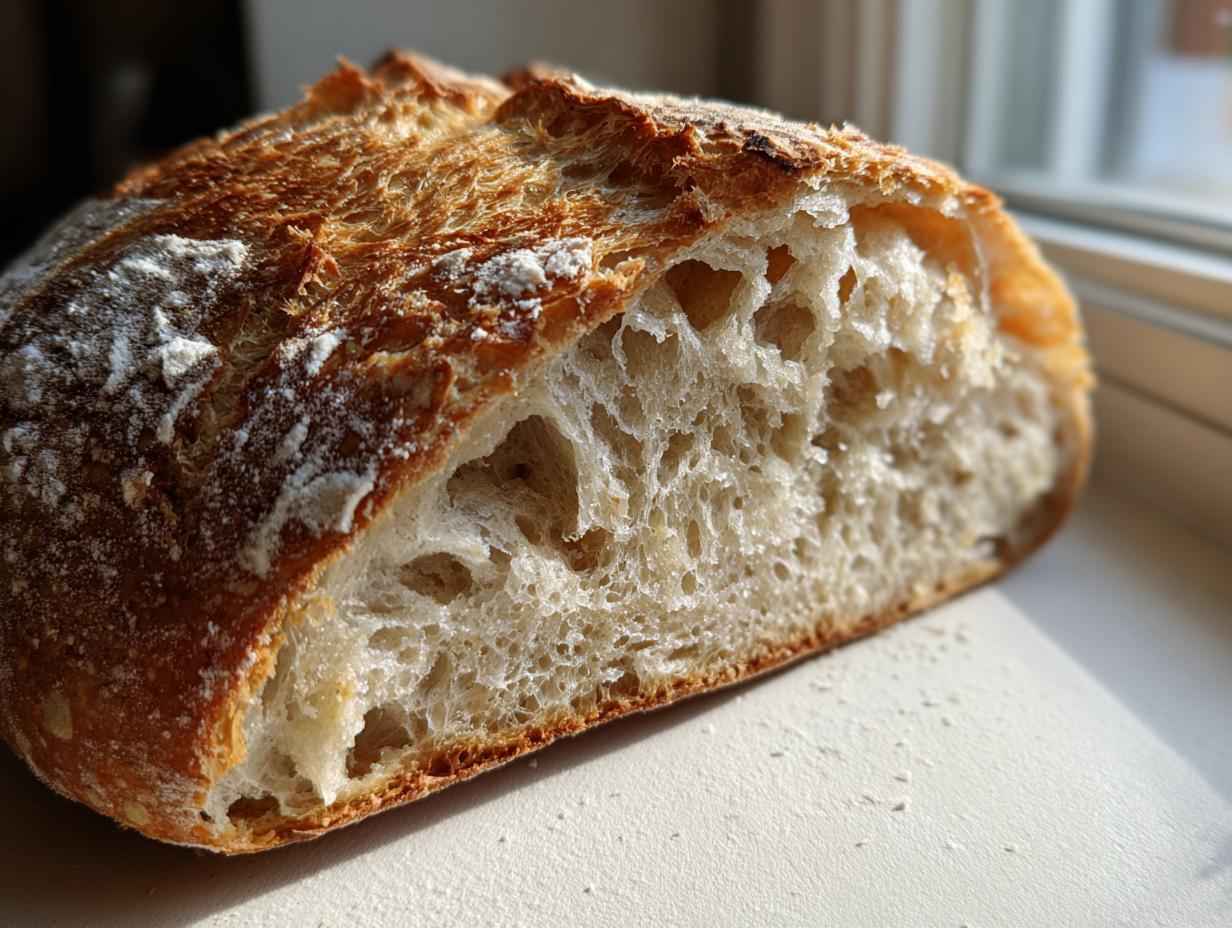
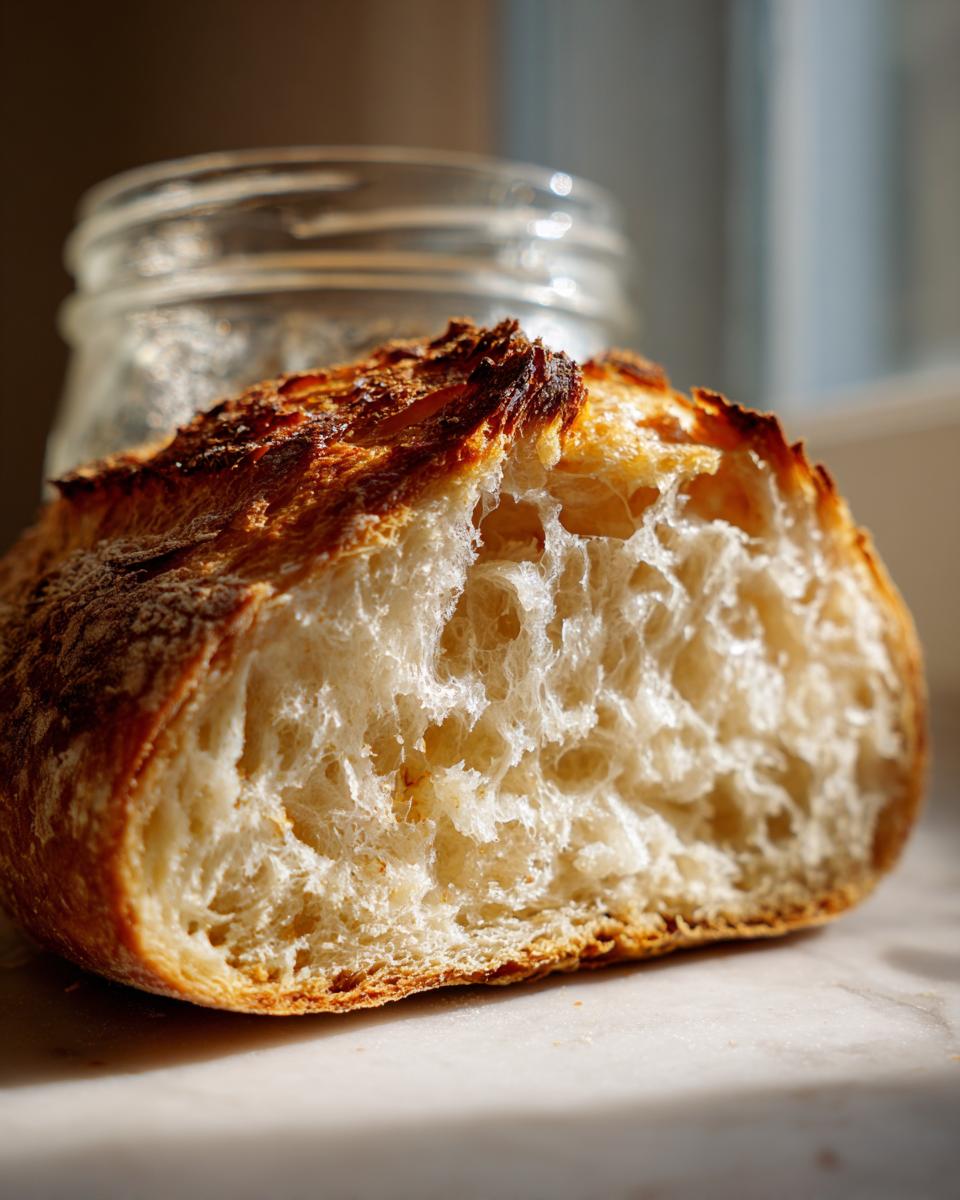
There is something truly magical about baking bread that relies only on flour, water, and the gentle power of natural fermentation. Forget the packets of instant yeast; when you look at an artisanal loaf with that gorgeous, chewy crumb, you’re looking at the work of a living thing—your own home-grown ecosystem. Creating your very own sourdough starter from scratch might sound intimidating, like something only old-world bakers attempt, but I promise you, it’s not!
This 7-day method is my definitive, beginner-friendly approach. We’re ditching the complicated jargon and focusing on simple care to cultivate that wild yeast culture. Think of this as the absolute foundation for everything wonderful in artisan bread making at home. I’m here to walk you through every single bubble, guiding you from just flour and water to having a robust, happy starter ready to take on its first loaf!
- Why This 7-Day Sourdough Starter Guide Works For Beginners
- Gathering Supplies for Your Sourdough Starter Journey
- Ingredients for the Easy Sourdough Starter Recipe
- Step-by-Step: How to Make Sourdough Starter From Scratch (7 Days)
- Expert Sourdough Maintenance Tips for Your Sourdough Starter
- Troubleshooting Common Issues
- Understanding Your Flour and Water Starter: The Float Test
- Storage and Reviving Your Mature Sourdough Starter
- Frequently Asked Questions About Your New Sourdough Starter
- Next Steps After Creating Your Sourdough Starter
Why This 7-Day Sourdough Starter Guide Works For Beginners
When I first started, I felt like I needed a chemistry degree just to feed a jar of goo! I spent weeks reading conflicting advice. That’s why I developed this straightforward, low-stress approach. This isn’t just any recipe; it’s an easy sourdough starter recipe designed specifically to give you confidence right away. It’s the perfect sourdough starter for beginners because it focuses on consistency over complexity. Learning the basics is so important, which is why I always stress the foundational work before jumping into the mixing bowl, just like I wrote about concerning my philosophy over at the beginning of my cooking journey.
Trust me, understanding the routine is half the battle won. We keep it simple so you can focus on nurturing those tiny organisms!
- It uses a manageable 7-day timeline, so you aren’t waiting forever to try your first dough.
- We rely on easily accessible pantry staples—no specialty store runs required!
- The day-by-day feeding schedule removes the guesswork about when to feed next.
Simple Ingredients for Your Homemade Starter Guide
Honestly, the magic lies in the fact that you only need two things to start: flour and water. That’s it! No commercial yeast needed here, which is pretty amazing when you think about it. We start with a whole grain flour because those outer layers are packed with the natural microbes we want to invite to the party.
Demystifying Wild Yeast Cultivation
What we’re actually doing here is called wild yeast cultivation. We are gently capturing the natural yeasts and bacteria floating around us every single day and encouraging them to settle down in a nice, controlled environment (your jar!). By feeding them regularly, we create a healthy, thriving culture that does all the heavy lifting when it comes time to bake your bread.
Gathering Supplies for Your Sourdough Starter Journey
Before we start mixing flour and water on Day 1, let’s get your little starter home set up right. Preparation makes the whole 7-day process so much smoother, and trust me, you don’t want to be scrambling for a clean jar halfway through feeding time!
You don’t need much fancy gear; simplicity is the name of the game when you’re making something this natural. Having everything ready means you can focus purely on what’s happening inside that jar.
Essential Tools for Creating a Sourdough Culture
If you have these few humble necessities, you are good to go. My biggest pro tip? Get a small digital kitchen scale. Eyeballing measurements in this early stage just leads to frustration because the texture gets off really fast. Accuracy really matters when you are building this foundational culture!
- A glass jar, about 1 quart (or 32 ounces) size. Needs a loose-fitting lid—air needs to get in!
- A jar-sized spatula or spoon for mixing.
- A reliable digital kitchen scale. Seriously, use this!
- Some plastic wrap or a coffee filter if your lid doesn’t seal loosely.
Ingredients for the Easy Sourdough Starter Recipe
Okay, let’s talk about what you need. This is the part where I get to scream from the rooftops: THIS IS SO SIMPLE! You won’t need milk, honey, or any complicated additives. My secret to success when making a sourdough starter is keeping the ingredient list bare bones, especially in the beginning. We are relying entirely on harnessing the wild yeasts that are already floating in your environment, and they thrive on simplicity.
You only need two things for this flour and water starter guide, but I’m breaking down the flour usage because it really matters for the first week. Don’t panic if you can’t find rye flour; whole wheat works just as beautifully to kick things off!
- 100g Whole Grain Flour (Rye or Whole Wheat recommended for initial activation—this grabs those wild yeast guys first!)
- 100g Unbleached All-Purpose Flour (This is what we switch to for the regular feedings later on, for a lighter culture.)
- 100g Unchlorinated Water (Room temperature is key! If your tap water is heavily chlorinated, just use bottled water for this part. Chlorine can really hurt our little microbes.)
That’s your toolkit! See? Easy peasy. We use these exact quantities for our initial mix, and then we start following the discard-and-feed rhythm on Day 2. It’s so satisfying knowing you’re building something this powerful using just these humble ingredients.
Step-by-Step: How to Make Sourdough Starter From Scratch (7 Days)
This is where the real fun begins! While you explore some great methods out there, like the one by Earth, Food, and Fire over here, my 7-day approach is designed to give you a reliable feed schedule. We follow the sourdough starter day by day routine to build strength slowly. Remember, we are cultivating wild yeast, and that takes time and consistency. Keep your jar in a warm spot if your kitchen tends to run cool—around 70°F is a sweet spot!
Before you start each day, make sure you have your scale ready. We always discard half before feeding, which keeps the culture manageable and ensures the yeast has plenty of fresh food to conquer. This process primes you perfectly for easy weeknight dinners where fresh bread is the star!
Days 1 and 2: Initial Activation of Your Sourdough Starter
Day 1 is super simple: mix 50g of that hearty whole grain flour (rye or whole wheat!) with 50g of room-temperature water right in your clean jar. Stir it up until it looks like thick pancake batter, cover it loosely to let the air flow, and walk away for 24 hours.
Day 2 might look anticlimactic—maybe you see a few tiny bubbles, maybe you see nothing. Don’t worry! Discard half the mixture. Then, feed what’s left with another 50g of whole grain flour and 50g of water. We wait another day. Patience is your best friend this whole week.
Days 3 through 5: Developing the Active Sourdough Starter Guide
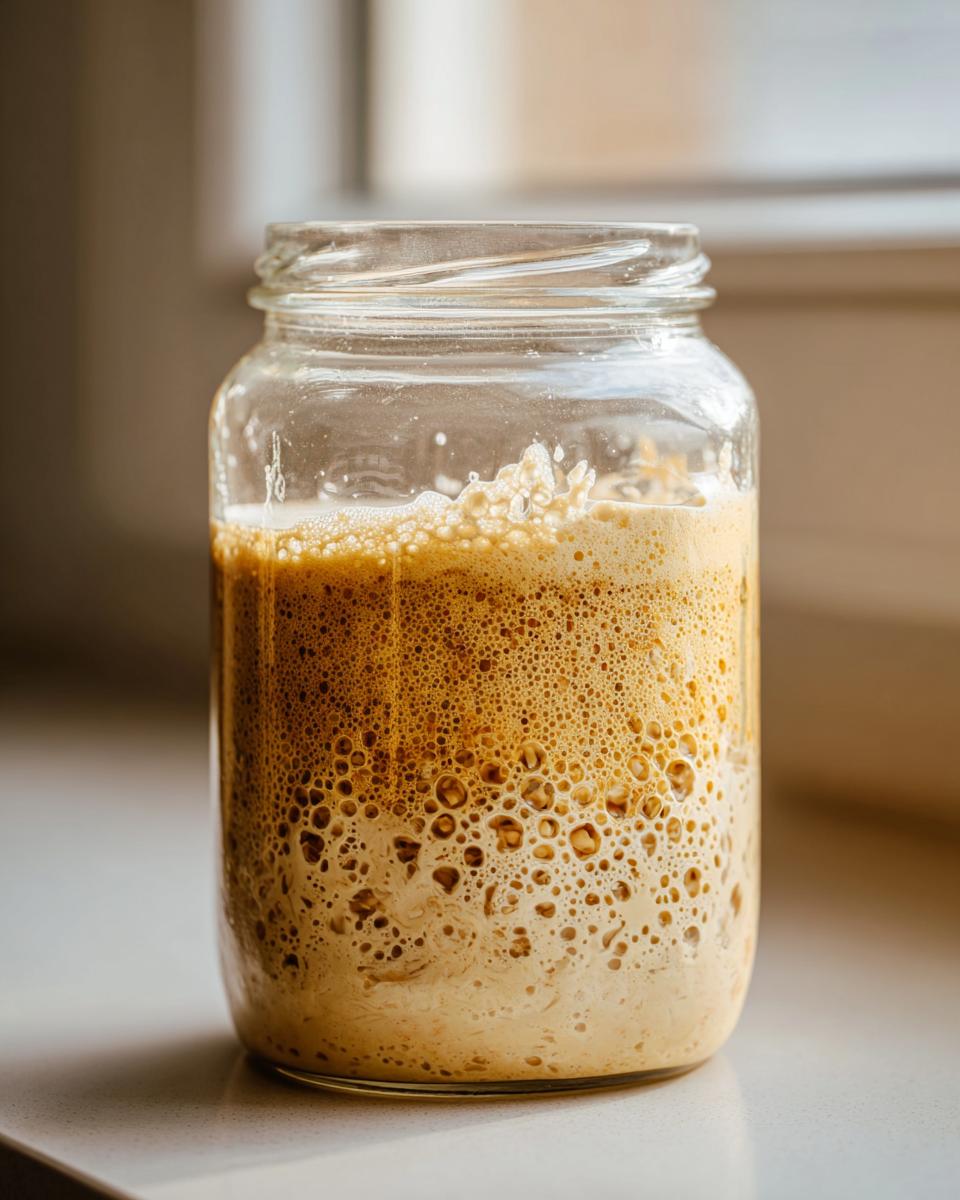
On Day 3, we make an important switch! Discard half, but this time, feed with 50g of your standard unbleached all-purpose flour and 50g of water. By Day 4, you should start smelling something… interesting. It might smell like vinegar or maybe even acetone (nail polish remover). That’s totally normal! It means the bacteria are working hard, but they need more food to balance out the yeast.
If you see real, vigorous activity—that’s your cue to start feeding twice a day! That means starting on Day 5, you discard half, and feed every 12 hours with 50g starter, 50g flour, and 50g water. This rapid feeding is what pushes the active sourdough starter guide toward peak performance.
Days 6 and 7: Achieving a Ready Sourdough Starter
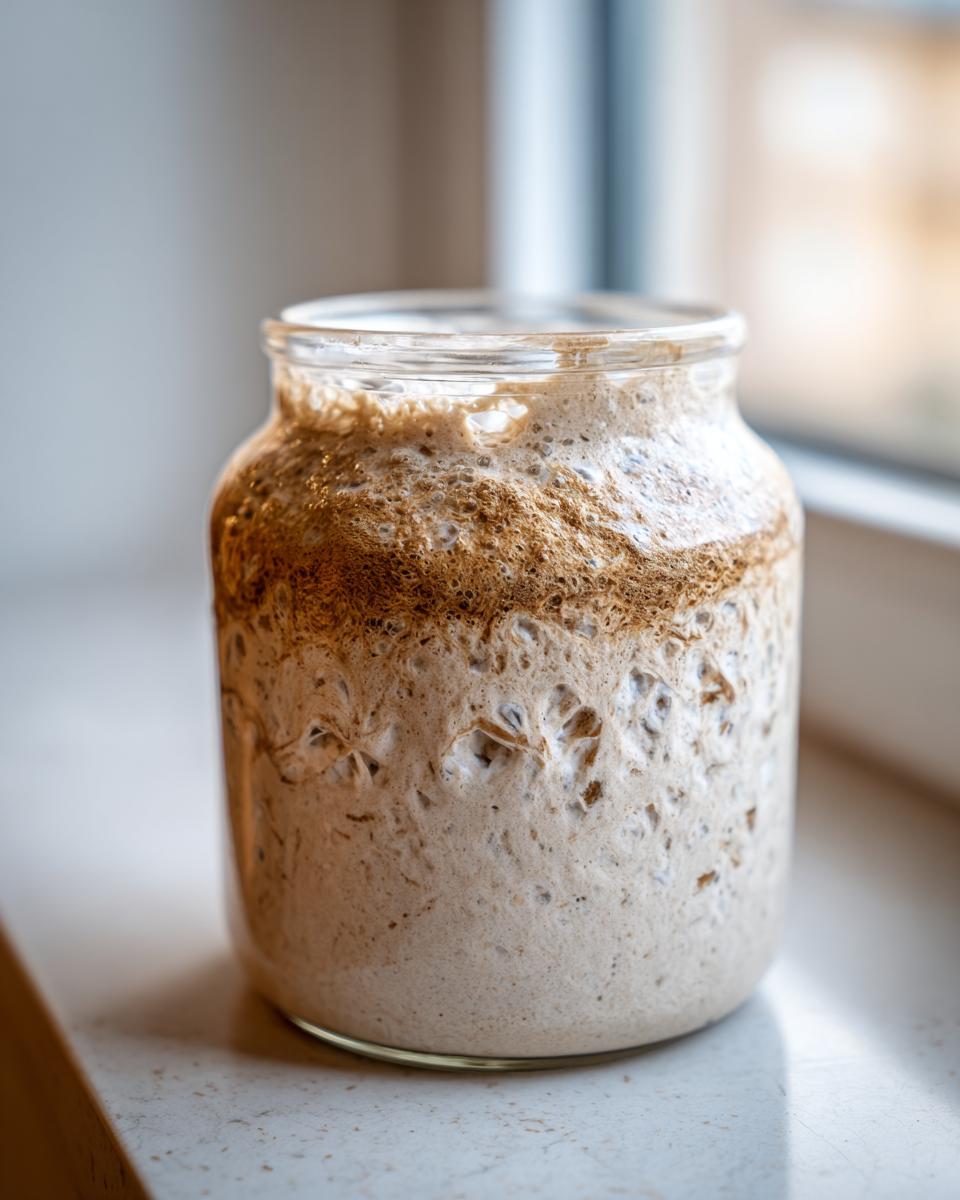
By Day 6, your sourdough starter should be doubling, or even tripling, in size within 4 to 8 hours after you feed it. If it’s lagging, just keep with the twice-daily feedings! We are looking for predictability here.
Day 7 is the payoff! When your starter consistently doubles in volume in 4 to 6 hours, it’s strong enough to bake with. To be absolutely sure, try the float test: drop a tiny spoonful into a glass of water. If it floats happily on top, you have successfully made a robust culture ready for beginner bread baking!
Expert Sourdough Maintenance Tips for Your Sourdough Starter
Congratulations! You’ve successfully crossed the finish line and created a living, breathing sourdough starter. Now the real relationship begins—how do you keep this beautiful wild yeast culture happy and thriving for years to come? This transition from creation to everyday maintenance is where many folks stumble, but with these simple rules, you’ll know exactly how to keep sourdough starter alive whether you bake every day or just once a month.
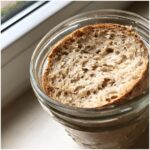
First, let’s talk about observation. Keep using a clear jar so you can see what’s happening, just like during your initial cultivation phase. If you ever notice a thin, dark liquid layer forming on the top—that’s called ‘hooch.’ It’s just a sign your starter is hungry and needs a good feed. You can stir it right in, or if there’s a lot, just pour it off before you feed. It’s not a disaster; it’s just a little communication from your culture!
When it comes to long-term care, if you aren’t baking daily, the refrigerator is your best friend. Pop that lid on tighter and stick it in the cold. For baking inspiration later, check out this great guide on starter recipes! Remember, if you ever need backup or have serious questions, don’t hesitate to reach out via my contact page; I love hearing how you all are doing!
What If My Sourdough Starter Smells Strange?
That initial funky, sharp, or acetone-like smell you get around Day 4 or 5? That’s totally normal, even temporary. It usually means the thriving bacteria are running ahead of the yeast. The fix is always more food! A good, strong feeding (discarding half, then feeding equal parts flour and water) will quickly balance things out. If your starter starts smelling like strong vinegar or even moldy cheese, that’s where sourdough troubleshooting comes in—if you see any actual fuzz, toss it and start over, but 99% of the time, a hungry smell just means it needs a fresh meal, not a burial!
Troubleshooting Common Issues
Even with the best intentions, your beautiful new culture might throw you a curveball. Hey, that’s just nature, right? When you’re working with wild yeast cultivation, things are rarely perfectly linear! Don’t panic if your jar looks a little sleepy after Day 3 or if you see weird stuff growing. Remember, almost every baker who makes long fermentation bread has dealt with a sluggish starter at some point. The key is simple observation and treating it like a living pet that needs the right environment.
If you see gray or pink fuzz, sadly, that means mold, and you have to toss everything and start fresh—it happens to the best of us! But if it’s sluggish or smelly, we can usually fix it right up with a strategic change in feeding.
When to Switch Flour Types in Your Sourdough Starter Feeding Schedule
I want to circle back briefly to the flour switch we talked about earlier. Remember how we kicked things off using whole grain rye or whole wheat flour? That’s because those flours carry more natural microorganisms, giving Step 1 of your sourdough starter feeding schedule a big boost. They are great for the initial wake-up call.
But once you start seeing consistent bubbles—around Day 3—it’s important to switch to unbleached all-purpose flour for the remaining feedings. Why? Because the organisms we want for great bread structure prefer the softer, more digestible starch of AP flour once they’ve established themselves. If you see your starter suddenly getting sluggish right after switching, don’t fret! Just give it one or two more feeds with the AP flour; it’s just getting used to its new diet, and consistency in your sourdough starter feeding schedule will get it doubling again!
Understanding Your Flour and Water Starter: The Float Test
So, you’ve hit Day 7, and your sourdough starter is doubling nicely. That’s great news, but we need one final check before you commit to making your first batch of artisan bread at home. This is where the float test comes in—it’s the definitive sign that your culture is strong enough to lift a loaf!
It’s incredibly simple. Take a small spoonful of starter when it’s at its absolute peak—right after it has doubled and before it starts to fall back down. Gently drop that bit of starter into a glass of room-temperature water. If it floats like a fluffy little cloud, you did it! If it sinks, don’t stress; it just means your yeast needs one or two more strong feedings before it’s ready to bake. Keep practicing that feeding routine, and soon you’ll have a starter that floats every time. Want some easy lunch ideas for while you wait for your bread to cool? Check out my other quick recipes!
Storage and Reviving Your Mature Sourdough Starter
Once your sourdough starter is happy and consistently doubling, you get to relax a little bit on the feeding! If you’re not baking every day—and most of us aren’t, right?—the refrigerator is the perfect place for long-term storage. Pop that jar in the fridge once it has cooled down a bit after feeding. Cold temperatures make the yeast and bacteria slow way down, meaning you only have to feed it about once a week. These are great sourdough maintenance tips because they save you time and flour!
Now, how do you wake up a sleepy refrigerated starter when you want to bake? It’s easy! Just pull your jar out the day before you intend to bake. Discard most of it—you only need about 50g to revive the culture. Then, feed it its usual 1:1:1 ratio (starter, flour, water). You might need two feedings, about 12 hours apart, just to watch it get those bubbles going strong again. Don’t be tempted to bake until you see that beautiful doubling action!
Frequently Asked Questions About Your New Sourdough Starter
It’s totally normal to have a million questions when you start cultivating a living culture for the first time! I remember feeling like I needed a handbook for every little thing. Don’t worry; this is where we cover all the little details that might not have fit neatly into the day-by-day instructions. Think of this as your quick reference guide for sourdough 101.
The goal here is to give you the confidence to manage this new addition to your kitchen so you can move on to baking phenomenal bread. We want you to succeed, and sometimes that means preemptively answering the questions you haven’t even thought to ask yet!
Can I use different types of flour for my sourdough starter?
You absolutely can, and honestly, experimenting is part of the fun! As we discussed, starting with whole grain rye or whole wheat is my strong recommendation because they are teeming with activating microbes. However, once your sourdough starter is robust and consistently doubling after a feed, you can definitely switch to using whatever high-quality white bread flour you keep on hand for your regular feedings. Some people even use spelt! Just stick to one type for a few days after switching so you can clearly track how your starter is reacting.
How long does it take until my sourdough starter is truly active?
For this particular method, we set ourselves up for success by following a 7-day routine. Most home bakers see reliable, predictable doubling by Day 7, and that’s when I officially call the starter ‘mature’ enough for your first loaf of no yeast bread starter baking. That said, nature doesn’t always follow my schedule! If your kitchen runs cool, it might take a full 10 days. If you see massive, fast activity right away, you might be ready on Day 5! Always trust the activity (doubling) over the calendar date, but 7 days is a safe bet.
If you feel like you need more insight into the different types of cultures out there, check out this great breakdown on various starters when you have a moment. And remember, if you ever have a privacy concern or just want to reach out, my policy pages are easy to find, but I’d much rather chat about your starter!
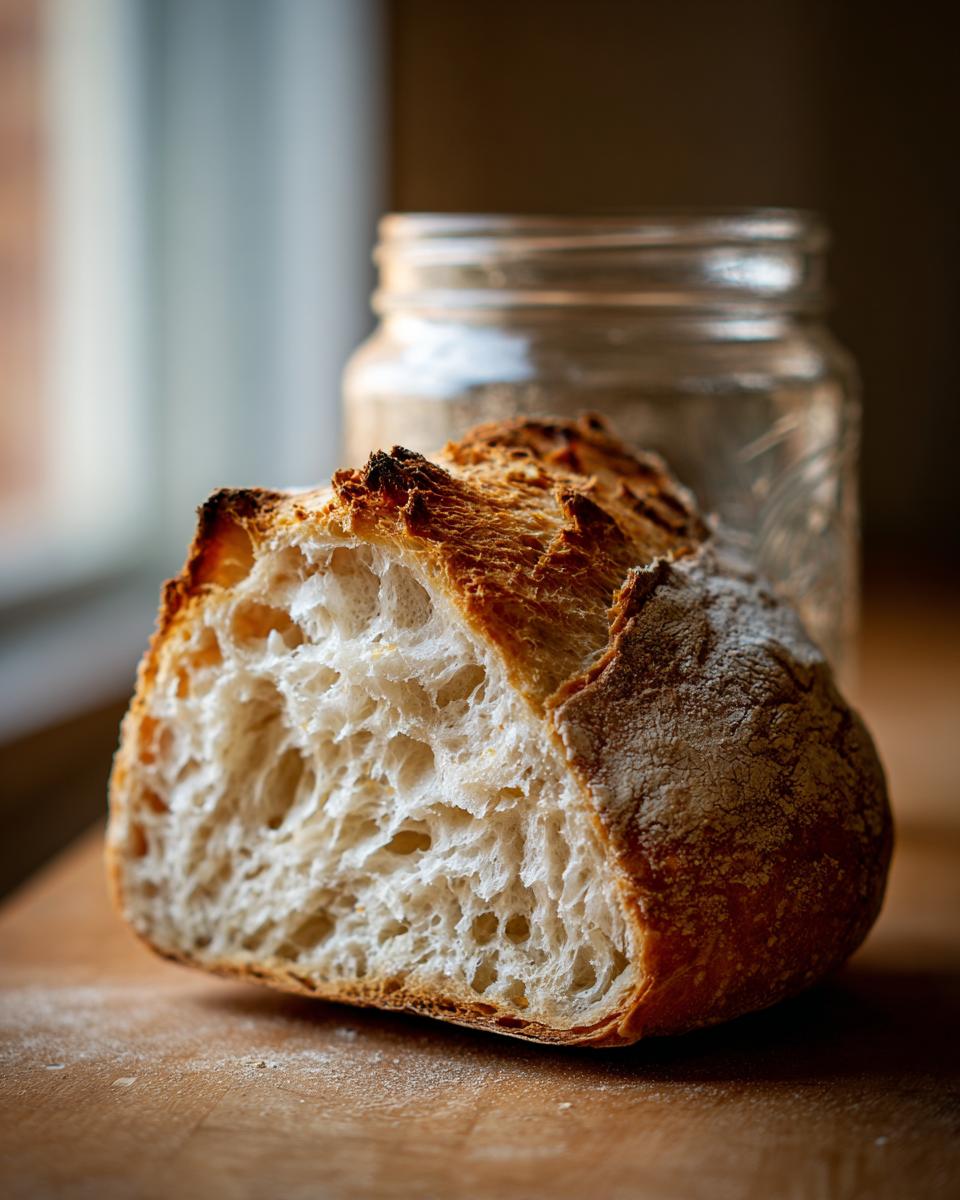
Next Steps After Creating Your Sourdough Starter
Well, look at you! You did the work, you nurtured the wild yeast, and now you have a vibrant, bubbly, happy sourdough starter that is begging to make bread. This is so exciting! The hardest part—the cultivation—is done. Now comes the really rewarding part: using that living culture to make something incredible for your family.
I know jumping from a jar of goo to a full loaf of artisan bread can feel scary. Remember how I felt navigating corporate marketing while trying to cook real food? It’s okay to take baby steps! Your starter is now ready to go into the fridge if you’re taking a break, or it can be fed and peaked specifically for your very first loaf. I have some wonderful breakfast and brunch recipes where you can practice with pancakes or discard recipes first, which is a great low-pressure way to start seeing results.
Don’t let that jar sit empty! Go forth and bake something delicious. And honestly, I would absolutely love to hear about it. Did you have any funny moments during the 7-day process? Did you name your starter? Snap a picture of your first successful loaf and tag me online! Sharing these small victories is exactly why I created this space. Happy baking!
PrintThe Definitive Beginner’s Guide: How to Make and Maintain a Sourdough Starter From Scratch (7-Day Method)
Learn how to create a strong, active sourdough starter using only flour and water. This guide provides clear, day-by-day instructions for beginners to cultivate wild yeast and begin making artisan bread at home.
- Prep Time: 10 min
- Cook Time: 0 min
- Total Time: 7 days active cultivation
- Yield: Approximately 100g active sourdough starter 1x
- Category: Baking Foundation
- Method: Wild Yeast Cultivation
- Cuisine: American
- Diet: Vegetarian
Ingredients
- 100g Whole Grain Flour (Rye or Whole Wheat recommended for initial activation)
- 100g Unbleached All-Purpose Flour (for later feedings)
- 100g Unchlorinated Water (room temperature)
Instructions
- Day 1: Mix 50g of whole grain flour with 50g of room temperature water in a clean glass jar. Stir until fully combined. Cover loosely and leave at room temperature (68-75°F or 20-24°C) for 24 hours.
- Day 2: You may see small bubbles or nothing at all. Discard half of the mixture. Add 50g of whole grain flour and 50g of water to the remaining starter. Mix well, cover loosely, and wait 24 hours.
- Day 3: You should see some activity. Discard half. Feed with 50g of all-purpose flour and 50g of water. Mix and wait 24 hours.
- Day 4: Discard half. Feed with 50g of all-purpose flour and 50g of water. If you see significant bubbles, you can switch to feeding twice a day.
- Day 5: Continue discarding half and feeding every 12 hours (50g starter, 50g flour, 50g water). The starter should begin to smell pleasantly sour, not like acetone.
- Day 6: Your sourdough starter should be doubling in size within 4-8 hours after feeding. If it is not, continue the twice-daily feeding schedule.
- Day 7: Your starter is ready to use when it consistently doubles in volume within 4-6 hours after feeding and passes the float test (a small spoonful floats in water). Switch to a standard maintenance feeding schedule.
Notes
- Use a clear jar so you can monitor the rise and fall of your sourdough starter.
- Maintain a consistent temperature; cooler kitchens slow down the process, requiring patience.
- If you see dark liquid (hooch) on top, stir it in or pour it off before feeding. This means your starter is hungry.
- For the best results in making artisan bread at home, use filtered or bottled water if your tap water is heavily chlorinated.
Nutrition
- Serving Size: 100g culture
- Calories: 180
- Sugar: 0.5
- Sodium: 1
- Fat: 0.5
- Saturated Fat: 0.1
- Unsaturated Fat: 0.4
- Trans Fat: 0
- Carbohydrates: 37
- Fiber: 2
- Protein: 5
- Cholesterol: 0