
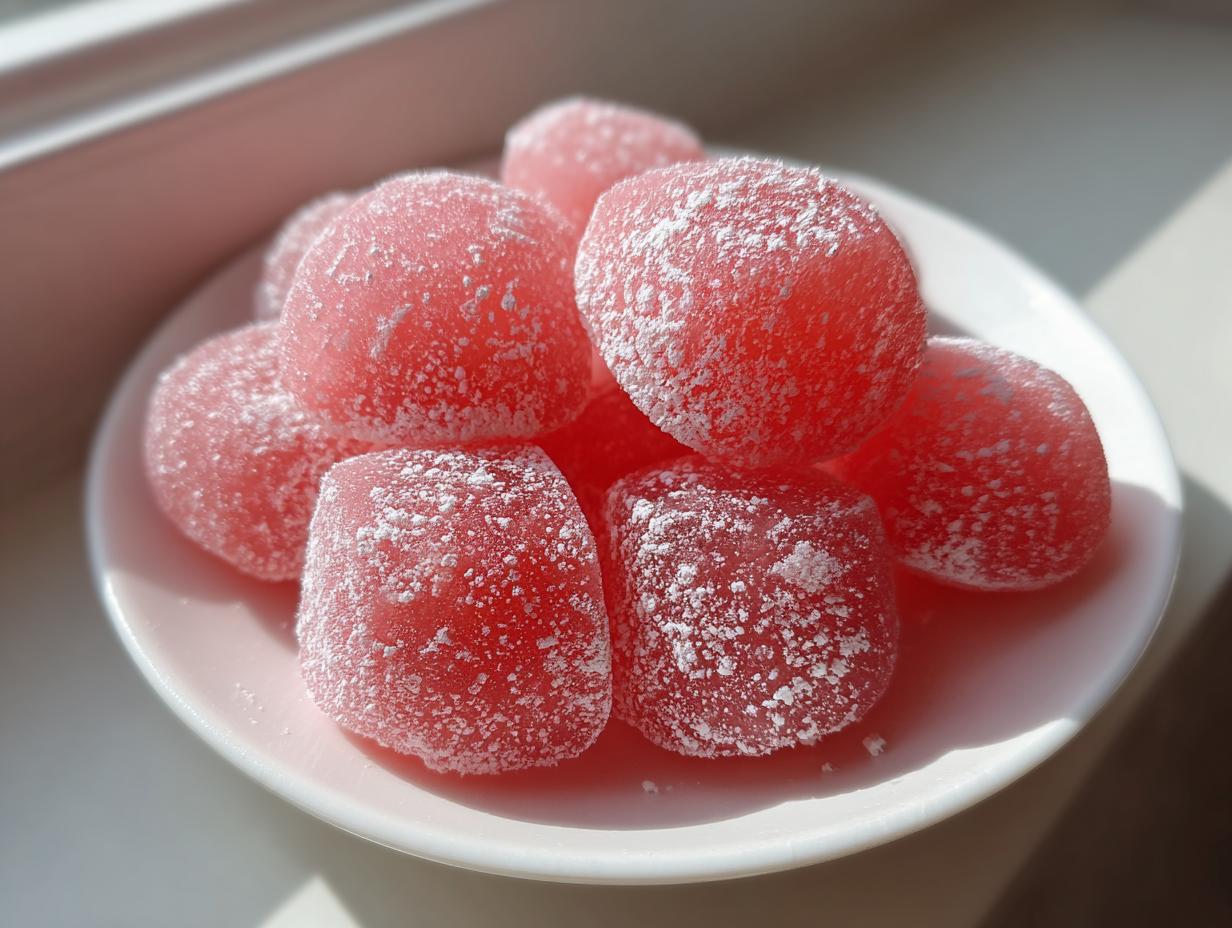
Oh, when the summer heat just won’t quit, you need something wonderfully light, right? So many desserts feel heavy, but I always go back to the joy of simple pleasures. That’s exactly where this unbelievably easy watermelon mochi comes from. Seriously, this recipe is a lifesaver when I’m juggling a million things but still want that connection you get from making something lovely for people. We’re talking about soft, chewy summer bites made with just three core ingredients—that’s it! It proves that even on the busiest days, you can whip up something completely delightful and refreshing.
- Why This Watermelon Mochi Recipe is Your New Summer Favorite
- Essential Ingredients for Easy Watermelon Mochi Dessert
- Step-by-Step Instructions for Homemade Mochi Bites
- Tips for Success Making Watermelon Mochi
- Serving Suggestions for Refreshing Summer Treats
- Storage and Reheating Instructions for Watermelon Mochi
- Dietary Information: Is This Watermelon Mochi Gluten Free?
- Frequently Asked Questions About This Easy Mochi Dessert
- Share Your Watermelon Dessert Ideas
Why This Watermelon Mochi Recipe is Your New Summer Favorite
Listen, I get busy, you get busy, but that doesn’t mean we have to reach for store-bought fluff! That’s why this watermelon mochi is my go-to when I need a win fast. It hits every mark for a perfect summer treat. We’re talking instant refreshment without turning on the oven, which is huge when it’s 90 degrees outside.
- It’s practically a three-ingredient dessert base—so much simpler than baking!
- It’s naturally gluten-free. Hello, easy hosting!
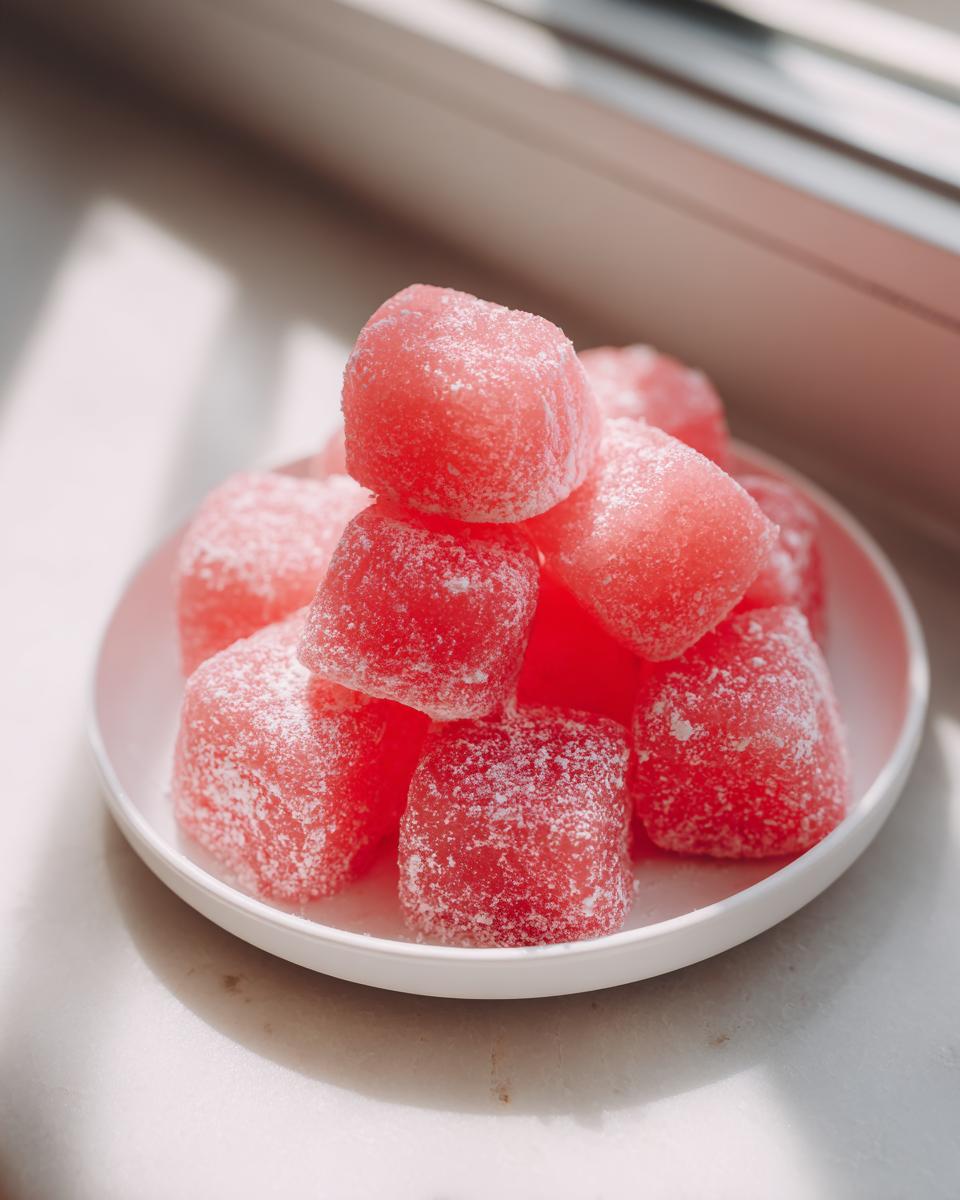
- The texture is just heaven: perfectly pillowy and chewy.
- It tastes exactly like biting into a tiny, sweet slice of watermelon.
Achieving the Perfect Soft, Chewy Watermelon Mochi Texture
The secret, truly, lies in the flour we use. You absolutely must use glutinous rice flour, sometimes called mochiko. This isn’t just random flour; it’s what gives you that incredible stretch and chew that regular starches just can’t touch. Because we use the fast microwave method here, we get that beautiful soft rice cake recipe consistency without waiting around for steam baths or rolling pins galore. It speeds up the whole process beautifully!
Essential Ingredients for Easy Watermelon Mochi Dessert
Okay, let’s talk about the core of this magic trick! If you’re looking for a true three-ingredient dessert, this is it for the actual mochi dough part—it’s mind-blowing. You only need three things before we get to the cornstarch dusting. I love keeping these ingredients stocked because you never know when you’ll need a spontaneous, refreshing summer treat.
You’ll need 1 cup of strained watermelon juice. Yes, you have to blend it and strain out the pulp so it’s nice and smooth! Then, you grab 1 cup of glutinous rice flour and about 1/4 cup of sugar. That’s it for the dough! Don’t forget the cornstarch; that’s your non-stick hero later on.
Ingredient Notes and Substitutions for Your Watermelon Mochi
I cannot stress this enough, friends: do not substitute the glutinous rice flour! Regular rice flour will not give you that satisfying, stretchy chewiness that makes mochi, well, mochi! Look on the bag for ‘Mochiko’ if you see it; that’s the good stuff that gives us that beautiful Watermelon Mochi texture. You want that pillowy chew, not something crumbly!
Also, when it comes to the liquid, please use real, freshly blended watermelon juice. You need that natural flavor and moisture. If you try to use artificial flavoring or even watered-down flavor, the texture won’t quite come together right, and the color will be missing that sweet, natural pink hue. Trust me when I say the fresh juice is worth the five minutes of blending it takes!
Step-by-Step Instructions for Homemade Mochi Bites
Okay, now for the fun part—turning that slurry into actual watermelon mochi! This microwave method is what makes this recipe such a *quick snack* for when you need dessert like, five minutes ago. Remember, you need a microwave-safe bowl. Whisk your flour and sugar together first, then slowly pour in that gorgeous watermelon juice. Get all those lumps out now, because once it starts cooking, it sets fast! We want smooth sailing ahead for these chewy old-fashioned fruitcake cookies-texture buddies.
Once it’s smooth, cover it loosely. Don’t seal it tightly or you might have a cornstarch explosion! Then we go to the microwave, but we don’t just blast it once. We check it, stir it, and check it again. Patience here means perfect chewiness later, so take your time letting the dough transform its texture.
Microwaving Technique for the Best Watermelon Mochi
Here’s the exact dance: Microwave the batter on high for a full 60 seconds first. When you pull it out, stir aggressively! It’ll look weird, but keep going. Next, switch to 30-second bursts. You are looking for the dough to turn thick and wonderfully translucent, almost shiny, and you’ll notice it starting to pull itself away from the sides of the bowl when stirred. Stop right there!
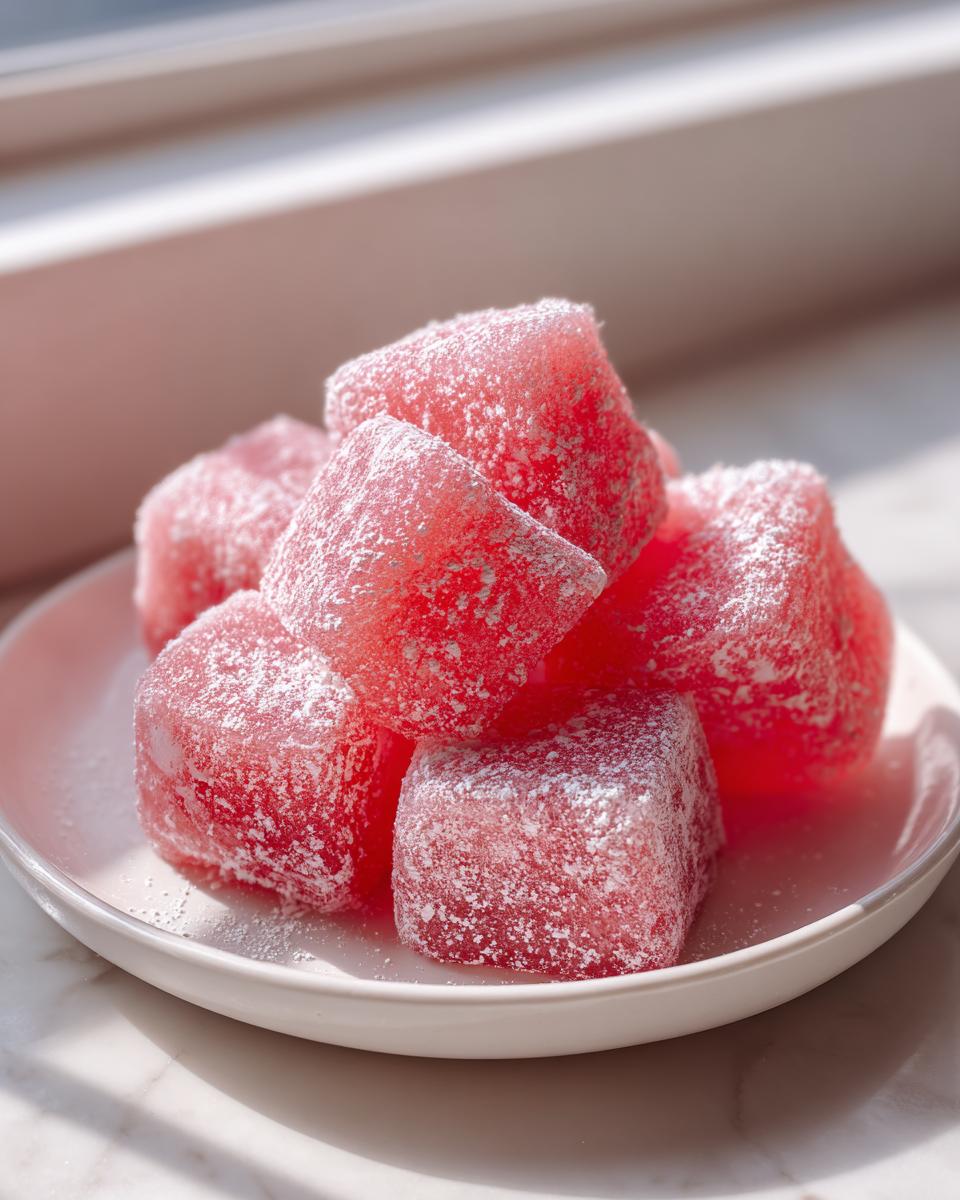
Cutting and Dusting Your Chewy Fruit Mochi
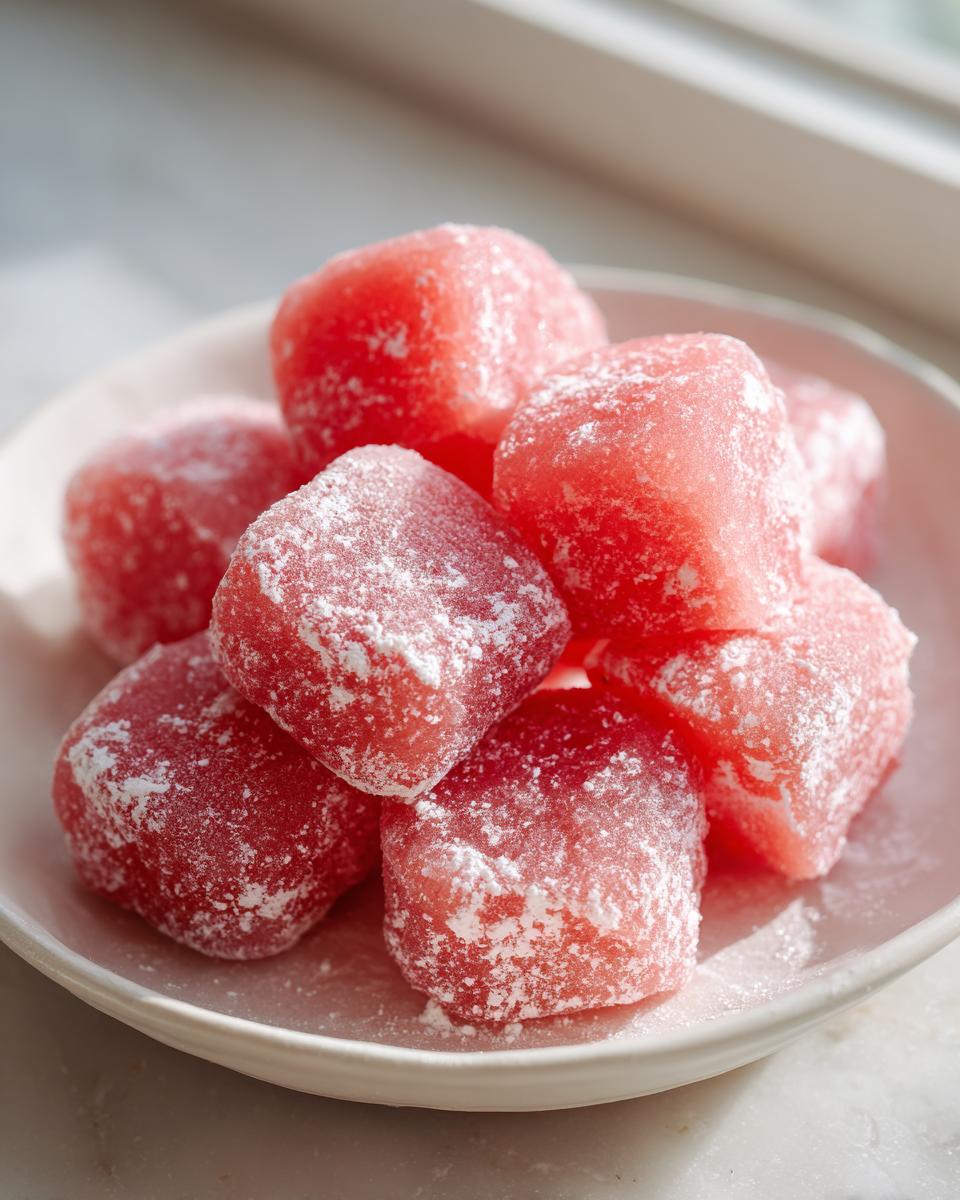
This is where we prevent the total stick-fest! Dust your counter heavily with cornstarch—don’t be shy. Scrape the hot dough onto the starch immediately. Dust the top again before you roll it out about a quarter-inch thick. Use a small round cutter, or just a knife if you prefer irregular bites, to get your pieces. These little Chewy Fruit Mochi need a final light dusting so they don’t melt into each other while they chill!

Tips for Success Making Watermelon Mochi
You’ve nailed the cooking part—bravo! But the secret to turning hot dough into perfect, non-sticky Watermelon Mochi is all about the cooling time. I know you’ll be tempted to cut it right away because it smells so good, but resist that urge! If you try to handle it when it’s searing hot, you’ll end up with sticky dough all over your hands, no matter how much cornstarch you use. Let it sit on the counter for a good 15 to 20 minutes until you can comfortably touch it without burning yourself.
Once it’s cool enough to shape, work quickly but gently when rolling it out. Too much force can actually deflate the air bubbles we worked so hard to create in the microwave. And here is my big tip for making them look professionally made: dust your cookie cutter lightly with cornstarch between each cut. This small action saves you so much frustration later on!
Serving Suggestions for Refreshing Summer Treats
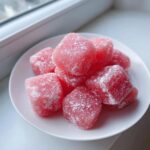
These little watermelon mochi bites are perfect on their own, obviously, but sometimes you want to elevate that Refreshing Summer Treats vibe even more! I love serving them super chilled, maybe resting them right on a small square of cut-up, frozen watermelon wedge for presentation. They look so cute scattered on a white platter!
If you want to serve them slightly fancier, grab some other fruit! Think sliced kiwi or maybe some little mint leaves for color contrast. They’re fantastic alongside a scoop of vanilla bean ice cream, or even dipped lightly into a simple coconut cream sauce. Check out some of my other favorite desserts for other ideas, but honestly, these fruity Asian sweet bites shine brightest with minimalist flair!
Storage and Reheating Instructions for Watermelon Mochi
Since this is made with fresh juice and no preservatives, how you store your watermelon mochi really matters for keeping that chewy texture.
You absolutely must keep these refrigerated! Pop your dusted bites into an airtight container, but here’s the key: place a piece of damp (not soaking wet!) paper towel on top before sealing them up. This stops them from drying out too much in the cold air. They’ll be firmest the day after you make them, which is perfect for a chilled snack.
And please, don’t try to microwave this dough again to warm it up. We used the microwave to cook it the first time, and trying to revive it later just makes it gummy and sad. These are meant to be enjoyed cold!
Dietary Information: Is This Watermelon Mochi Gluten Free?
One of the best things about keeping things simple is knowing exactly what’s going into your food! I get tons of questions about dietary restrictions, especially since so many Asian desserts can sneak in allergens unexpectedly. I’m happy to confirm that this recipe for Gluten Free Mochi is naturally free from both gluten and dairy!
Since we only use sweet rice flour, sugar, and watermelon juice, you don’t have to worry about cross-contamination from wheat flour. Plus, there isn’t a drop of milk or butter anywhere near this recipe! If you are looking for reassurance on making sure this recipe fits your needs, you can double-check some great insights on adapting dishes like this from sites like adapting recipe ingredients. It makes serving these easy bites worry-free!
Frequently Asked Questions About This Easy Mochi Dessert
I always get so many questions once people try out this Easy Mochi Dessert, which just tells me everyone loves a simple summer win! Here are the things I hear most often when people are making these sweet, chewy treats for the first time.
Can I use regular all-purpose flour instead of glutinous rice flour?
Oh, gosh, please don’t! If you use regular flour, you will end up with something that bakes up like a tough, dense cookie rather than soft, stretchy mochi. We need that special glutinous rice flour—often called mochiko—to get that satisfying chew. It’s the core of the recipe, so it’s worth hunting for!
How can I make the watermelon color brighter?
If your watermelon wasn’t super deep red to begin with, the color can be a bit pale, even though the flavor is spot on. My go-to is adding just one single drop of quality red food coloring right when you mix the juice and flour. It really makes those homemade mochi bites pop aesthetically for gatherings!
Can I freeze leftover watermelon mochi?
I really advise against freezing these uncooked mochi bites, honey. When they thaw, the texture goes downhill fast—it gets overly hard or weirdly watery. Since this is such a fast recipe, it’s always better to just make what you plan to eat within two days! They are best enjoyed the day they are made, anyway.
Can I skip straining the watermelon juice?
You really shouldn’t! If you leave all the pulp in, those little fibers throw off the ratio between the liquid and the rice flour. It makes the dough too wet, and you’ll end up needing way more flour, which ruins that delicate, soft texture this Japanese Mochi Summer treat is famous for. Strain it well!
Share Your Watermelon Dessert Ideas
Now I’ve shared my absolute favorite way to make this quick, watermelon mochi, but I want to see what you do with it! Did you try it plain, or did you shake up the presentation? Please leave a rating and a comment below letting me know how your chewy bites turned out for your summer gathering. I truly love hearing how our recipes connect people around the table!
PrintEasy 3-Ingredient Watermelon Mochi: Soft, Chewy Summer Bites
Make soft, chewy Watermelon Mochi with this simple recipe. This refreshing dessert uses only three ingredients, making it a perfect, quick, gluten-free treat for warm weather.
- Prep Time: 10 min
- Cook Time: 5 min
- Total Time: 45 min
- Yield: About 18 bites 1x
- Category: Dessert
- Method: Microwaving
- Cuisine: Japanese Inspired
- Diet: Gluten Free
Ingredients
- 1 cup watermelon juice (strained)
- 1 cup glutinous rice flour (sweet rice flour)
- 1/4 cup granulated sugar
- Cornstarch, for dusting
Instructions
- Prepare the watermelon juice. Blend fresh watermelon chunks and strain the pulp to get 1 cup of clear juice.
- In a microwave-safe bowl, whisk together the glutinous rice flour and sugar.
- Gradually pour the watermelon juice into the flour mixture while whisking until you have a smooth, lump-free batter.
- Cover the bowl loosely with plastic wrap and microwave on high for 1 minute. Stir the mixture well.
- Continue microwaving in 30-second intervals, stirring thoroughly after each interval, until the dough becomes thick, translucent, and pulls away from the sides of the bowl (this usually takes 3 to 4 minutes total).
- Dust a clean surface generously with cornstarch. Scrape the hot mochi dough onto the cornstarch.
- Dust the top of the dough lightly with more cornstarch. Let it cool slightly until you can handle it.
- Roll the dough out to about 1/4 inch thickness. Use a round cookie cutter or knife to cut the dough into small, bite-sized pieces.
- Dust the finished watermelon mochi pieces lightly with cornstarch to prevent sticking. Serve chilled for the best texture.
Notes
- For the best chewy texture, use sweet rice flour, often labeled as glutinous rice flour or mochiko.
- Chill the mochi for at least 30 minutes before serving; this firms up the texture.
- If you want a stronger watermelon color, you can add one drop of red food coloring, though this recipe focuses on natural flavor.
Nutrition
- Serving Size: 3 pieces
- Calories: 120
- Sugar: 8
- Sodium: 2
- Fat: 0.5
- Saturated Fat: 0
- Unsaturated Fat: 0.5
- Trans Fat: 0
- Carbohydrates: 28
- Fiber: 1
- Protein: 1
- Cholesterol: 0