

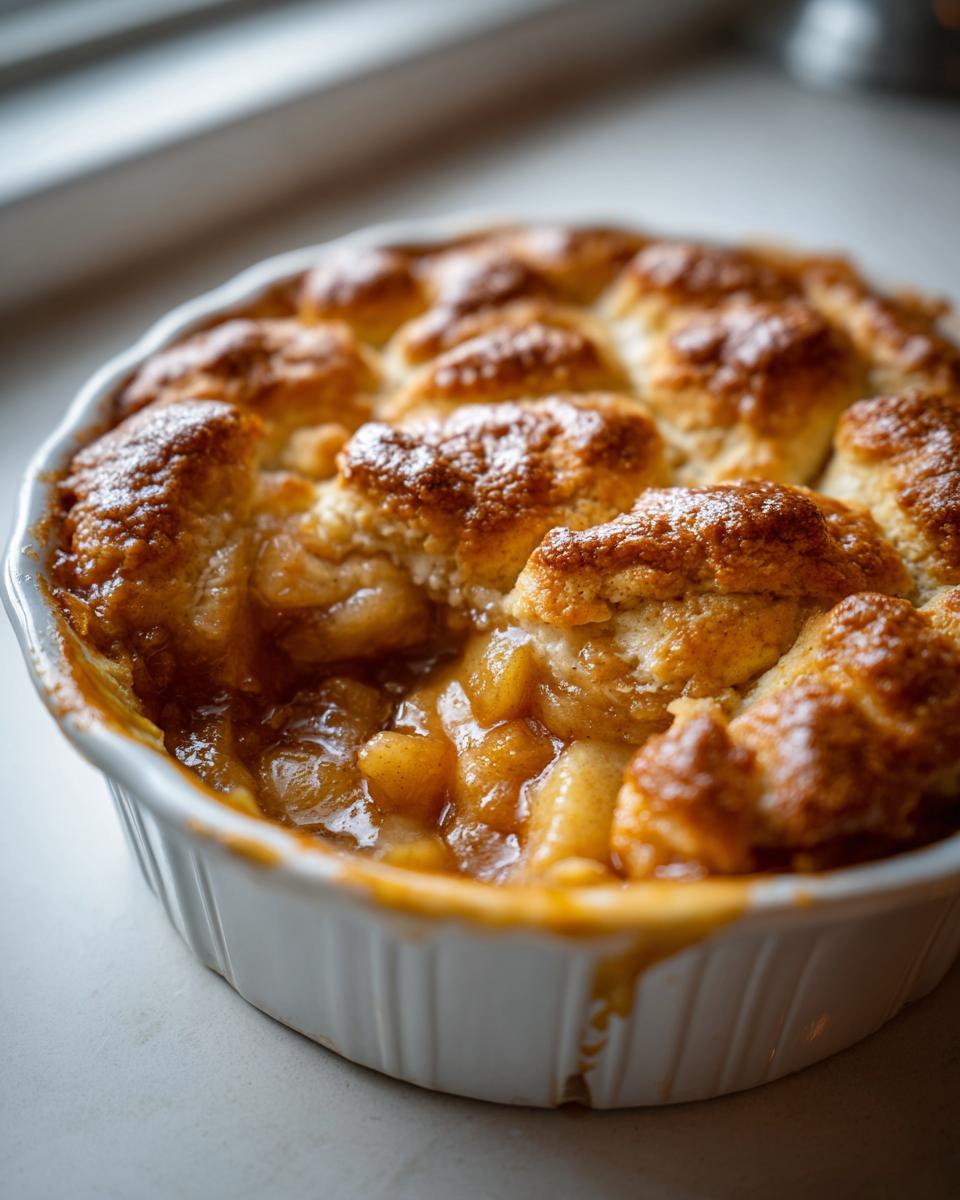
When those crisp evening breezes start blowing, nothing says home quite like a rich, bubbling dessert straight from the oven. Forget the finicky crust of a traditional pie; we’re talking about the ultimate comfort food desserts: the apple cobbler! This is my absolute Best Homemade Apple Cobbler Recipe, and I promise you, the ultra-buttery biscuit topping is what sets it apart. It’s easier than pie, trust me. When I was navigating those demanding corporate years, baking this simple, sweet apple bake was my lifeline. It always brought me back to my grandmother’s kitchen, reminding me that joy is found in the easy, honest things we share. This dessert is pure connection.
- Why This Homemade Apple Cobbler Recipe Works Every Time
- Gathering Ingredients for Your Apple Cobbler
- How to Make Apple Cobbler: Step-by-Step Instructions
- Tips for the Perfect Apple Cobbler Success
- Serving Suggestions for Your Warm Apple Dessert
- Storage and Reheating Instructions for Leftover Apple Cobbler
- Frequently Asked Questions About This Apple Cobbler Recipe
- Nutritional Snapshot of Our Classic Apple Bake
- Share Your Homemade Apple Cobbler Experience
Why This Homemade Apple Cobbler Recipe Works Every Time
It’s one thing to find a recipe, but it’s another to find *the* recipe—the one that delivers every single time. This isn’t just another Comfort Food Dessert; this is the Best Apple Cobbler Recipe because it focuses on texture, not tension. I learned early on that the secret isn’t complicated steps, it’s just good technique with the right ingredients. If you love rich, deep flavors like those in my caramel cake, you’ll appreciate the depth of flavor here!
I remember one year, a big family dinner devolved into chaos when the main course flubbed. I panicked, but I had apples and basic pantry items. Thirty minutes later, I pulled this bubbling apple cobbler out of the oven, and honestly, the smell saved the whole night! It’s reliable, friends. You can count on it.
The Secret to the Buttery Cobbler Topping
We are aiming for a topping that is soft, almost like a cloud, but sturdy enough to stand up to the baked apples. That means using incredibly cold butter, cut into those little cubes. When that cold butter hits the dry mix, it creates those pockets that puff up during baking. If it’s too warm, you get flat, dense biscuits, and we just won’t stand for that!
Achieving Juicy Apple Filling
The filling is where the magic happens. We use Granny Smith because they hold their shape when baked—no mush here! The small amount of flour and sugar isn’t just for taste; it helps thicken up all the natural apple juices, ensuring you get a rich syrup at the bottom, not a watery puddle. The cinnamon and nutmeg just complete that classic, warm flavor profile.
Gathering Ingredients for Your Apple Cobbler
Okay, let’s get everything ready to go! This is a true From Scratch Apple Cobbler, but don’t let that scare you. I made sure every component is something you can easily grab at the store. Since we are focused on that incredible texture, make sure your butter is waiting in the fridge—it needs to be ice cold for that topping to work its magic. You’re going to feel like a culinary wizard when you see how simple these components come together to make such an amazing Fall Apple Dessert. While you’re thinking about gathering creamy things, you might want to check out my recipe for creamy homemade eggnog for another time!
Ingredients for the Juicy Apple Filling
For the heart of this dessert, we need about six large, tart Granny Smith apples. These need to be peeled, cored, and sliced up nicely. We’ll mix those with 1/2 cup of granulated sugar and just one tablespoon of flour to help everything thicken up once it starts bubbling. Don’t forget the spice mix: a full teaspoon of cinnamon and just a whisper of nutmeg, plus a little lemon juice to keep those bright apple notes standing out!
Ingredients for the Buttery Cobbler Topping
The topping is made separately, and this is where we load up on butter! You’ll need one full stick—that’s 1/2 cup—of very cold, unsalted butter, cut into little cubes. For the dry goods, we are using 1 3/4 cups of all-purpose flour, 2 tablespoons of sugar, baking powder, and salt. The final, crucial piece? About 3/4 cup of cold buttermilk to bring that biscuit dough together. Remember, the colder the butter, the fluffier and more buttery our final biscuit topping will be!
How to Make Apple Cobbler: Step-by-Step Instructions
If you are looking for an Easy Apple Cobbler, this is your moment! We are moving through this process smoothly, and I promise, the whole thing comes together faster than you think. Lay out your prep bowls, and let’s get this classic bake going. If you’ve tried my easy creamy pumpkin curry, you know I love dishes that seem complicated but are actually really straightforward! I always tell people that this recipe is simpler than making a pie crust, which is why it’s one of my go-to recipes when I need something quick!
Preparing the Apples and Baking Dish
First things first: turn on that oven to 375 degrees Fahrenheit, and get your 9×13 dish greased up. Now, take all those spiced, coated apples we prepared and pour them right into that dish. Spread them out carefully so they make a nice, even layer. This ensures the fruit cooks consistently while we work on that incredible topping. This is the foundation for amazing results, whether you’re serving it right away or saving it to enjoy later!
Mixing the Buttery Cobbler Topping
For the topping, remember the goal is coarse crumbs, not smooth dough! Whisk your dry ingredients together, and then bring in that cold butter. Use your fingertips—or better yet, a pastry blender—to cut that butter in until you see pieces about the size of little peas. That’s the key to the best texture! Finally, pour in the buttermilk and stir *just* until the dough barely comes together. Seriously, stop mixing when you still see a little bit of dry flour left. We are making biscuits, not bread! This technique is essential for that perfect buttery cobbler topping.
Assembly and Baking the Classic Apple Bake
Time to bring it home! Take spoonfuls of that buttery dough and drop them gently over the apples. Don’t try to smooth them out or connect them—gaps are good! That lets the bubbly fruit peek through. Give the tops a quick brush with an egg wash. Pop this whole thing into the oven for about 40 to 45 minutes. You’re done when the topping is golden brown and you see the apple sauce bubbling up around the edges. Don’t forget to let this magnificent classic apple bake rest for 15 minutes before digging in. I love serving mine warm.
Tips for the Perfect Apple Cobbler Success
Baking should feel effortless, which is why I’m sharing the little things I learned over years of practice—the tweaks that turn a good Easy Baked Apple Dessert into something truly amazing. Don’t be afraid to experiment, but when it comes to this classic, I always stick to a few non-negotiables that guarantee success, especially around moisture control!
Ingredient Notes and Substitutions for Your Apple Cobbler
Let’s talk ingredients one more time, because they really matter here. My absolute top rule, which I’ve mentioned before, is that butter for the topping has to be rock hard and cold. If you substitute that out for melted butter, you’re essentially making a cake top, and that crisp, slightly crumbly biscuit texture will completely disappear. So, keep that butter cubed and freezing cold until the very second you mix it in!
If you can’t find Granny Smith apples, try mixing Honeycrisp with a little bit of tart apple like Braeburn. You want firmness, not applesauce. As for buttermilk, if you’re fresh out, don’t stress! You can make a quick substitute for this apple cobbler recipe. Just take a cup of regular milk and stir in one tablespoon of white vinegar or lemon juice. Let it sit on the counter for about five minutes until it looks slightly curdled. That acidity mimics buttermilk perfectly and keeps our biscuits tender!
If you’re really worried about a soggy bottom (we all hate that!), you can add just one extra teaspoon of flour to the apple mixture. This extra powder will soak up just a tiny bit more liquid during the long bake time. You can learn how I manage moisture in other tricky recipes, like my best classic deviled eggs recipe, by focusing on ingredient temperature!
Serving Suggestions for Your Warm Apple Dessert
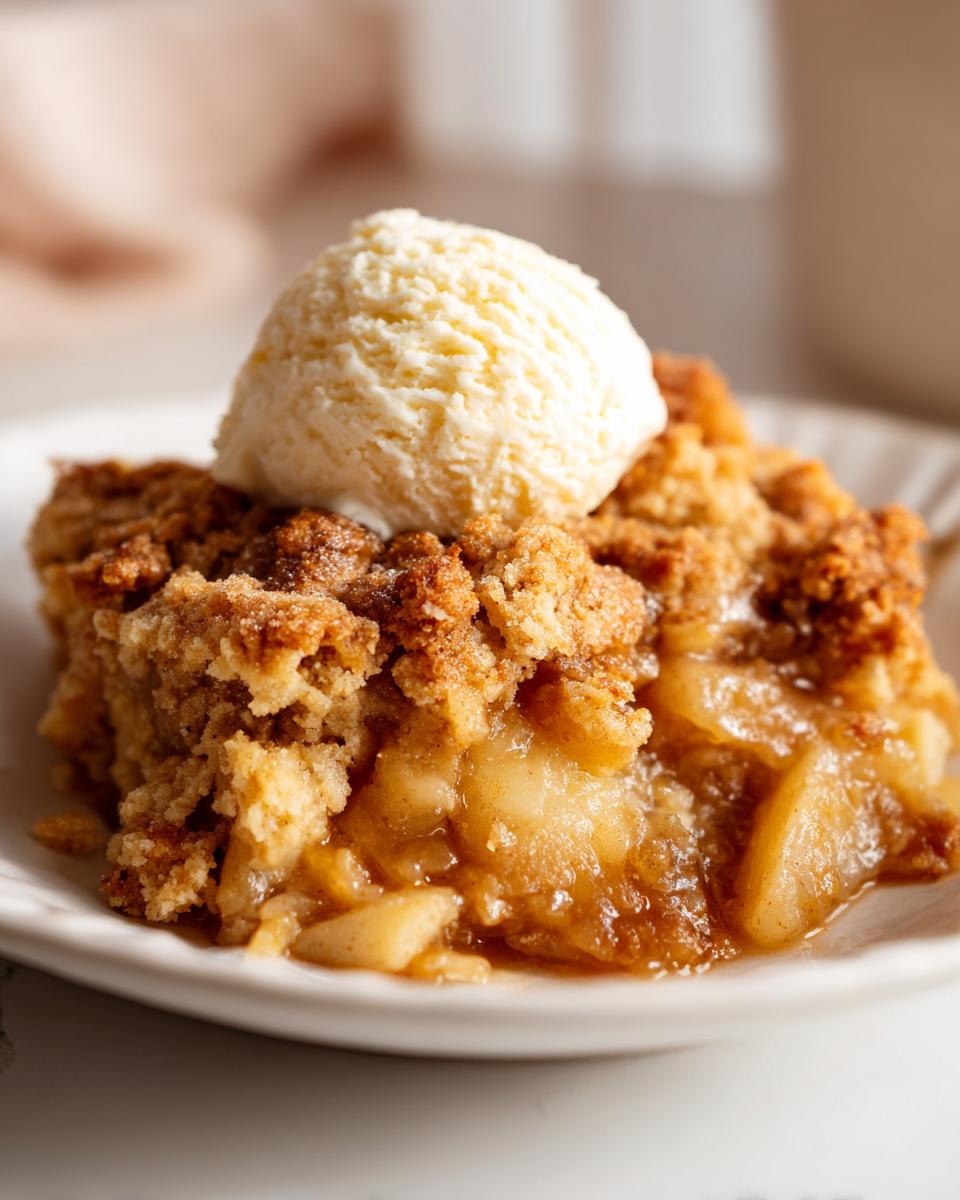
There is simply no better way to enjoy this apple cobbler than when it’s piping hot! The goal here is pure comfort, so serving it immediately after that crucial 15-minute rest period is key. That hot, cinnamon-spiced fruit underneath that golden-brown layer is just heavenly.
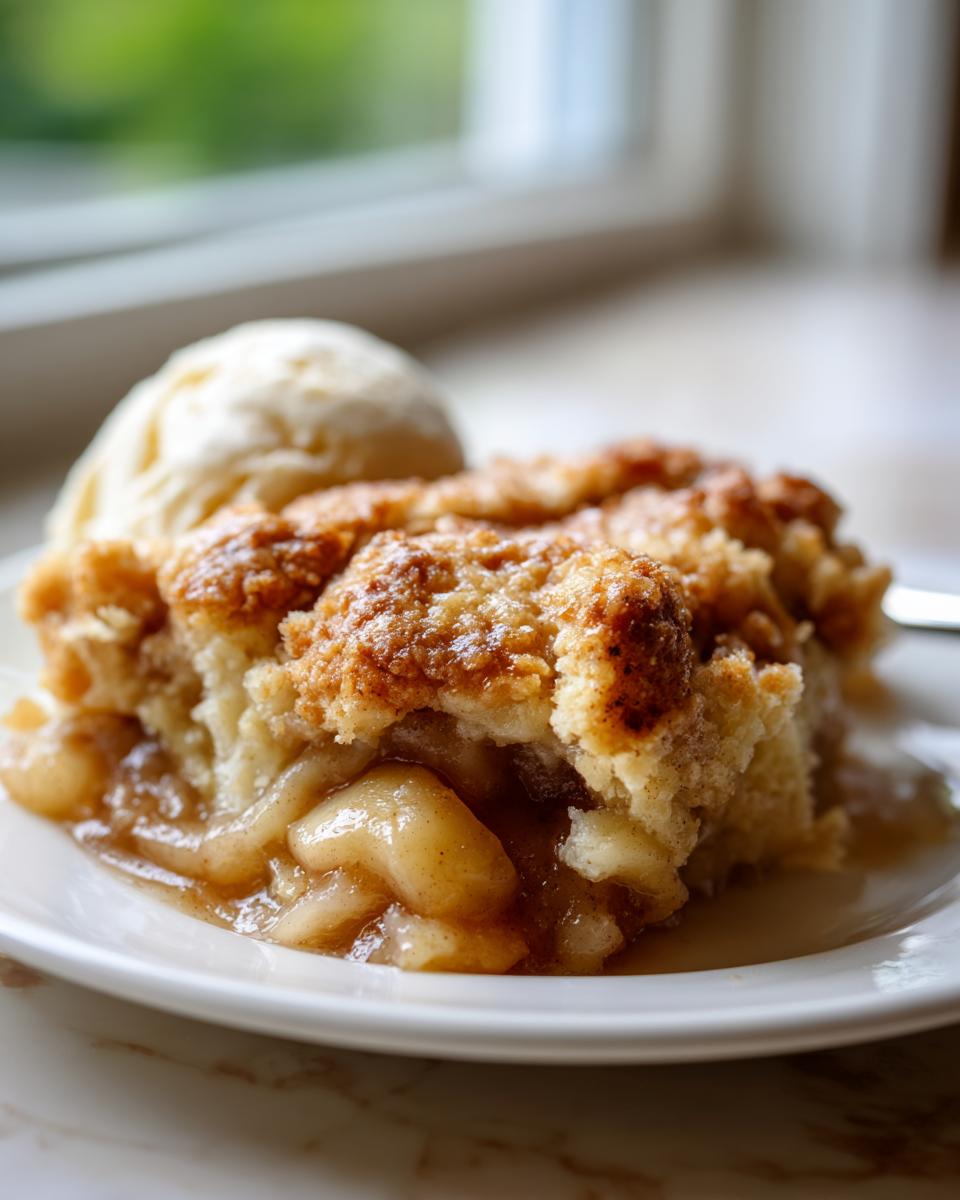
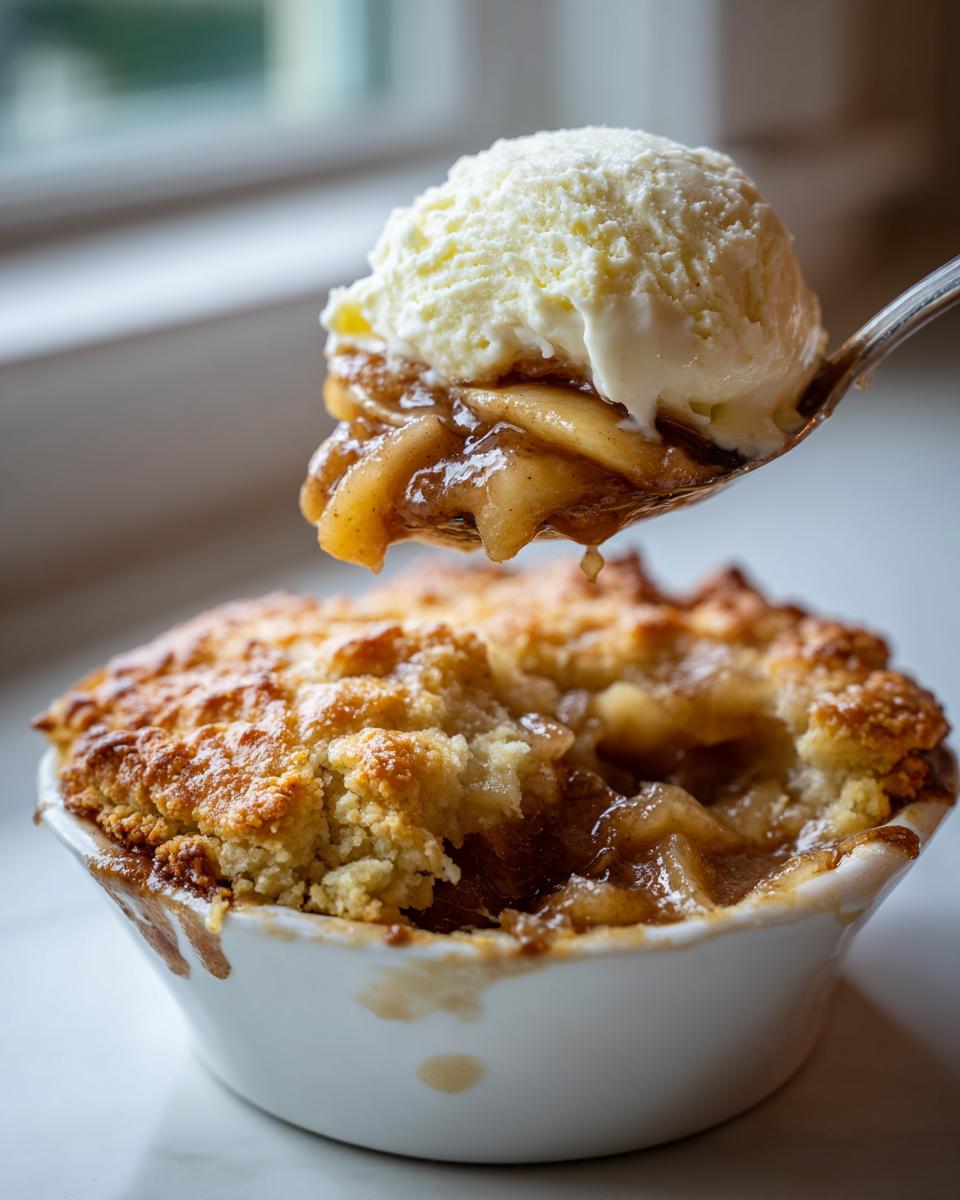
Of course, the classic pairing, and truly the ultimate experience, is a giant scoop of vanilla ice cream right on top—hello, Apple Cobbler with Ice Cream! The cold ice cream melting into the warm spiced apples is unbeatable.
But if you want to elevate this Warm Apple Dessert even more, try a drizzle of homemade caramel sauce—I use a recipe similar to the one in my creamy rice pudding post, minus the rice, of course! A big dollop of fresh, lightly sweetened whipped cream also works wonders against that buttery topping. Enjoy every single bite!
Storage and Reheating Instructions for Leftover Apple Cobbler
I know, I know, this apple cobbler is so good you might think there won’t be any leftovers, but just in case you manage to save a slice or two, you definitely want to store it right so it tastes perfect the next day.
At room temperature, covered loosely so the topping doesn’t get sticky, it’s fine for about 4 hours. But if you’re not eating it right away, you should definitely get it into the fridge. In an airtight container in the refrigerator, this Classic Apple Bake holds up beautifully for about three to four days. The filling stays nice and gooey, and the biscuit top stays relatively soft.
Now, reheating is where you need to be a little careful if you want to preserve that wonderful texture. If you use the microwave—and look, sometimes you just need speed—it’ll warm it right up, but that buttery topping will get a bit soft and maybe slightly leaden. It still tastes great, though!
For the absolute best results, you need the oven. Wrap your slice loosely in foil—I mean *loosely*, we aren’t steaming it—and pop it into a 350°F oven for about 10 to 15 minutes. That little bit of dry heat re-crisps the biscuit topping perfectly without drying out the apples underneath. It’s a game changer for reheating leftovers, kind of like how I always reheat my easy moist date nut bread; low and slow heat does the trick!
Frequently Asked Questions About This Apple Cobbler Recipe
I pulled together some of the most common questions I get about making this dessert perfect at home. Honestly, most people ask about the apples, which makes total sense because they are the star of the show! Feel free to drop your own questions in the comments below—I love hearing how your apple cobbler turned out!
Can I use a different type of apple in this apple cobbler?
That’s a great question! You absolutely can swap out apples, but you have to be strategic about it. Granny Smith apples are my favorite because they are tart and they hold their shape—they bake up perfectly tender instead of turning to mush. The best advice I can give you is to mix them with a firmer, slightly sweeter apple like a Honeycrisp or Fuji. Using a blend gives you that complex flavor profile while still providing the structure needed to keep that juicy apple filling intact. Avoid soft apples like McIntosh initially, as they break down too quickly.
Is this recipe considered an Easy Apple Cobbler?
Yes, 100%! This is what I consider an Easy Apple Cobbler, especially when compared to making a full double-crust pie. Why? Because we skip rolling out dough! The topping is a simple biscuit dough that you just mix and drop onto the fruit. It comes together so quickly—prep time is only 20 minutes. It delivers that incredible, comforting taste without demanding the precision of rolling paste. It’s perfect for those nights when you want a fantastic Quick Apple Dessert!
What is the best way to prevent a soggy bottom on my apple cobbler?
Listen, nobody wants to serve up a soupy bottom layer. The main reason for sogginess comes from too much liquid in the filling, or the oven not being hot enough to boil off that liquid quickly. First, make sure you aren’t draining too much of the spiced apple mixture when you spread them into the pan—that liquid is flavor! Second, make sure your oven is fully preheated to 375°F before putting the dish in. The initial blast of heat helps the bottom cook before the moisture has a chance to pool. If you want extreme insurance, you can always try baking it on a lower rack for the first 20 minutes, just like I do when I’m making my chicken rice bowl to ensure the base cooks through!
Nutritional Snapshot of Our Classic Apple Bake
Now, I know that when we’re pulling out a warm, bubbly dessert like this apple cobbler, nutrition isn’t usually goal number one! We are making comfort food here, and that means savoring that buttery topping and sweet fruit. But, since I believe in being honest about what we’re eating, I put together a snapshot of what you can expect from just one slice. Remember, these are just estimates, based on the ingredients listed in the recipe.
If you’re tracking macros or just curious, this breakdown gives you a good idea of the flavor payoff you get from this delicious Easy Baked Apple Dessert. Think of this as helpful info, not a reason to skip out on dessert—honestly, you deserve it! A reminder: I use a slightly different approach when calculating calories for dishes like my cheeseburger bowl since that’s a main meal, but for a sweet treat, this gives us a good baseline.
- Serving Size: 1 slice
- Calories: 380
- Sugar: 35g (That’s the fruit and the sugary topping doing their job!)
- Fat: 18g
- Carbohydrates: 55g
- Protein: 5g
- Sodium: 310mg
Keep in mind that if you serve this Classic Apple Bake with a big scoop of vanilla ice cream, you’ll definitely want to adjust these numbers up a bit! Enjoy the indulgence.
Share Your Homemade Apple Cobbler Experience
Now that you’ve had a chance to bake this easy, delicious dessert, I truly want to hear all about it! For me, this space, Bring Dish, is all about connection, and nothing connects us more than sharing the food we make.
So, please, don’t be shy! If you tried this apple cobbler and it tasted like pure autumn sunshine, let me know. Did you serve it warm? Did you go heavy on the ice cream, or did you try a different topping I didn’t mention?
Take a moment and leave me a rating right below the recipe card—a simple five stars tells me you loved the ultra-buttery topping as much as I do. If you ran into any snags, or if you made a brilliant substitution, drop a comment! I read every single one, and your feedback helps make this the absolute best recipe possible for everyone who comes next.
And if you snapped a picture of your finished, bubbling Classic Apple Bake, please tag me on social media! Seeing your beautiful desserts is honestly the best part of my day. I can’t wait to see what you created!
PrintThe Best Homemade Apple Cobbler with Ultra Buttery Biscuit Topping
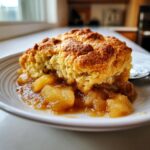
Make this classic apple cobbler featuring tender, cinnamon-spiced apples covered by an ultra-buttery, soft biscuit topping. This recipe is easier than pie and perfect for serving warm with vanilla ice cream.
- Prep Time: 20 min
- Cook Time: 45 min
- Total Time: 65 min
- Yield: 8 servings 1x
- Category: Dessert
- Method: Baking
- Cuisine: American
- Diet: Vegetarian
Ingredients
- 6 large Granny Smith apples, peeled, cored, and sliced
- 1/2 cup granulated sugar (for filling)
- 1 tablespoon all-purpose flour (for filling)
- 1 teaspoon ground cinnamon
- 1/4 teaspoon ground nutmeg
- 1 tablespoon lemon juice
- 1/2 cup (1 stick) cold unsalted butter, cut into cubes (for topping)
- 1 3/4 cups all-purpose flour (for topping)
- 2 tablespoons granulated sugar (for topping)
- 1 tablespoon baking powder
- 1/2 teaspoon salt
- 3/4 cup buttermilk
- 1 large egg, beaten (for egg wash)
Instructions
- Preheat your oven to 375 degrees Fahrenheit. Lightly grease a 9×13 inch baking dish.
- In a large bowl, combine the sliced apples, 1/2 cup sugar, 1 tablespoon flour, cinnamon, nutmeg, and lemon juice. Toss gently until the apples are evenly coated.
- Pour the apple mixture into the prepared baking dish and spread into an even layer.
- Prepare the biscuit topping: In a separate medium bowl, whisk together the 1 3/4 cups flour, 2 tablespoons sugar, baking powder, and salt.
- Cut in the cold butter using a pastry blender or your fingertips until the mixture resembles coarse crumbs with some pea-sized pieces of butter remaining.
- Pour in the buttermilk and stir just until the dough comes together. Do not overmix.
- Drop spoonfuls of the biscuit dough evenly over the apple filling. You do not need to cover the entire surface; gaps are fine.
- Brush the tops of the biscuits lightly with the beaten egg wash.
- Bake for 40 to 45 minutes, or until the topping is golden brown and the apple filling is bubbly and tender when pierced with a fork.
- Let the apple cobbler cool for at least 15 minutes before serving. Serve warm with vanilla ice cream for the ultimate comfort treat.
Notes
- For the best texture, use cold butter for the biscuit topping.
- You can substitute Granny Smith apples with a mix of Honeycrisp or Fuji for a sweeter filling.
- This dessert pairs well with a scoop of vanilla ice cream or a dollop of whipped cream.
Nutrition
- Serving Size: 1 slice
- Calories: 380
- Sugar: 35g
- Sodium: 310mg
- Fat: 18g
- Saturated Fat: 11g
- Unsaturated Fat: 7g
- Trans Fat: 0.5g
- Carbohydrates: 55g
- Fiber: 3g
- Protein: 5g
- Cholesterol: 55mg