
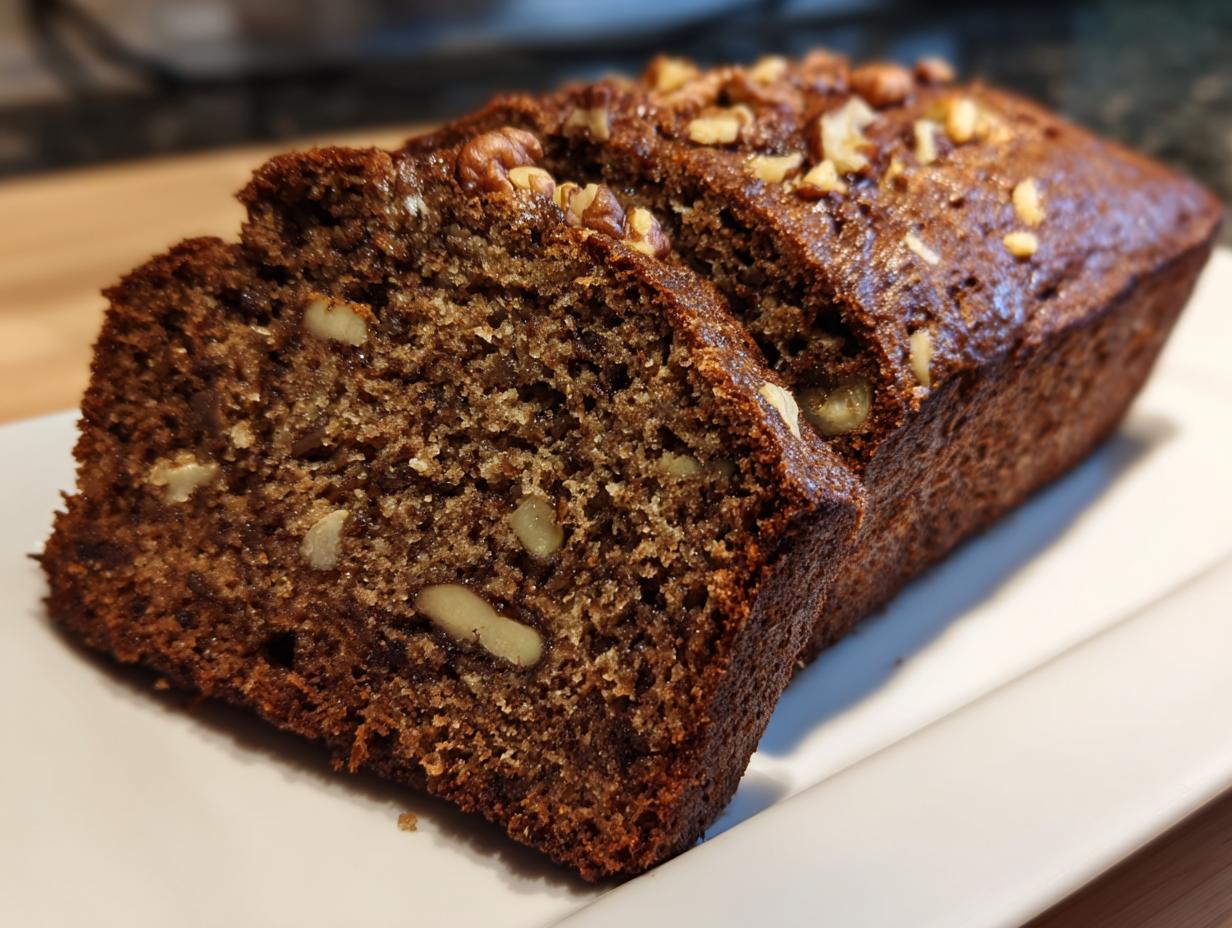
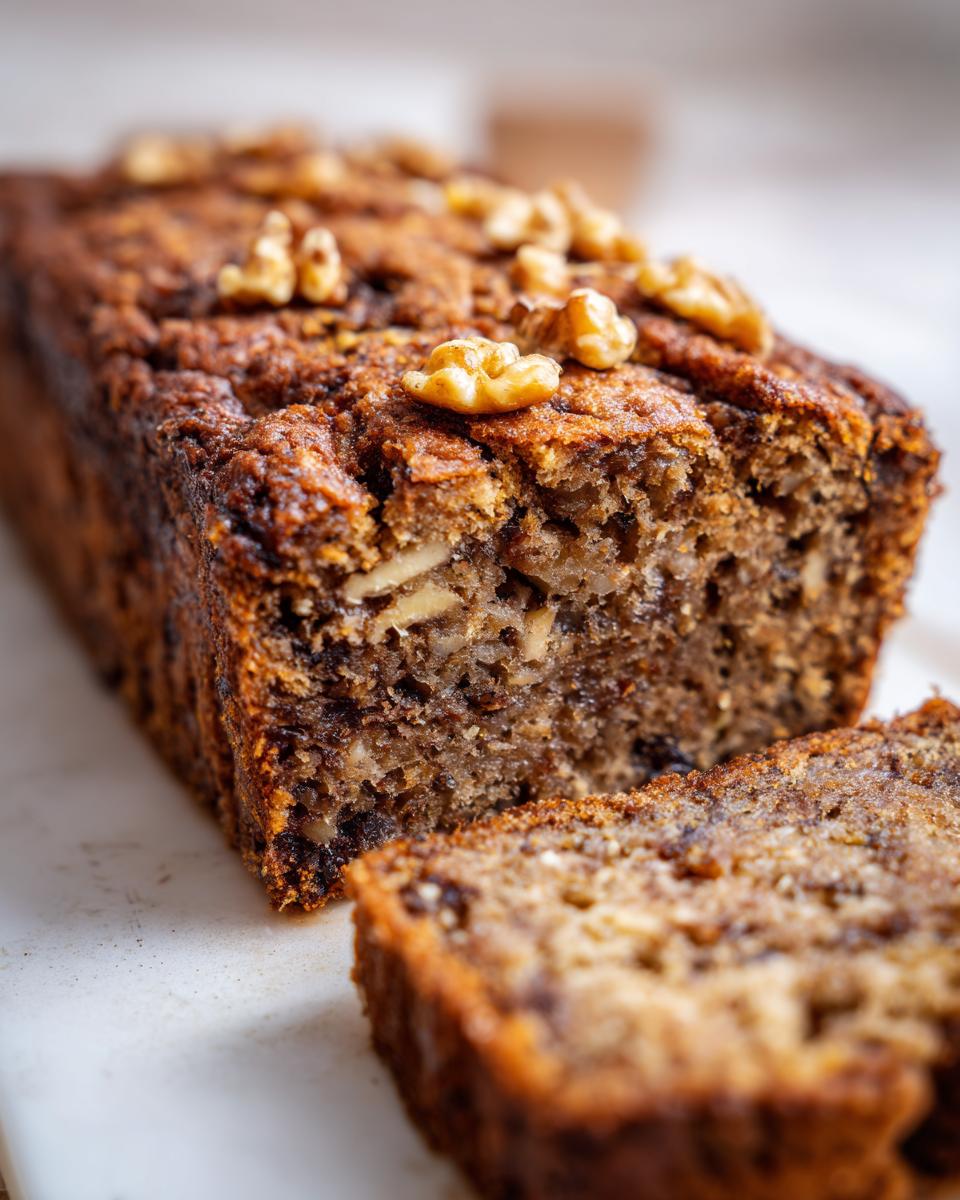
There is truly nothing better than pulling a warm loaf out of the oven when you need that instant hit of comfort, right? That’s the magic of a really good, nostalgic bake. I’m so excited to share my go-to recipe for this Easy, Moist, Old-Fashioned Date Nut Bread because it captures exactly that feeling. It’s based on something my own grandmother used to make in Chicago; she taught me that baking is about slowing down and connecting. This simple quick bread recipe lets you whip up something incredible in no time, making it perfect for busy afternoons or gifting to friends.
- Why This Easy Date Nut Bread Recipe is a Must-Bake (Comfort Food Baking)
- Gathering Ingredients for Your Old Fashioned Nut Bread
- Step-by-Step Instructions for Perfect Date Nut Bread
- Tips for Success When Making Date and Walnut Bread
- Variations on the Classic Date Nut Bread
- Serving Suggestions for Your Homemade Quick Breads
- Storage and Freezing Instructions for Date Nut Bread
- Frequently Asked Questions About Date Nut Bread
- Understanding the Nutrition in This Wholesome Snack Bread
Why This Easy Date Nut Bread Recipe is a Must-Bake (Comfort Food Baking)
I know you’re looking for something that tastes like it came from an old cookbook but doesn’t take all day, and that’s what this loaf delivers. It’s pure, honest comfort in bread form. If you need a reliable, delicious loaf, this is the one that always wins over the family.
- It’s hands-down the best date nut bread recipe for busy schedules.
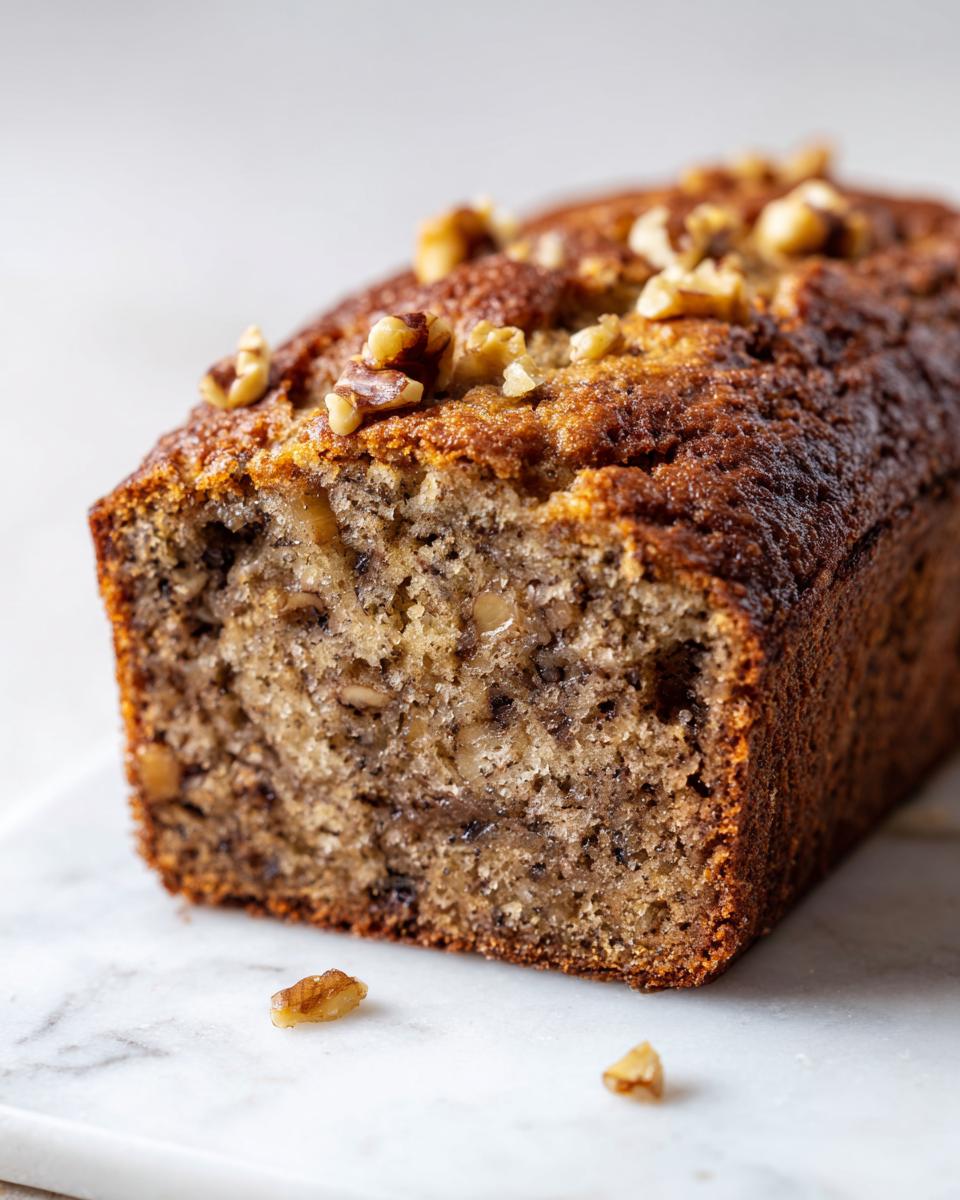
- It delivers that classic, deeply comforting flavor you expect from an old fashioned nut bread.
- It guarantees texture—no dry crumbs here, I promise!
Quick Bread Baking: Ready Fast
Forget waiting around for yeast to rise! This is a true quick bread, meaning you can mix it up and have it in the oven in under 20 minutes of actual work. That’s why I love Quick Bread Baking; it gives you maximum reward for minimal fuss. It’s perfect for when you suddenly decide you need warmth and sweetness right now.
The Secret to Moist Date Nut Bread
There’s one non-negotiable step that ensures this is the most Moist Date Nut Bread you’ve ever made. We’re going to actively soak the dates in boiling water with the baking soda first. This technique does two things: it plumps up those dried fruits beautifully, and it ensures every bite is perfectly tender, never chewy or dry.
Gathering Ingredients for Your Old Fashioned Nut Bread
When we’re talking about an Old Fashioned Nut Bread, the quality of your starting materials really does shine through. Trust me, the little bits of planning here make a huge difference in the final texture and flavor of your date nut bread. Make sure you pull your butter out early, as we need it perfectly softened—not melted! If you want to know more about the philosophy behind our straightforward recipes, you can always check out our story here.
Ingredient List for Classic Date Nut Bread
- 1 cup boiling water
- 1 cup packed, pitted dates, chopped
- 1 teaspoon baking soda
- 1/2 cup (1 stick) unsalted butter, softened
- 1 cup granulated sugar
- 1 large egg, lightly beaten
- 1 teaspoon vanilla extract
- 1 3/4 cups all-purpose flour
- 1 teaspoon baking powder
- 1/2 teaspoon salt
- 1 cup chopped walnuts
Step-by-Step Instructions for Perfect Date Nut Bread
Okay, let’s get you baking! This is my favorite part, where the recipe really comes together, and you can smell the goodness starting already. Remember what I said about the dates? That soaking step is your secret weapon for a truly Moist Date Nut Bread. Also, make sure your oven is good and hot before anything touches the pan. Don’t worry if the batter looks a little… rustic once you mix in the dates; that’s totally normal for this Easy Date Loaf Recipe. We are just aiming for combined, not perfectly smooth! For a deeper dive into classic loaf techniques, check out this amazing resource here.
Preparing the Dates for Moist Date Nut Bread
First things first: get that 9×5 inch loaf pan ready and preheat your oven to 350°F. Now, treat those dates right! Put your chopped dates in a little bowl and pour that cup of boiling water right over them. Stir in the teaspoon of baking soda, and you just let that sit for 10 minutes. This isn’t just about making them soft, honey. That hot water unlocks all their natural sugars, and the baking soda starts working its magic, which helps the bread rise beautifully later on. It’s a little technique that makes a huge difference in the final texture!
Mixing Wet and Dry Components for Your Easy Date Loaf Recipe
While the dates are soaking, grab your big bowl and cream that softened butter with the sugar until it honestly looks light and almost fluffy—this is crucial for a tender crumb, don’t rush it! Beat in your egg and vanilla. Once that’s mixed, you’ll add the date mixture. It might look a little weird or separated, but keep going! Now for the dry stuff: mix your flour, baking powder, and salt separately. Add this dry mix to the wet, but listen carefully—mix only until you can barely see the white streaks of flour anymore. Overmixing is the enemy of any Quick Bread Baking project. Finally, gently fold in those crunchy walnuts. Don’t stir them in aggressively, or you’ll deflate all the air we just worked so hard to put in there!
Tips for Success When Making Date and Walnut Bread
We are so close to pulling this gorgeous, fragrant loaf out of the oven! Remember, our goal here is the absolute Best Date Nut Bread Recipe, which means locking in all that moisture we worked so hard to create. Since this is packed with fruit, baking time changes slightly depending on your oven, so always trust your eyes and the skewer test over just the clock.
Avoiding a Dry Loaf in Your Date Nut Bread
That 50-to-60-minute window is just a guideline, honey. You want to check right around the 50-minute mark. When you stick a wooden skewer—or even a thin knife, whatever you have handy—straight into the center, you are looking for moist crumbs clinging to it, not wet batter. If you see wet batter, give it five more minutes and check again! Overbaking is the number one crime against any Homemade Quick Breads recipe, so pull it out right when that skewer looks *almost* clean. And please, let it cool in the pan for 10 minutes before turning it onto the rack. It needs that little bit of time to firm up before it sees the air completely!
Variations on the Classic Date Nut Bread
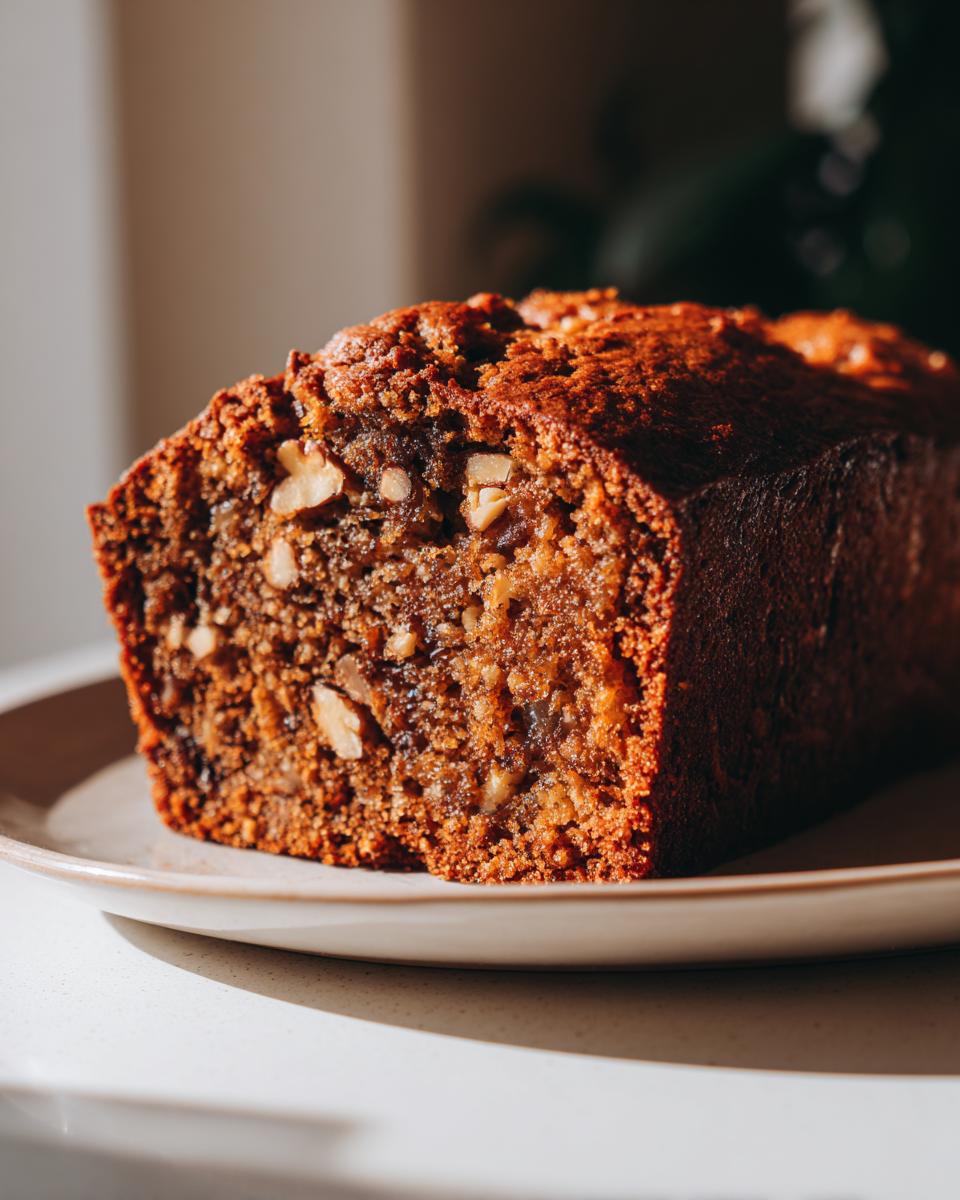
While the Old Fashioned Nut Bread is perfection on its own, I love experimenting once I’ve mastered the basic recipe! Sometimes you want to mix things up when you’re making this for your weekly breakfast haul. If you’re looking for something extra decadent, you can absolutely transform this into a Banana Date Nut Bread Variation just by swapping out some of the liquid for mashed ripe bananas. We found an amazing take on that where they use whole wheat flour, too!
If you want to try making it a little more wholesome, try swapping out half the white flour for whole wheat. You might need just a tiny splash more liquid if you do that, because whole wheat absorbs more moisture. For a slightly different flavor profile, sometimes I even swap the walnuts for pecans. Honestly, once you nail the technique for that fantastic moistness, the sky’s the limit for making this Date Nut Bread your own signature loaf. You can see a fantastic one that incorporates that banana goodness right over here if you want to get creative!
Serving Suggestions for Your Homemade Quick Breads
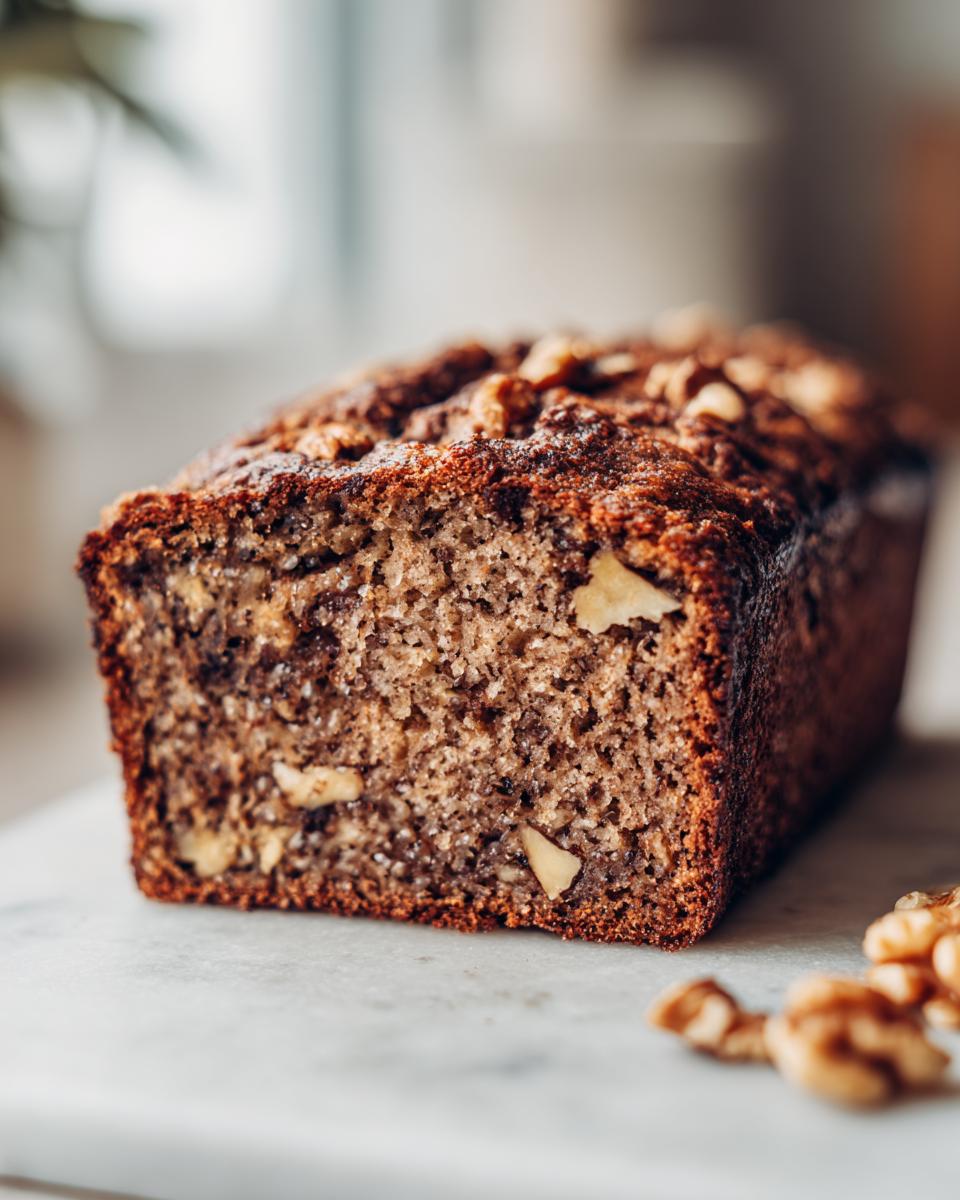
This bread is so versatile, which is why I love it as a go-to in my collection of Breakfast Loaf Recipes. Honestly, the absolute best way to eat this right after it cools down a bit is thickly sliced and still slightly warm. Slather a generous amount of real, good-quality salted butter on the slice and let it melt right into the crumb. It’s simple, it’s nostalgic, and it satisfies that deep craving for Comfort Food Baking perfectly!
Storage and Freezing Instructions for Date Nut Bread
Because this is such a moist loaf, how you store it matters a lot if you want it to stay perfect for later. You absolutely do not want to wrap it up while it’s still warm, or you’ll get condensation and it’ll get gummy fast—wait until it’s completely cooled on the rack!
If you plan to eat the whole thing within three days, just wrap the cooled loaf tightly in plastic wrap. But if you want to save some for later, especially for holiday gifting, this bread freezes like a dream! Just wrap that cooled loaf super tightly in plastic wrap and then in a layer of foil. You can keep it perfectly fresh like that for up to three months, just like our notes suggested. For more on how we run this site, feel free to review our privacy policy, but in the meantime, enjoy having fresh bread ready when you need it!
Frequently Asked Questions About Date Nut Bread
I always get asked the same few things when people first try to bake this recipe, so let’s just clear those up right now! It’s important we get these little details right so you end up with the moistest loaf possible, which is the whole point when making a classic Date Nut Bread. Getting these details dialed in is how you move from a good home baker to someone whose Homemade Quick Breads people always ask for!
Can I use Medjool dates instead of regular dates in this date nut bread?
Oh, that’s a great question, especially since Medjool dates are everywhere now! Yes, you absolutely can substitute them, but be careful. Medjool dates are much larger and softer than the standard packaged, pitted dates we use here. If you use them, I suggest chopping them into slightly smaller pieces than you think you need. Since they have more moisture content already, you might notice the batter is a touch wetter, so just keep an eye on that bake time.
What is the best pan size for this easy date loaf recipe?
For this specific batch size, the standard 9×5 inch loaf pan is perfect; it gives you that beautiful, classic height and ensures the bread bakes evenly through the middle within that 50-to-60-minute window. If you decide to use a larger, wider pan, you’ll need to reduce the baking time, or you risk the edges drying out before the center is truly done. If you use a skinnier loaf pan, just plan on adding 10 to 15 minutes to that baking estimate.
If you ever need to check the official rules for this site, you can review our terms of use here, but mostly, I just want you to have fun baking!
Understanding the Nutrition in This Wholesome Snack Bread
We talked a lot about how this Date Nut Bread tastes like comforting nostalgia, but I know many of you are looking for something that fits into a wholesome routine too. Since this recipe is my handwritten classic, I want to be really upfront that these numbers are just estimates based on standard supermarket ingredients, okay? When you’re baking something this rich, it’s good to have a general idea of what you’re serving up for breakfast!
This is precisely why I love it as a dependable, hearty option for a grab-and-go snack that still feels homemade. It’s a big step up from anything you’d buy pre-packaged!
- Estimated Calories per slice: 285
- Total Fat: 13g
- Carbohydrates: 41g
- Protein: 5g
If you ever want to reach out with questions about substitutions or just want to share a picture of your finished loaf, please don’t hesitate to get in touch via our contact page. Happy baking!
PrintEasy, Moist, Old-Fashioned Date Nut Bread
Bake a comforting, moist date nut bread that tastes like classic homemade comfort food. This easy quick bread recipe is perfect for breakfast, snacking, or holiday sharing.
- Prep Time: 15 min
- Cook Time: 60 min
- Total Time: 75 min
- Yield: 1 loaf (about 10 servings) 1x
- Category: Quick Bread
- Method: Baking
- Cuisine: American
- Diet: Vegetarian
Ingredients
- 1 cup boiling water
- 1 cup packed, pitted dates, chopped
- 1 teaspoon baking soda
- 1/2 cup (1 stick) unsalted butter, softened
- 1 cup granulated sugar
- 1 large egg, lightly beaten
- 1 teaspoon vanilla extract
- 1 3/4 cups all-purpose flour
- 1 teaspoon baking powder
- 1/2 teaspoon salt
- 1 cup chopped walnuts
Instructions
- Preheat your oven to 350°F (175°C). Grease and flour a standard 9×5 inch loaf pan.
- Place the chopped dates in a small bowl. Pour 1 cup of boiling water over the dates and stir in the baking soda. Let this mixture stand for 10 minutes to soften the dates.
- In a large bowl, cream together the softened butter and granulated sugar until light and fluffy. This step helps create a tender crumb.
- Beat in the egg and vanilla extract until just combined.
- Add the date and water mixture to the wet ingredients and mix well. The mixture may look slightly curdled; this is fine.
- In a separate medium bowl, whisk together the flour, baking powder, and salt.
- Gradually add the dry ingredients to the wet ingredients, mixing on low speed until just combined. Do not overmix the batter.
- Fold in the chopped walnuts gently.
- Pour the batter into the prepared loaf pan.
- Bake for 50 to 60 minutes, or until a wooden skewer inserted into the center comes out clean.
- Let the loaf cool in the pan for 10 minutes before turning it out onto a wire rack to cool completely.
Notes
- For an extra moist date nut bread, do not overbake. Check for doneness at 50 minutes.
- If you prefer a sweeter loaf, you can add a simple glaze of powdered sugar and milk after the bread has cooled slightly.
- This bread freezes well. Wrap the cooled loaf tightly in plastic wrap and then foil before freezing for up to three months.
Nutrition
- Serving Size: 1 slice
- Calories: 285
- Sugar: 25
- Sodium: 180
- Fat: 13
- Saturated Fat: 5
- Unsaturated Fat: 8
- Trans Fat: 0.2
- Carbohydrates: 41
- Fiber: 2
- Protein: 5
- Cholesterol: 45