
When the world feels a little too fast and loud, sometimes all you really need is a bowl of deep-down, soul-satisfying comfort. That’s exactly what this recipe delivers! Forget those thin, watery desserts you sometimes find—we are making The Ultimate Creamy Old Fashioned Stovetop Rice Pudding today. This is the kind of classic dessert that brings everyone to the table, just like my grandmother taught me in her Chicago kitchen. It uses just a few simple ingredients, but the magic lies in patience, turning milk and rice into the most velvety, rich rice pudding you can imagine. It’s proof that the best connections often start with honest, humble food cooked just right!
- Why This Old Fashioned Rice Pudding Recipe Works So Well
- Gathering Ingredients for Your Creamy Rice Pudding Recipe
- Step-by-Step Instructions for Perfect Homemade Rice Pudding Best
- Tips for the Best Creamy Rice Pudding Every Time
- Variations: From Classic Dessert Recipes to Kozy Shack Copycat Rice Pudding
- Serving Suggestions for this Nostalgic Dessert
- Storage and Reheating Instructions for Leftover Rice Pudding
- Frequently Asked Questions About Making Creamy Rice Pudding
- Nutritional Estimates for This Classic Dessert
Why This Old Fashioned Rice Pudding Recipe Works So Well
The secret to truly magnificent, old fashioned rice pudding isn’t some fancy ingredient; it’s all about the time you give it. If you rush this process, you end up with boiled rice floating in warm milk, and that’s just sad, isn’t it? We need that glorious, starchy release!
The low and slow method we use here is what makes this the best creamy rice pudding recipe. It’s what separates the good homemade rice pudding best results from the weak ones. Trust me on this one—patience is the key ingredient here.
- We start with water and rice together to soften the grains before the milk goes in, which helps prevent scorching.
- The heat stays at the lowest possible setting. This gentle bubbling encourages the rice starch to break down and thicken the entire dish naturally.
- This slow cooking guarantees a velvety mouthfeel, which is the hallmark of great comfort food desserts.
Achieving True Creaminess: Stovetop vs. Oven
You might see baked recipes out there, and they’re fine if you love a custardy top layer. But if your main goal is that incredible, smooth, how to make creamy pudding texture right in the pot, stick to the stovetop! Baking risks drying out the edges or creating a skin that breaks up the silkiness. The stovetop lets me control that gentle simmer constantly, ensuring that rich, velvety finish every single time.
Gathering Ingredients for Your Creamy Rice Pudding Recipe
Okay, let’s talk about what you need to pull off this truly nostalgic treat. Because this is an old fashioned rice pudding recipe, we keep the list short and sweet. Remember, you don’t need a dozen fancy things!
The quality of those few items really shines through, so make sure you grab the good stuff, especially the milk. For the ultimate richness—that texture that makes people ask for seconds—you absolutely need whole milk. Don’t try to substitute; the fat content is what gives us that luxurious mouthfeel we’re aiming for in these creamy dessert ideas!
Essential Components for Classic Rice Pudding
- 1 cup short-grain white rice (Arborio or medium-grain works well, but short-grain is usually best!)
- 4 cups whole milk (This is non-negotiable for that perfect homemade rice pudding best texture!)
- 1 cup water
- 1/2 cup granulated sugar
- 1/4 teaspoon salt
- 1 teaspoon vanilla extract
- 1/4 teaspoon ground cinnamon (plus extra for topping later, of course!)
- Optional: 1/2 cup raisins (If you’re a raisin-in-pudding person!)
Step-by-Step Instructions for Perfect Homemade Rice Pudding Best
Now we get to the fun part—watching the magic happen! Since this is an easy stovetop pudding, you need to be nearby for a good chunk of time, but don’t worry, it’s mostly hands-off stirring. I learned from my time in the corporate world that sometimes the best strategy is just showing up consistently, and this recipe proves that! If you follow these steps carefully, you’ll build the confidence needed to make the best homemade rice pudding every time.
First things first: get everything into a good, heavy-bottomed saucepan. That heavy bottom is your insurance policy against scorching, especially when dealing with milk! Combine the rice, water, and whole milk. Set the heat to medium and bring it all up to a gentle simmer. Don’t let it boil aggressively; we want friendly bubbles, not an explosion!
The Slow Simmer for Thickening the Rice Pudding
This is the most important part for ditching watery results. Once those gentle bubbles start showing, immediately drop that heat down as low as it reliably goes. We need to cook this uncovered for a solid 45 to 60 minutes. Seriously, don’t cheat the clock! During this time, the rice is going to drink up that milk and release its starches, which is how we get that incredible thickness and creamy texture. You need to stir it every 5 to 7 minutes just to make sure nothing is sticking to the bottom, especially as it starts coating the sides of the pot. Less stirring than that, and you risk a burnt flavor.
If you decided to make yours decadent and add raisins, toss those babies in during the last 15 minutes of cooking. They’ll plump up perfectly without dissolving into mush. For a great overview on time management in the kitchen, check out some tips from Delish on easy cooking methods.
Finishing Touches: Sweeteners and Flavoring
Once the mixture is thick enough that it coats the back of a spoon nicely and the rice is tender, take the whole thing completely off the heat. This is crucial! Never add your sugar while it’s boiling hard. Stir in your granulated sugar, the salt, and that beautiful vanilla extract until everything dissolves smoothly. If you waited until the end like this, the sugar won’t make the milk curdle or crystallize the rice.
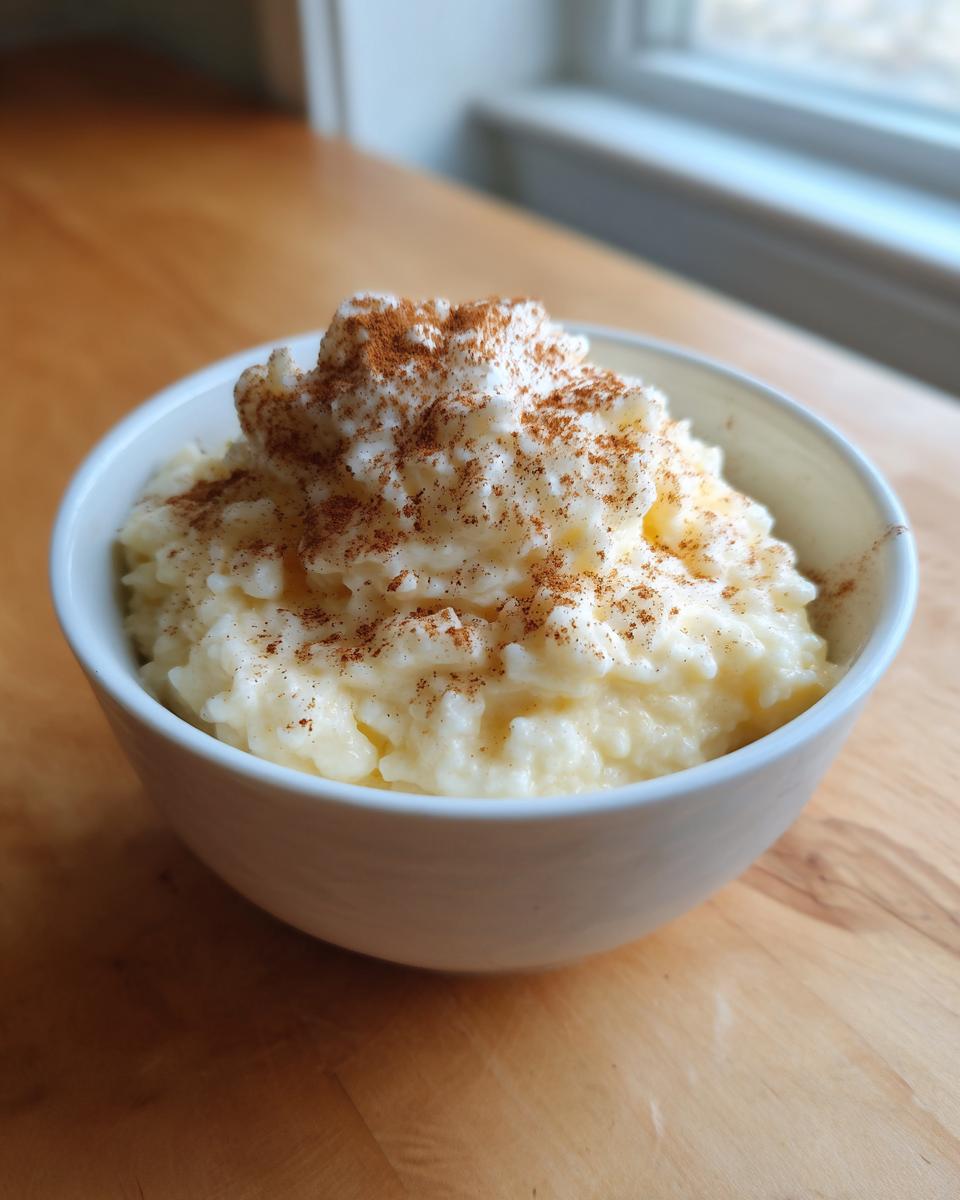
Remember, this rice pudding is going to thicken up a good bit more as it cools down, whether you serve it warm or chill it for that perfect scoopable consistency. Give it a few minutes to settle off the burner, then portion it out. Don’t forget that final dusting of cinnamon—it really makes this classic dessert pop!
Tips for the Best Creamy Rice Pudding Every Time
You’ve made it through the longest part, and now you get to enjoy the fruits of your patience! But what happens after Thanksgiving or a cozy Sunday evening when you have leftovers? That’s when knowing the little secrets of this easy stovetop pudding really pays off. We want to make sure every serving, hot or cold, tastes just as luxurious as the first.
The most important thing to remember about this recipe is that it sets up quite a bit as it cools. When you take it off the heat, it might seem slightly looser than you hoped—don’t panic! This means you nailed the starch content. This is what separates the best creamy desserts from everything else. If you’re planning on chilling it for that perfect, sliceable texture, trust the process and let it cool fully in the fridge.
Adjusting Consistency for Your Ideal Rice Pudding
If you reheat leftovers and suddenly find your beautiful pudding has turned into thick paste, don’t throw it out! Just whisk in a splash or two of whole milk while it’s warming gently on the stove. That little bit of liquid brings back the creaminess instantly. You don’t want to boil it hard again, okay? Just warm it through gently.
Now, if for some reason yours came out too thin right after cooking, try this: next time, cook it longer! You want that 45-to-60-minute range to be a minimum. For this batch, however, you can try returning it to very low heat, stirring non-stop for 5 minutes. This extra warmth encourages more starch to go into the liquid. If that doesn’t work, remember to serve it in a bowl with a spoon rather than trying to serve it like ice cream. For more great make-ahead tips, check out this advice on making classic creamy rice pudding.
Variations: From Classic Dessert Recipes to Kozy Shack Copycat Rice Pudding
The beauty of this rice pudding is how adaptable it is! While I stand by this stovetop method for the *ultimate* creamy dessert experience, you can certainly play around with it. For instance, if you chill this completely, the texture snaps into something incredibly dense and satisfying—perfect if you’re trying to achieve that beloved Kozy Shack copycat recipe vibe.
Now, I haven’t perfected my own baked rice pudding recipe yet—I just can’t resist that stovetop smoothness! But if you prefer the oven, just know you’ll need a slow bake. Also, think tropical! Swapping out half the whole milk for rich coconut milk turns this into a fantastic, unexpected dessert. It’s one of those amazing classic dessert recipes that just keeps on giving no matter how you dress it up.
Serving Suggestions for this Nostalgic Dessert
How you serve this pudding honestly changes the whole experience! If you need instant warmth and pure comfort food desserts vibes, serve it up right away while it’s still nice and warm from the stove. That’s when it’s the silkiest.
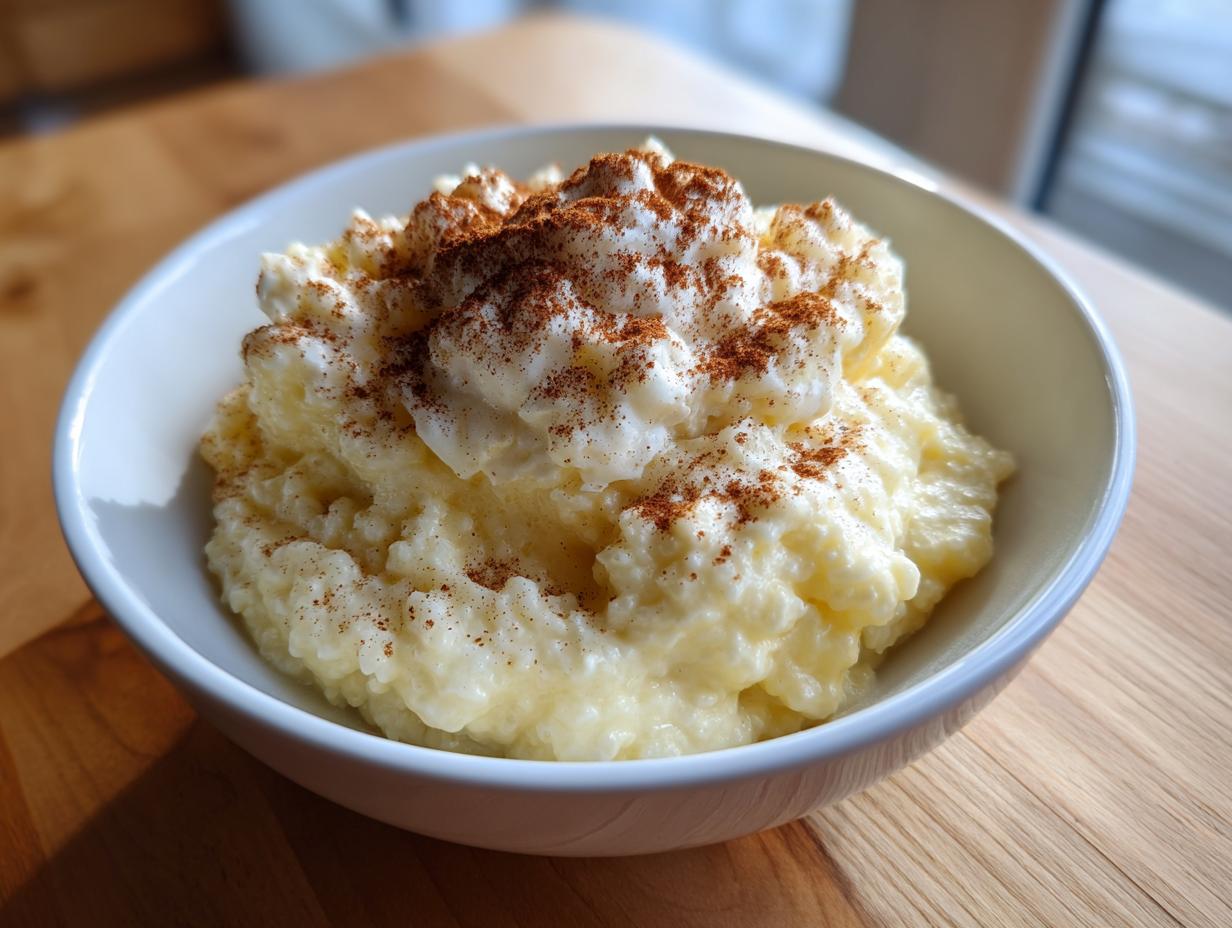
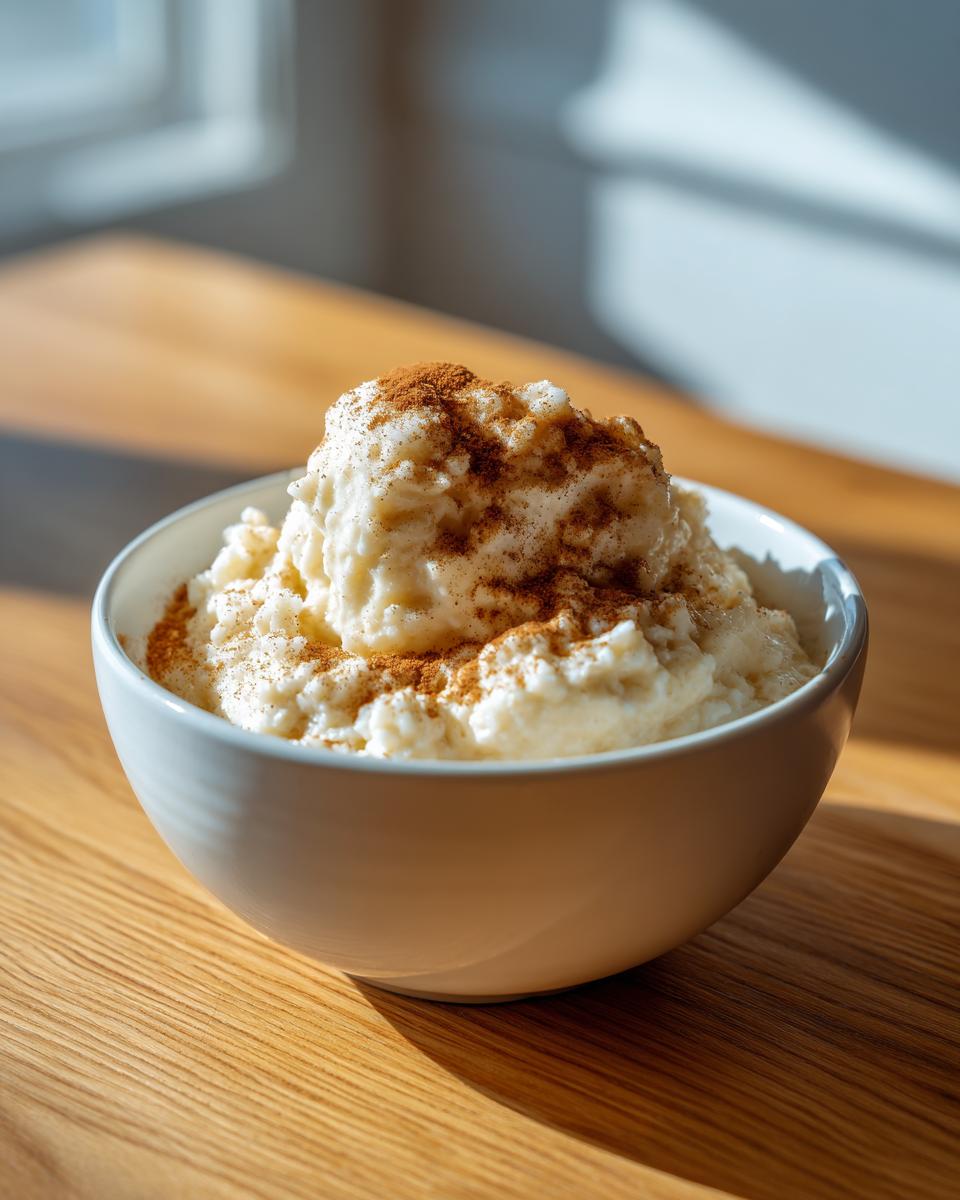
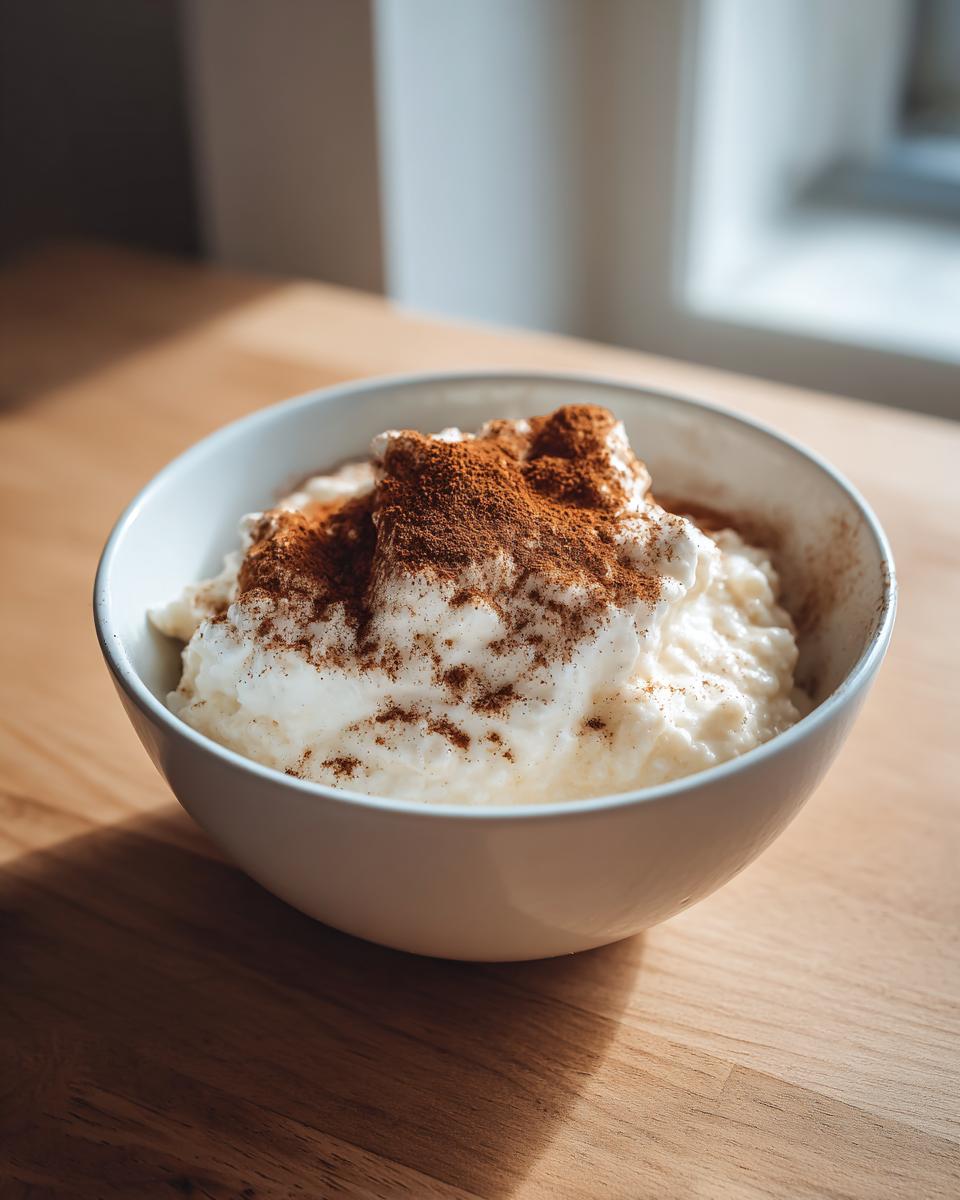
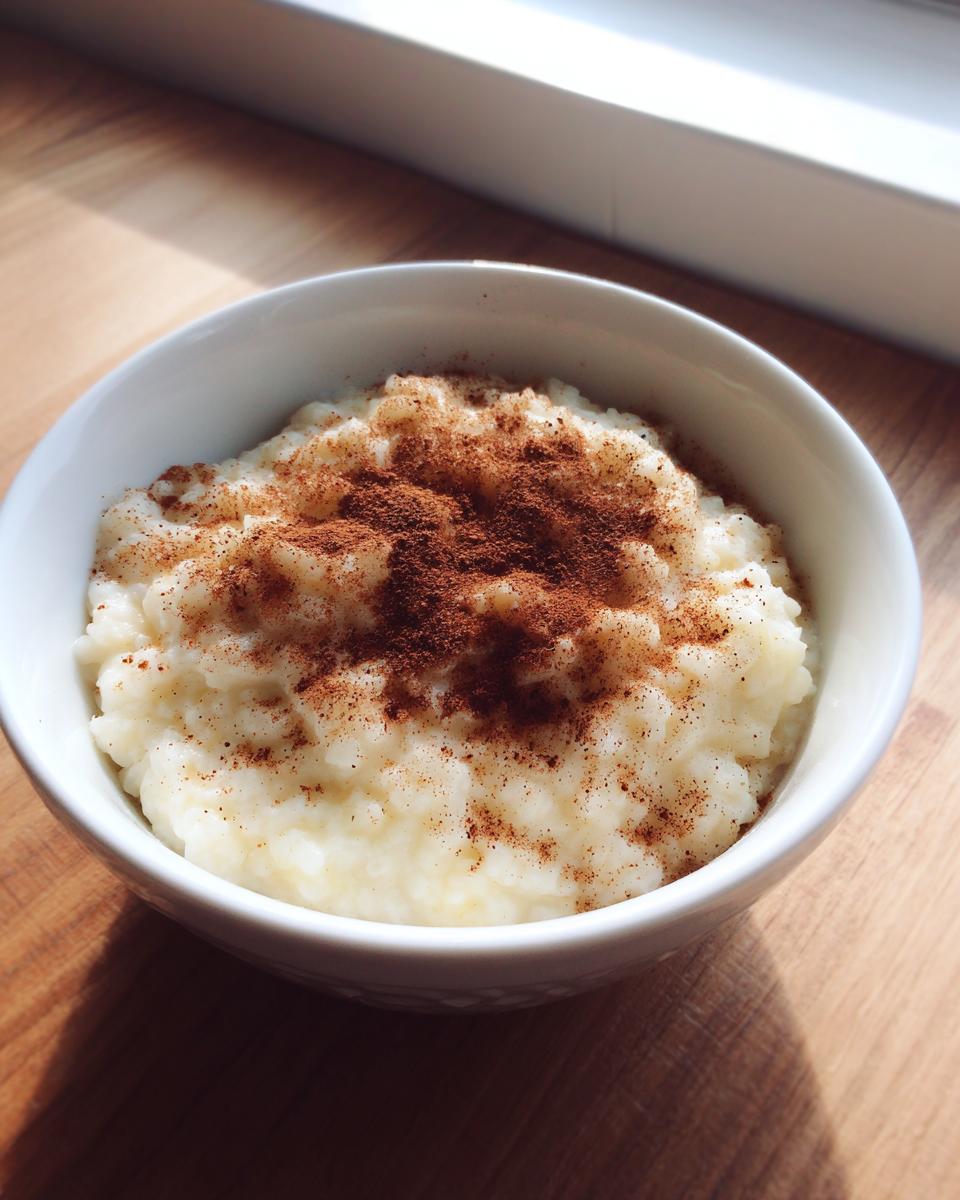
But, if you chill it overnight, it firms up beautifully, making it perfect for scooping. No matter which way you go, you absolutely have to finish it with a generous dusting of ground cinnamon! That hint of spice really elevates this rice pudding with cinnamon and makes it feel complete. It smells amazing on the counter, too!
Storage and Reheating Instructions for Leftover Rice Pudding
Good news—this rice pudding is even better the next day, provided you store it right! Pop any leftovers into an airtight container. It keeps beautifully in the fridge for about four days. Don’t worry if it seems rock-solid when taking it out; that’s normal for this style of pudding.
When you’re ready for a scoop, wake it up slowly on the stovetop over low heat. You absolutely must stir in a splash of extra milk while it warms through. This brings back that homemade, creamy texture we worked so hard for. Check out our privacy policy for tips on keeping all your kitchen notes organized!
Frequently Asked Questions About Making Creamy Rice Pudding
I know when I first started making this, I had a million questions buzzing around my head—especially about getting that perfect texture. Having the answers ready means you’ll have fantastic results right away! Dealing with rice and milk can be tricky, but once you know these little tricks, you’ll feel like a total pro at making these creamy dessert ideas.
Can I substitute the milk in this rice pudding recipe?
Look, I deeply encourage using whole milk because it’s the secret handshake for the richest, velvtiest outcome, kind of like how heavy cream makes great whipped topping. If you absolutely must substitute, you can use half-and-half, but you might need to watch the cooking time closely since it’s thinner. For non-dairy options, full-fat coconut milk works wonderfully, channeling that tropical flavor we talked about in the variations section! Just remember, anything lower fat than that, and you’ll definitely struggle to achieve that signature creamy rice pudding recipe result.
What is the best rice to use for thick rice pudding?
This is a fantastic question because the type of grain makes a huge difference in whether this turns out like a proper old fashioned rice pudding or more like soup! You really want short-grain white rice. Arborio—yes, the risotto rice—is excellent because it has a higher starch content, which is what breaks down slowly on the stove to thicken everything beautifully. Please avoid long-grain rice like Basmati or Jasmine if you can. They just don’t release enough starch, and you’ll end up with individual grains floating in a thinner liquid base instead of that cohesive, spoonable goodness.
If you have other questions about recipes or just want to chat about cooking, please feel free to reach out via our contact page! We love hearing from you.
Nutritional Estimates for This Classic Dessert
I always try to keep track of what’s in our food, even when it’s pure comfort like this wonderful rice pudding. Remember that these numbers are just estimates based on the standard ingredients I listed—what kind of whole milk you use or how much sugar dissolves can change things slightly!
- Serving Size: 1 cup
- Calories: 320
- Sugar: 25g
- Sodium: 150mg
- Fat: 7g
- Saturated Fat: 4g
- Unsaturated Fat: 3g
- Trans Fat: 0g
- Carbohydrates: 58g
- Fiber: 1g
- Protein: 9g
- Cholesterol: 25mg
These estimates help me balance things out during the week, but honestly, when I’m serving this old fashioned rice pudding, I try not to worry too much! It’s a treat meant to be enjoyed fully.
PrintThe Ultimate Creamy Old Fashioned Stovetop Rice Pudding

Make this classic, comforting rice pudding on the stovetop for a rich, velvety texture. This old fashioned recipe uses simple ingredients to create a nostalgic, creamy dessert perfect for any occasion.
- Prep Time: 5 min
- Cook Time: 60 min
- Total Time: 65 min
- Yield: 6 servings 1x
- Category: Dessert
- Method: Stovetop
- Cuisine: American
- Diet: Vegetarian
Ingredients
- 1 cup short-grain white rice (Arborio or medium-grain works well)
- 4 cups whole milk
- 1 cup water
- 1/2 cup granulated sugar
- 1/4 teaspoon salt
- 1 teaspoon vanilla extract
- 1/4 teaspoon ground cinnamon (plus extra for topping)
- Optional: 1/2 cup raisins
Instructions
- Combine the rice, water, and milk in a heavy-bottomed saucepan. Bring the mixture to a gentle simmer over medium heat, stirring occasionally to prevent sticking.
- Once simmering, reduce the heat to low. You want the mixture to maintain a very low, slow bubble.
- Cook uncovered for 45 to 60 minutes, stirring every 5 to 7 minutes. The rice should absorb much of the liquid and become tender, and the mixture should thicken significantly. Stir more frequently toward the end of the cooking time.
- If using raisins, stir them in during the last 15 minutes of cooking.
- When the pudding is thick and creamy, remove the saucepan from the heat. Stir in the sugar, salt, and vanilla extract until fully dissolved.
- The pudding will thicken more as it cools. If you prefer a very thick pudding, let it sit off the heat for 10 minutes before serving.
- Serve warm or chill completely. If chilling, the pudding will become much firmer. Sprinkle with extra cinnamon before serving.
Notes
- For the creamiest result, use whole milk and do not rush the cooking process; low and slow heat prevents scorching and allows the starch to release properly.
- If the pudding becomes too thick upon cooling, stir in a splash of milk when reheating or serving.
- This recipe makes a fantastic base for a Kozy Shack copycat when chilled.
Nutrition
- Serving Size: 1 cup
- Calories: 320
- Sugar: 25g
- Sodium: 150mg
- Fat: 7g
- Saturated Fat: 4g
- Unsaturated Fat: 3g
- Trans Fat: 0g
- Carbohydrates: 58g
- Fiber: 1g
- Protein: 9g
- Cholesterol: 25mg