

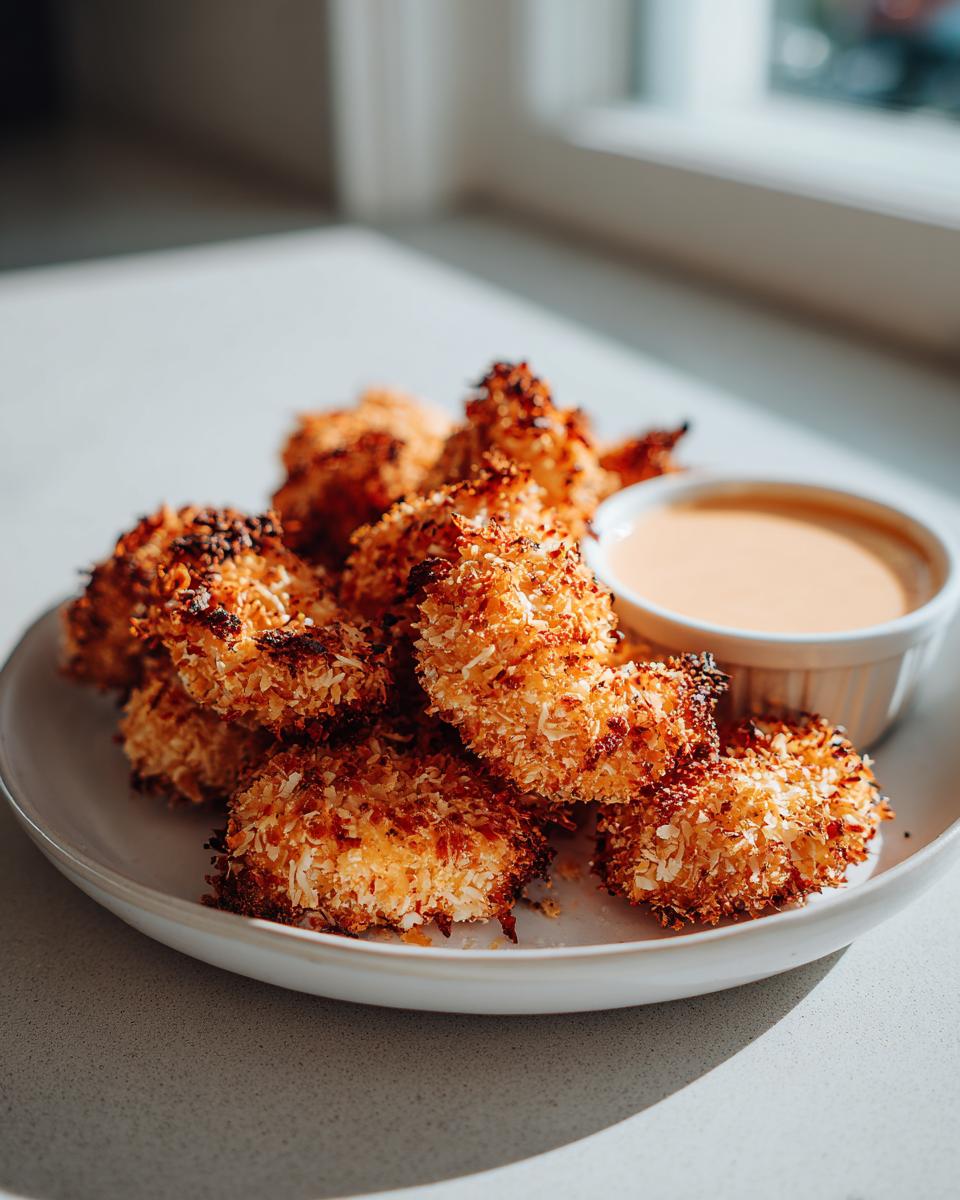
We all have that one appetizer we crave from our favorite beachfront spot—that perfectly golden, incredibly crunchy coconut shrimp. Getting that truly professional crunch at home can feel impossible, right? Well, grab your apron, because I cracked the code! My secret to that audible crackle isn’t just coconut; it’s blending it with Panko breadcrumbs for what I call the “Ultimate Crispy Coconut Shrimp.” As I learned back in my grandmother’s kitchen, making a simple dish feel truly special is what cooking is all about, just like the connection we aim to foster here at Bring Dish. You can read more about our mission right here. This recipe turns an ordinary plate into a guaranteed crowd-pleaser, whether you serve it as a stunning appetizer or a light weeknight dinner. Trust me, this tropical seafood appetizer is about to become your signature dish!
- Why This Crispy Coconut Shrimp Recipe Delivers
- Gathering Ingredients for Ultimate Coconut Shrimp
- Step-by-Step Instructions for Perfect Coconut Shrimp
- Tips for Making the Best Homemade Coconut Shrimp
- Serving Suggestions for Your Tropical Seafood Appetizer
- Storage and Reheating Instructions for Coconut Shrimp
- Frequently Asked Questions About Crispy Coconut Shrimp
- Quick Facts and Estimated Nutrition for Coconut Shrimp
- Share Your Tropical Shrimp with Dipping Sauce Success
Why This Crispy Coconut Shrimp Recipe Delivers
We are past the sad, soggy shrimp recipes! To get that genuine, restaurant style coconut shrimp at home that snaps when you bite into it, you need a few non-negotiables. This preparation method isn’t about luck; it’s about science and technique, ensuring you get a perfect coating every single time.
Here’s why this mix beats anything else:
- The shrimp are patted perfectly dry—seriously, bone dry—before they ever see flour.
- We use the Panko/Coconut combo that makes this a superior crunchy shrimp recipe.
- It cooks incredibly fast, preventing the shrimp from overcooking, which is the death of texture!
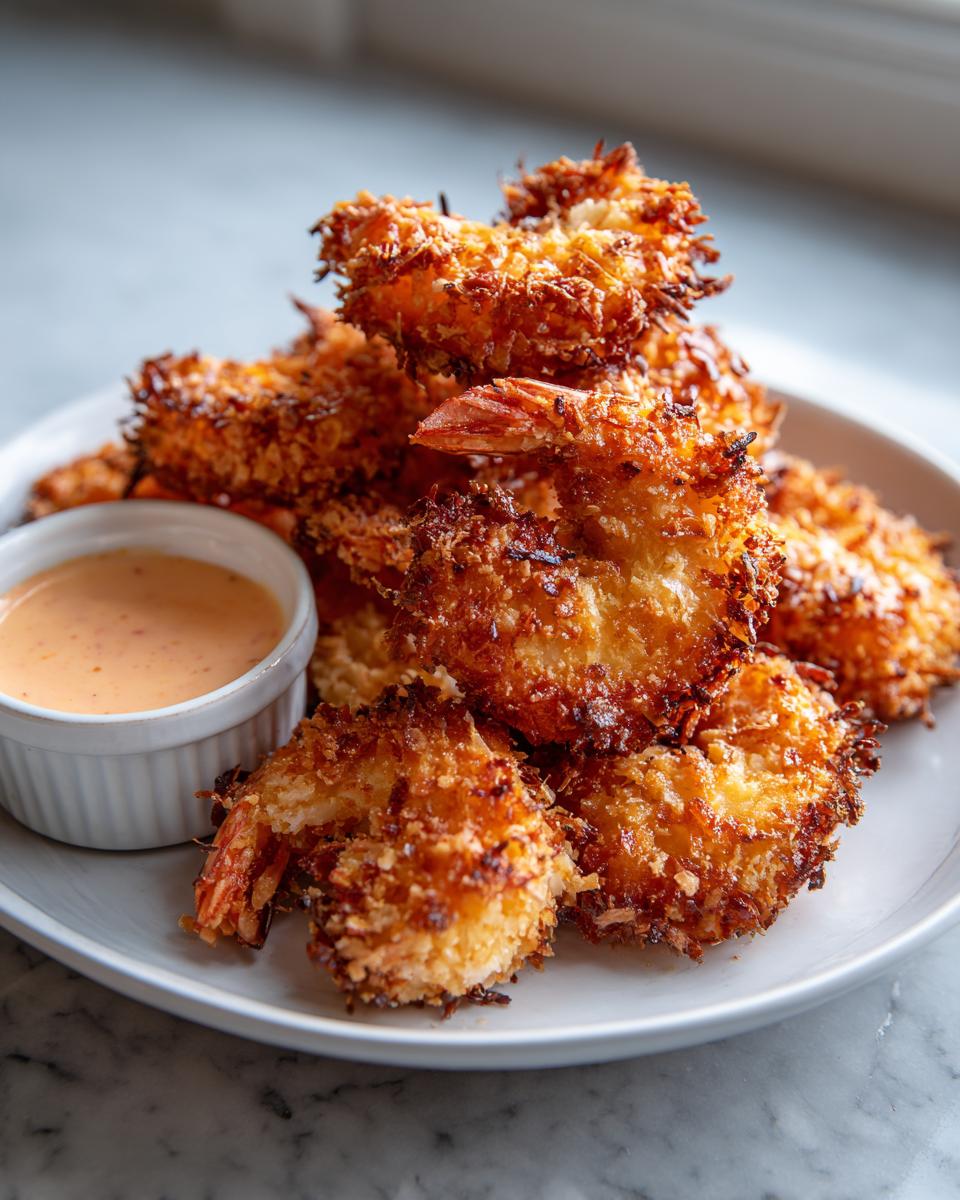
Achieving Maximum Crunch with Panko Coated Shrimp
Just using shredded coconut gives you a nice flavor, but it tends to soak up oil and get soft fast. That’s where Panko breadcrumbs step in, bless their flaky hearts! Panko creates those airy, big shards that turn golden and create a solid barrier. Mixing them 50/50 with the sweetened coconut gives you the robust flavor of the tropical coating while guaranteeing that irresistible, sharp crunch we are all chasing.
Gathering Ingredients for Ultimate Coconut Shrimp
When you’re whipping up any great seafood dish, starting with quality components makes all the difference. For this batch of utterly perfect coconut shrimp, we need three simple groupings of items. Don’t stress about finding anything tricky; everything here is standard kitchen fare, but using the sweetened coconut is key to that tropical flavor profile we love.
Here is what you need for the shrimp and the coating:
- 1 pound large shrimp, peeled and deveined
- 1 cup all-purpose flour
- 2 large eggs, beaten
- 1 cup sweetened shredded coconut
- 1/2 cup Panko breadcrumbs
- 1/2 teaspoon salt
- 1/4 teaspoon black pepper
- Vegetable oil, for frying (or cooking spray for air fryer/baking)
Ingredients for the Sweet Chili Mayo Dip
Now, no truly amazing coconut shrimp is complete without a killer dip. This Sweet Chili Mayo is incredibly simple—it takes literally 30 seconds to whip up—but it elevates the sweet and savory notes of the shrimp perfectly. You’ll need:
- 1/2 cup mayonnaise
- 1/4 cup sweet chili sauce
- 1 teaspoon lime juice
Step-by-Step Instructions for Perfect Coconut Shrimp
Alright, let’s get messy! This part is where the magic happens, and you only need about 30 minutes total to go from raw shrimp to a glorious, golden platter. Remember, every step counts here, especially getting those shrimp ready to go. If you skip drying them, your wonderful coating won’t stick, and we definitely don’t want a soggy situation where we are aiming for maximum crispness here.
First things first: use paper towels and pat those shrimp until they are absolutely as dry as you can get them. Seriously, no moisture allowed on our tropical party snacks! After that, we set up our dredge station, which is so straightforward you’ll wonder why you ever ate takeout versions.
Preparing the Breading Station for Crispy Coconut Shrimp
We are going classic three-stage breading, but enhanced! Put your seasoned flour (salt and pepper mixed in) in the first dish. Eggs go in the second dish, whisked up nice. Then, the star—mix that shredded coconut right in with the Panko breadcrumbs in the third dish. Once you dip the shrimp into the egg, make sure you let the excess drip off before moving it to the coconut-Panko mix. When you dredge them in that final mix, use your hands to gently but firmly press the coating onto the shrimp. This pressing action is the trick to making sure it sticks like glue, giving you that thick, beautiful coating worthy of any buffet table!
Cooking Methods: Frying vs. Air Fryer Coconut Shrimp Tutorial
Now for the heat! For deep frying, you need oil heated to 350°F (175°C)—use a thermometer if you have one, don’t guess! Fry them in small batches for just 2 to 3 minutes per side until they look deeply golden brown. Don’t overcrowd the pan, or the oil temperature will drop, and that’s how you get greasy shrimp.
If you are opting for the air fryer coconut shrimp tutorial because we all love a fast, easier cleanup option, preheat your basket to 380°F (195°C). Spray the coated shrimp well with cooking spray—don’t skip the spray! Air fry for about 8 to 10 minutes total, but be sure to flip them at the halfway mark so both sides get that beautiful golden brown finish! If you need to bake them flat on a tray, I have some notes on that later, but the air fryer method is fantastic for crisp results!
Tips for Making the Best Homemade Coconut Shrimp
I’ve learned a few hard lessons over the years trying to recreate that perfect takeout taste. My biggest early disaster? I was rushing one afternoon, trying to get these ready for a small gathering, and I barely patted the shrimp dry because I thought, “It’s fine, the flour will take care of it.” Oof. Don’t do that! The coating slid right off half the batch into the hot oil, leaving me with sad, naked shrimp. That’s why I preach about drying those little guys first—it’s the only way to learn how to make crispy fried shrimp that actually holds together!
But beyond dryness, temperature control is everything. We are working with delicate shredded coconut here, remember? If you’re frying, consistency is non-negotiable. If the oil isn’t hot enough, the exterior soaks up grease before it crisps up, leading right back to that sad, soggy texture we are fighting so hard against.
Achieving Golden Brown Shrimp Recipe Results
If you’re deep frying, aim for that sweet spot of 350°F (175°C). If you see dark spots forming on the coconut flakes almost immediately when you drop them in, your oil is way too hot, and you’ll burn the coating before the shrimp cooks. That beautiful golden brown shrimp recipe finish happens beautifully at the correct temperature, giving you that toasted coconut look without any overly bitter taste.
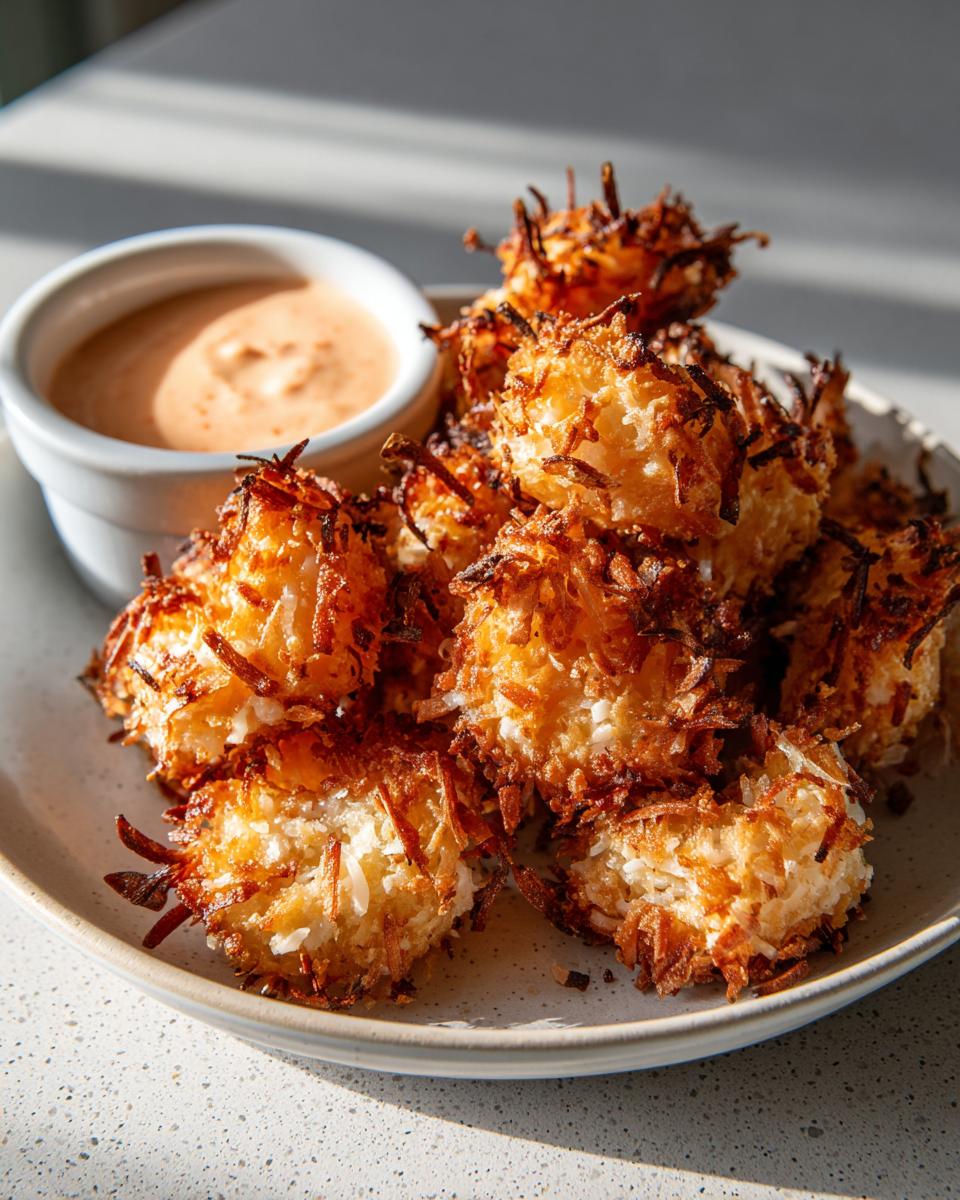
Now, if you’re using the oven or the air fryer notes I gave you earlier, don’t be shy with the oil spray! We need oil to conduct the heat and make those Panko edges pop and crisp. A light mist just won’t cut it when you are trying to mimic that deep-fried perfection. Spray them evenly from above and below if you can manage it, and watch them turn that gorgeous honey-gold color!
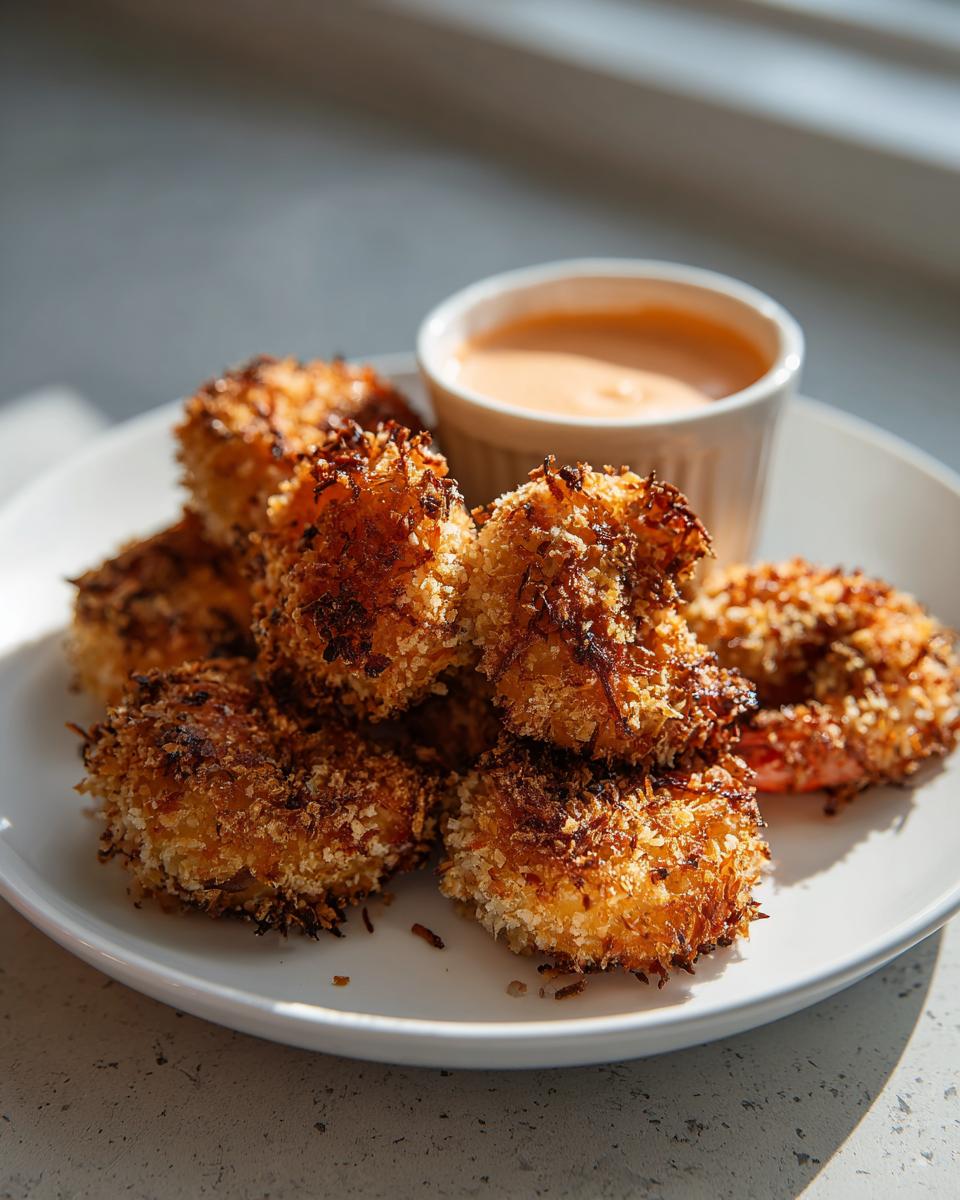
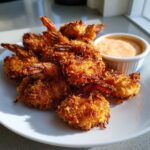
Serving Suggestions for Your Tropical Seafood Appetizer
Okay, once you have these incredible, crunchy morsels coming out of the fryer or air fryer, the next question is, “How do I serve these beauties?” I love that this dish transitions so easily! It’s perfect as a flashy easy coconut shrimp appetizer for a party, or you can bulk up the plates and call it a killer weeknight shrimp dinner idea!
When I serve these, I usually go for lighter, fresher sides to balance out the sweetness of the coating. Think a bright, crunchy slaw with lime dressing, or maybe some simple steamed rice if you’re making it a main course. The key is letting the shrimp and the dip be the real stars of the show.
The Best Dipping Sauce for Coconut Shrimp
We already whipped up that creamy sweet chili mayo, which I think is hands-down one of the best dipping sauce for coconut shrimp out there because it hits that sweet/tangy note perfectly. But you know me—I’m all about options!
If you are feeling extra tropical, you absolutely must consider a quick pineapple sauce. You just reduce some crushed pineapple with a splash of vinegar and maybe a tiny bit of brown sugar until it thickens up a bit. Mango salsa is another winner! The fruitiness cuts right through the richness of the fried coating. If you want to see a fantastic example of how to pair these flavors, people love these ideas over at this side of the internet that focuses on crispiness. Seriously, try dipping one in the mayo and one in a fruity sauce—it’s a tropical adventure right on your plate!
Storage and Reheating Instructions for Coconut Shrimp
Okay, so you’ve made too much—which, frankly, is a gift when it comes to these little flavor bombs! If you have leftover coconut shrimp, you need to treat them right if you want that crunch back tomorrow. First off, store them in a single layer in an airtight container in the fridge. Do not, I repeat, do not try to microwave them! That is the fast lane to rubbery seafood soup.
For reheating, your best friend is either the oven, set around 400°F (200°C), or even better, the air fryer for 4 to 5 minutes. This pulls the residual moisture out and toasts that Panko coating right back up. They’ll be practically perfect again!
Frequently Asked Questions About Crispy Coconut Shrimp
I get so many questions when people see how crunchy these come out, which I love! It just goes to show how much we all crave that perfect texture. Don’t worry if you’re tweaking things for your own kitchen; I can help guide you toward keeping the flavor loud and clear!
One of the first things people ask is about using frozen shrimp. Please, please thaw them completely and pat them dry just as obsessively as you would fresh ones. Any extra water equals less crispiness! Also, if you are wondering how to prevent sogginess, remember the main rule: dry shrimp equals crispy results.
Can I make this a baked coconut shrimp tutorial?
Absolutely, you can turn this into a baked coconut shrimp tutorial! It won’t have that deep, fried flavor—nothing really beats hot oil for that—but you get a fantastic result that’s much lighter. To bake, set your oven to a hot 400°F (200°C), place the breaded shrimp on a sheet lined with parchment, and be really generous with the cooking spray over the tops. Bake them for about 12 to 15 minutes, flipping halfway through. It gives you that nice, almost toasted exterior, and it’s a great option for a lighter meal!
And yes, you could technically skip the Panko if you were in a bind, but I really wouldn’t recommend it if you are looking for that true crunch factor. Can you reach out to us if you have more questions at our contact page? Happy to chat about your shrimp adventures!
Quick Facts and Estimated Nutrition for Coconut Shrimp
I always think it’s important to know what we’re diving into, especially when we’re frying things up! Because this recipe gives you options—fried is always richer, while air frying cuts down the fat significantly—the final numbers change quite a bit. I always say treat these figures as a guideline, not a strict rulebook. Remember, this is based on the whole recipe yielding about four servings of five shrimp each.
Here are the basic estimated values for a serving size of about 5 shrimp:
- Calories: Around 350 (This will be higher if you deep fry!)
- Protein: 18g
- Carbohydrates: 25g
- Fat: 20g (Again, this drops dramatically if you opt for the air fryer coconut shrimp tutorial we discussed!)
We have roughly 12g of sugar in there, which comes mainly from the sweetened coconut and the sweet chili mayo dip, giving it that signature tropical sweetness. It’s really satisfying to know you created something this delicious and flavorful right in your own kitchen!
Share Your Tropical Shrimp with Dipping Sauce Success
That’s it! You have achieved pinnacle crispiness. Now comes the best part: deciding who gets the first bite! I truly hope that when you try this recipe for coconut shrimp, you get that glorious, loud crunch that makes your eyes light up. When I make these, my partner always grabs the biggest one first, and honestly, I can’t even be mad at him when they come out looking this perfect.
I absolutely thrive on hearing how your cooking adventures turn out. Did you manage to keep them perfectly golden brown? Did the sweet chili mayo disappear instantly? Please, let me know in the comments below! Rating the recipe helps others feel confident trying it out, and knowing you loved these crunchy bites makes all my kitchen testing worth it.
If you snapped a picture of your beautiful platter—maybe using them as a stunning tropical seafood appetizer or plated up for a quick dinner—I want to see it! Tag us on social media! Seeing your beautiful spreads inspires me so much. If you want to see some other amazing results from folks who tackled this recipe, check out the deliciousness people shared over at this link. Happy dipping, and enjoy every single crispy second!
PrintUltimate Crispy Coconut Shrimp with Sweet Chili Mayo Dip
Make restaurant-style coconut shrimp at home that delivers maximum crunch. This recipe uses a Panko and coconut coating for a golden, crispy exterior and a tender interior. Serve this easy appetizer or weeknight main dish with the included Sweet Chili Mayo dipping sauce for a tropical flavor experience.
- Prep Time: 20 min
- Cook Time: 10 min
- Total Time: 30 min
- Yield: 4 servings 1x
- Category: Appetizer
- Method: Frying (or Air Frying/Baking)
- Cuisine: American
- Diet: Vegetarian
Ingredients
- 1 pound large shrimp, peeled and deveined
- 1 cup all-purpose flour
- 2 large eggs, beaten
- 1 cup sweetened shredded coconut
- 1/2 cup Panko breadcrumbs
- 1/2 teaspoon salt
- 1/4 teaspoon black pepper
- Vegetable oil, for frying (or cooking spray for air fryer/baking)
- For the Sweet Chili Mayo Dip:
- 1/2 cup mayonnaise
- 1/4 cup sweet chili sauce
- 1 teaspoon lime juice
Instructions
- Prepare the shrimp: Pat the shrimp completely dry using paper towels. This step is key for a crispy coating.
- Set up a standard three-stage breading station: Place flour seasoned with salt and pepper in the first shallow dish. Whisk the eggs in the second dish. Combine the shredded coconut and Panko breadcrumbs in the third dish.
- Dredge each shrimp first in the flour, shaking off any excess. Dip the floured shrimp into the egg wash, allowing excess to drip off. Finally, press the shrimp firmly into the coconut-Panko mixture to coat completely. Place coated shrimp on a plate.
- Prepare the dip: In a small bowl, whisk together the mayonnaise, sweet chili sauce, and lime juice until smooth. Set aside.
- Cook the shrimp (Frying Method): Pour oil into a deep skillet to reach about 1 inch depth. Heat oil to 350°F (175°C). Fry the shrimp in batches for 2 to 3 minutes per side, until golden brown and cooked through. Remove with a slotted spoon and drain on a wire rack or paper towels.
- Cook the shrimp (Air Fryer Method): Preheat the air fryer to 380°F (195°C). Lightly spray the coated shrimp with cooking spray. Air fry for 8 to 10 minutes, flipping halfway, until golden and crisp.
- Serve immediately with the Sweet Chili Mayo dipping sauce.
Notes
- For the best crunch, ensure your shrimp are very dry before coating them.
- If you prefer a baked version, place shrimp on a baking sheet lined with parchment paper, spray generously with oil, and bake at 400°F (200°C) for 12 to 15 minutes.
- To achieve a ‘Buffet Style’ look, use larger shrimp and ensure the coating adheres tightly by pressing firmly during the final dredging step.
Nutrition
- Serving Size: 5 shrimp
- Calories: 350
- Sugar: 12g
- Sodium: 450mg
- Fat: 20g
- Saturated Fat: 10g
- Unsaturated Fat: 10g
- Trans Fat: 0g
- Carbohydrates: 25g
- Fiber: 1g
- Protein: 18g
- Cholesterol: 150mg