
If you are looking for that one recipe that disappears instantly whether it’s a Sunday football game or just a tiring Tuesday night, you’ve found it. Seriously, these grinder sliders are my absolute go-to when I need maximum flavor with minimum fuss.
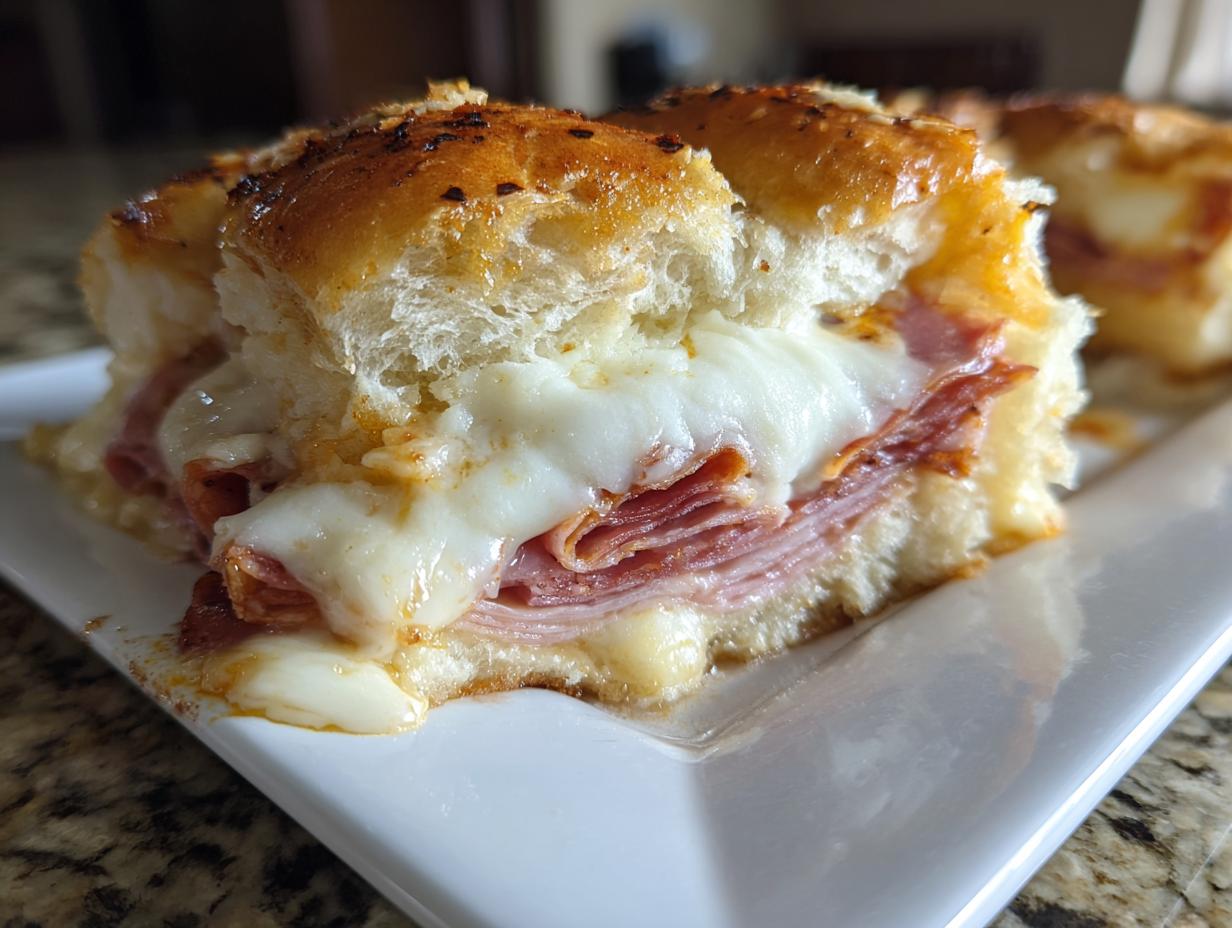
When I first started Bring Dish, I knew I needed recipes built for real life—meals that didn’t require me to spend hours in the kitchen, but still delivered that cozy, satisfying taste my grandmother used to create. These baked Italian sliders capture that spirit perfectly. We take all the bold, savory punch of a classic Italian deli sandwich and bake it onto soft, sweet Hawaiian rolls until everything is gooey, hot, and drizzled with a killer garlic butter glaze.
My goal, as Maya Thompson, is always to bring you straightforward recipes, and these Italian Grinder Sliders are the definition of accessible comfort food. Trust me, getting these beauties prepped only takes about ten minutes, but they taste like you fussed all day!
You really should check out more about our philosophy here on the site if you love practical, honest cooking!
- Why You Will Love These Italian Grinder Sliders
- Essential Ingredients for Perfect Grinder Sliders
- Tips for Success with Baked Sliders Recipe
- Step-by-Step Instructions for Hot Italian Sliders
- Ingredient Notes and Substitutions for Deli Meat Sliders
- Serving Suggestions for Your Grinder Sliders
- Storage and Reheating Instructions for Leftover Grinder Sliders
- Frequently Asked Questions About Grinder Sliders
- Nutritional Estimate for Garlic Butter Glazed Sliders
Why You Will Love These Italian Grinder Sliders
I get it—sometimes you just need a win in the kitchen without washing a ton of dishes later. That’s exactly why these Italian Grinder Sliders live rent-free in my brain. They hit that perfect sweet spot between being incredibly easy but tasting rich and complex. You can whip these up for a spontaneous gathering or use them as a fantastic Weeknight Slider Dinner option.
Here’s the rundown on why they are an instant classic:
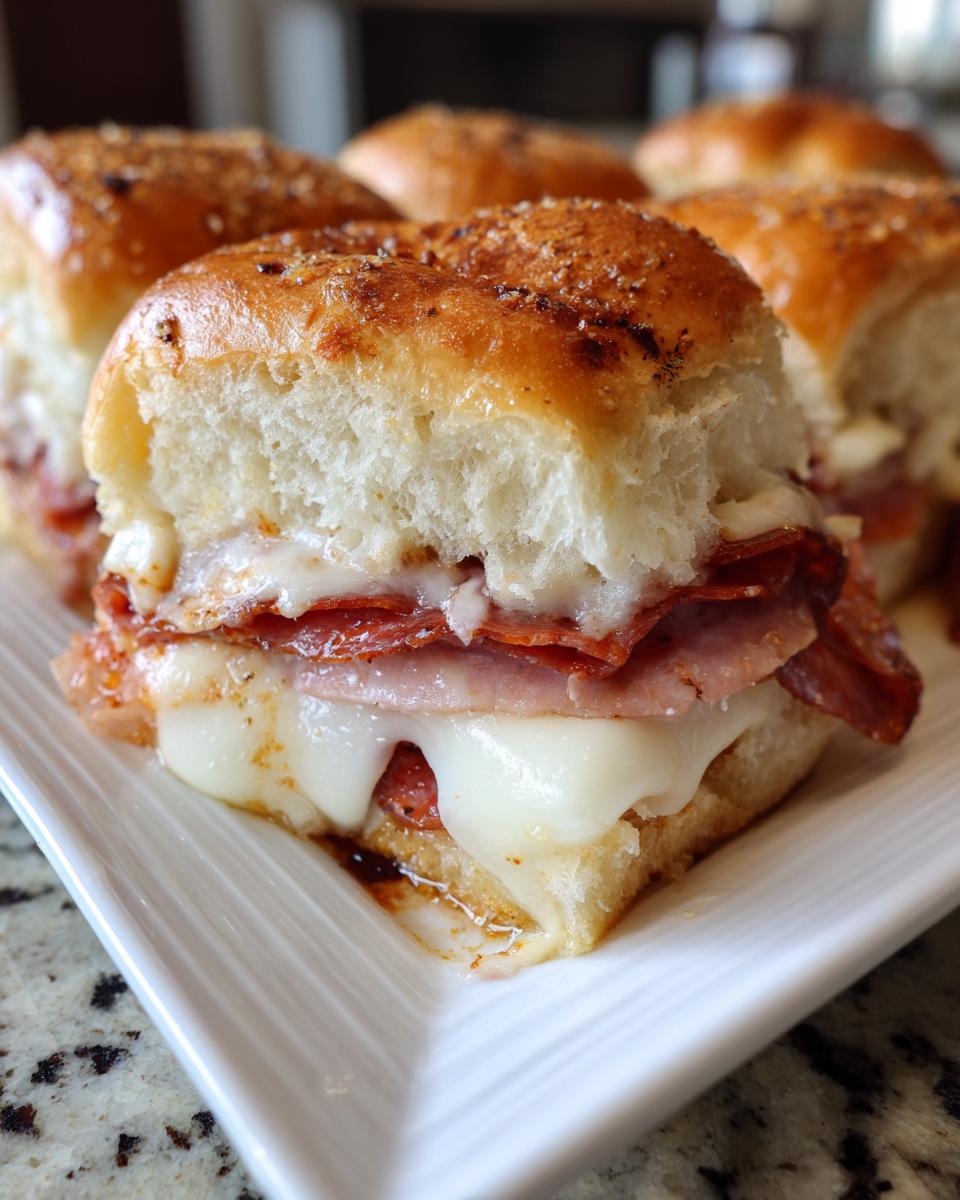
- They are true Easy Party Sandwiches; you bake the whole sheet at once!
- The sweet Hawaiian rolls pair unexpectedly well with the salty deli meats.
- Everyone loves the warm, cheesy, golden-brown tops thanks to that glaze.
- They are fantastic for tailgates or quick potlucks. We love them for easy weeknight meals!
Essential Ingredients for Perfect Grinder Sliders
Okay, so the magic here isn’t just in how we bake them, but what we’re baking! Since these are essentially mini Italian sandwiches, the quality of your meats and cheeses really shines through. Don’t skimp, but also, this formula is so solid that even standard store-bought ingredients work wonders. Remember, we are aiming for delicious and practical here, not gourmet difficulty!
I always lay everything out before I even look at the oven settings. It makes assembly incredibly fast. You’re going to need two main components: the hearty fillings and the flavor-packed topping that turns these into proper grinder sliders.
Deli Meats and Cheeses
When slicing, you want that nice, thin layer so you get maximum coverage across all twelve rolls. If your deli doesn’t slice them paper-thin, no sweat, just make sure you layer them nicely so you get a taste of everything in every bite.
- 1 package (12 count) sweet slider rolls (I swear by the Hawaiian rolls for this—the sweetness is non-negotiable for me!)
- 1/2 pound thinly sliced ham
- 1/2 pound thinly sliced salami (get the good, peppery kind if you can!)
- 1/2 pound thinly sliced pepperoni
- 1/2 pound thinly sliced provolone cheese
- 1/2 cup shredded mozzarella cheese (this is just for extra, necessary gooiness!)
The Garlic Butter Glaze for Grinder Sliders
This glaze is what takes these sweet rolls and turns them into savory, party-ready perfection. It’s minimal effort but offers huge payoff. The most important part? The garlic! Don’t try to use garlic powder here; you need the real stuff for depth of flavor in these Garlic Butter Glazed Sliders.
- 1/4 cup butter, melted
- 2 cloves garlic, minced (Yes, really minced! Fresh is best!)
- 1 teaspoon dried Italian seasoning
- 1/2 teaspoon onion powder
- 1/4 teaspoon salt
Tips for Success with Baked Sliders Recipe
Achieving the perfect Baked Sliders Recipe comes down to a couple of critical moments—mostly handling the heat! My biggest piece of advice, channeling all my years of needing fast but perfect food, is to trust the timing, especially when the foil comes off. You absolutely must preheat your oven completely; rushing that step means everything warms unevenly, and nobody wants a cold center.
When you first cover these babies, you’re steaming them slightly to melt that cheese and warm the meats all the way through. But that foil has to come off near the end for that gorgeous, golden-brown top and to crisp up those edges slightly. It’s this two-step bake that prevents soggy bottoms and ensures you get those lovely browned spots on top. Check out the tips we use for our deviled eggs; the mindset of layering flavor just applies here too!
Step-by-Step Instructions for Hot Italian Sliders
Alright, let’s get these amazing Hot Italian Sliders assembled! Because all the ingredients are prepped—the meats are sliced and the cheese is ready—this part flies by. Don’t worry about making it perfect; we just need everything layered together so the magic can happen in the oven. Remember to start by preheating your oven to 350°F (175°C) and giving your 9×13 baking dish a light greasing so nothing sticks!
Assembling the Hawaiian Roll Sliders Base
This is the secret to keeping them together before they bake! Take your whole package of rolls—the wonderful, soft Hawaiian Rolls are perfect for these grinder sliders because that hint of sweetness balances the salty factor—and slice the entire thing horizontally, like a giant sheet cake. Keep the rolls connected!
Place the bottom layer down in your prepared pan. Now, you stack. I like to go: ham first, then salami, then pepperoni, and ensure you get that provolone cheese settled over every spot. Then, top it with the remaining half of the rolls. You should have one giant, beautiful meat-and-cheese sandwich sitting in the pan.
Applying the Glaze and Baking the Grinder Sliders
Time for the best part: the glaze! Whisk together that melted butter, fresh garlic, Italian seasoning, onion powder, and salt until it looks like liquid gold. Using a pastry brush (or even just a spoon, I won’t tell!), brush this mixture across the entire top surface of the rolls. Be generous; this is what keeps the tops from drying out and makes them wonderfully savory!
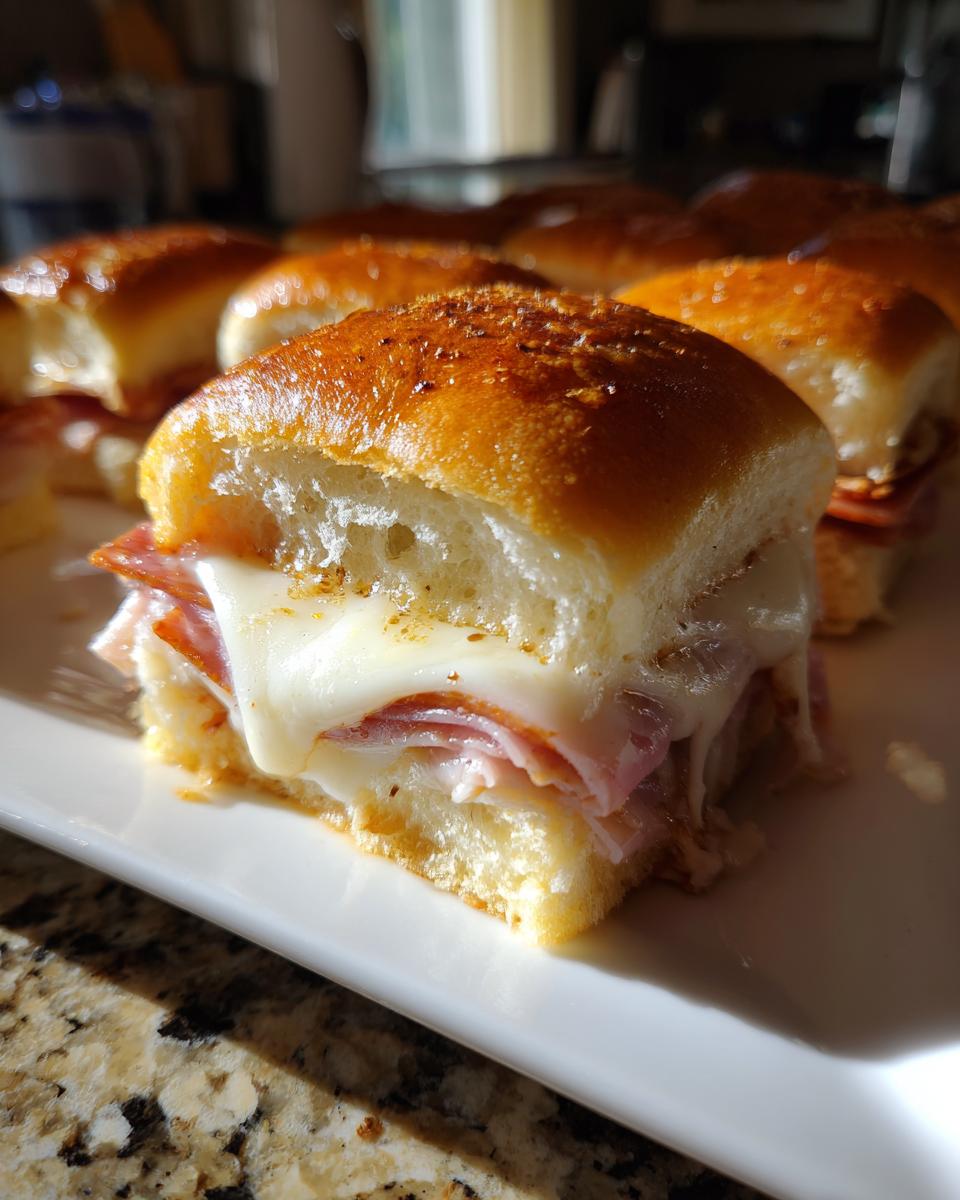
Cover the dish tightly with foil—this is crucial. Bake it like this for 15 minutes. This steams the sandwich slightly so the cheese melts beautifully inside. Then, uncover it and bake for another 5 to 10 minutes. You’re looking for that moment when the cheese is fully melted and the top of the rolls is turning that perfect golden, slightly crunchy brown. Carefully slice them apart and serve immediately while they are piping hot!

Ingredient Notes and Substitutions for Deli Meat Sliders
Don’t feel stressed if you don’t have the exact deli meats listed! That’s the beauty of these Deli Meat Sliders; they are very forgiving. If you aren’t stocked up on salami, maybe use turkey or even some thinly sliced ham instead. The main thing is that whatever you choose should be sliced thin enough to stack nicely.
For the cheese, provolone is ideal because it melts so well and has that classic Italian tang, but Swiss or Muenster works too if you prefer a milder flavor. Now, here is a little trick I picked up from testing recipes for quick lunch ideas: If you want an extra zip to cut through the richness of the butter and cheese, try this! Mix a tiny bit of mayonnaise with just a dash of red wine vinegar, and spread that thin layer on the bottom buns before you stack the meat. It’s subtle, but it makes these grinder sliders sing!
Serving Suggestions for Your Grinder Sliders
Honestly, once these grinder sliders come out of the oven, they are usually the main event! They are such incredible Crowd Pleaser Appetizers that people tend to gravitate right to the platter. Because they are already so rich with meat, cheese, and that buttery glaze, the best pairings are usually light and fresh to balance things out.
I love serving them alongside a simple bag of kettle-cooked potato chips—you need that salty crunch! If you’re making a bigger meal, a simple side salad with a bright vinaigrette works wonders. Or, if you want a dip element, try our whipped ricotta dip; the coolness is surprisingly good against the hot Italian meatiness!
Storage and Reheating Instructions for Leftover Grinder Sliders
Okay, let’s be real: it’s rare that we ever have leftovers of these incredible grinder sliders. They are definitely one of my favorite Game Day Food Ideas because they are usually gone before the first commercial break!
But *if* you manage to save a few of these hot Italian sliders, storing and reheating them correctly is key to maintaining that delightful baked texture. Don’t just toss them in the fridge uncovered; that’s a recipe for sad, dry bread the next day.
To store them, let them cool down slightly, then place the remaining sliders in an airtight container. They hold up really well this way for about three days. When you are ready to eat them again, the microwave is super fast, but I genuinely prefer bringing back that beautiful texture in the oven.
Cover the portion you are reheating loosely with foil and bake them at our assembly temperature, 350°F (175°C), for about 8 to 10 minutes. This heats them all the way through while protecting the bread from drying out too quickly. If you must use the microwave, heat them just until warm, maybe 20-30 seconds, but know that the bread won’t be as crisp.
If you ever have any questions about leftovers or future recipes—seriously, reach out! I love hearing from you all on my contact page.
Frequently Asked Questions About Grinder Sliders
It’s funny how sometimes the simplest recipes bring up the most specific questions! When I send these grinder sliders out into the world, I want to make sure everyone gets that perfect, cheesy result every time. Here are a few common things people ask when they are getting ready to make these mini Italian sandwiches.
Can I make these Mini Italian Sandwiches ahead of time?
You totally can assemble them ahead of time, which is fantastic for parties! I would say assemble the meat and cheese layers, brush the glaze on top, and cover them tightly in the fridge for up to 4 hours. However, they are absolutely best when baked fresh. If you assemble them too early, the rolls can start to get a little soggy from the meat juices soaking in. So, assemble early, but try to bake them within an hour or two of serving for the best texture!
What makes these different from regular Grinder Sandwich Recipe Sliders?
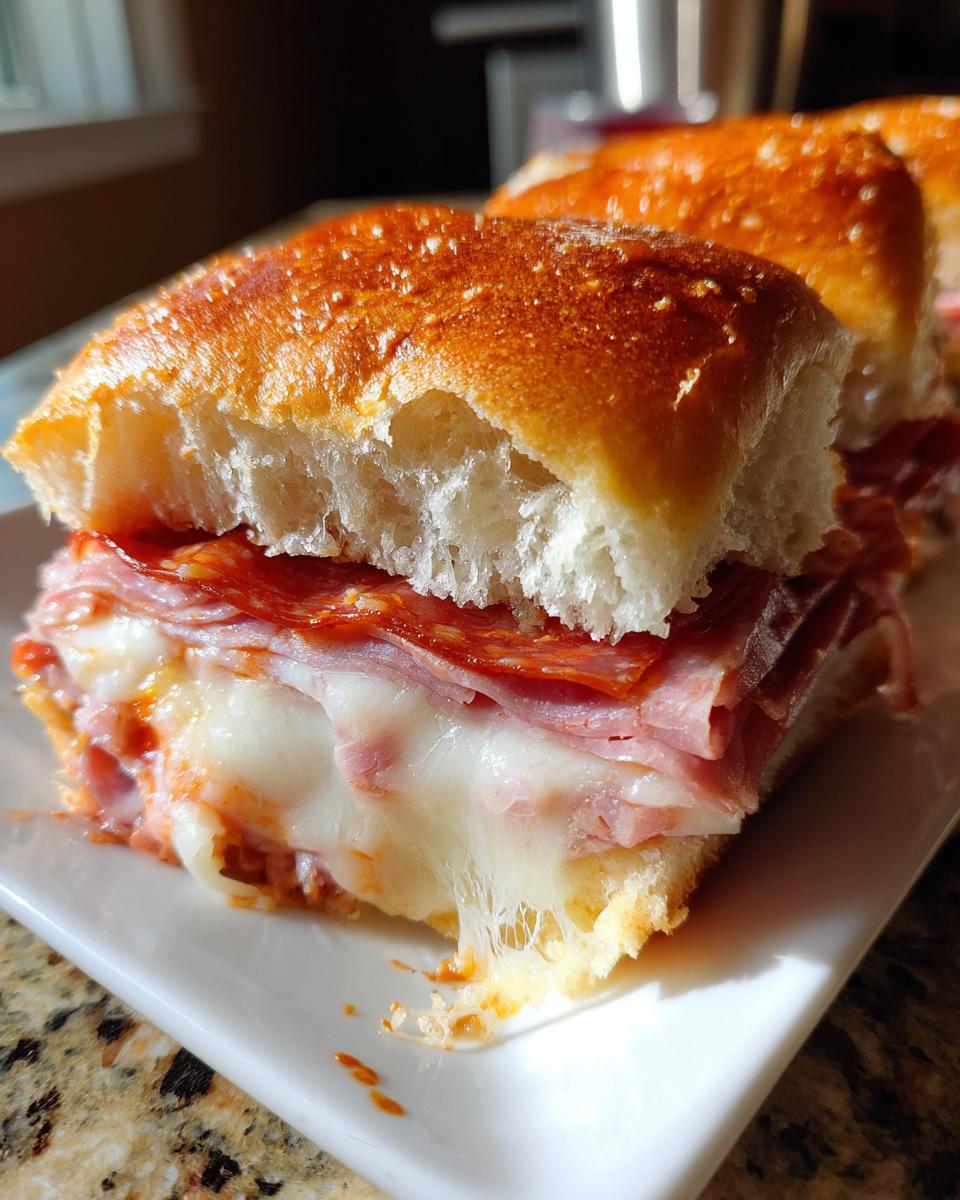
That’s a great distinction! A traditional grinder sandwich, especially the cold version, is usually served on a long roll with crisp lettuce and maybe an oil and vinegar dressing. These Grinder Sandwich Recipe Sliders are meant to be served hot—piping hot! We bake them so all that delicious deli meat warms up, the provolone melts right into the ham and salami, and the garlic butter glaze soaks into the top of the sweet rolls. It transforms a cold lunch staple into a phenomenal crowd-pleaser appetizer.
We always keep our policies clear and accessible, just like our recipes. You can check out our privacy policy anytime if you have questions about your data.
Nutritional Estimate for Garlic Butter Glazed Sliders
I always share the nutritional facts when I can, just so you know what you’re working with when you make these tasty treats. Please know that since we are using varied deli meats and certain fat contents can change based on brands, these numbers are just a solid estimate per serving (one slider). These hearty Garlic Butter Glazed Sliders pack a nice protein punch, which is great for a game day snack!
- Serving Size: 1 slider
- Calories: 350
- Fat: 18g
- Carbohydrates: 25g
- Protein: 22g
Remember, these are just guidelines! If you use leaner meats or skip a little bit of that glaze, your numbers will shift. But really, who is counting calories when serving up the best grinder sliders in town?
PrintItalian Grinder Sliders: Easy Baked Sandwiches for Game Day

Make these Italian Grinder Sliders using soft Hawaiian rolls, savory deli meats, and melted cheese. They bake quickly and are perfect for game day, parties, or a simple weeknight dinner.
- Prep Time: 10 min
- Cook Time: 25 min
- Total Time: 35 min
- Yield: 12 servings 1x
- Category: Lunch
- Method: Baking
- Cuisine: American
- Diet: Vegetarian
Ingredients
- 1 package (12 count) sweet slider rolls (Hawaiian rolls recommended)
- 1/2 pound thinly sliced ham
- 1/2 pound thinly sliced salami
- 1/2 pound thinly sliced pepperoni
- 1/2 pound thinly sliced provolone cheese
- 1/2 cup shredded mozzarella cheese
- 1/4 cup butter, melted
- 2 cloves garlic, minced
- 1 teaspoon dried Italian seasoning
- 1/2 teaspoon onion powder
- 1/4 teaspoon salt
Instructions
- Preheat your oven to 350°F (175°C). Lightly grease a 9×13 inch baking dish.
- Slice the entire package of slider rolls horizontally, keeping the rolls connected in one piece. Place the bottom half of the rolls in the prepared baking dish.
- Layer the meats and cheese evenly over the bottom half of the rolls. Start with ham, then salami, then pepperoni, followed by slices of provolone cheese.
- Place the top half of the rolls over the meat and cheese layers.
- In a small bowl, whisk together the melted butter, minced garlic, Italian seasoning, onion powder, and salt to create the garlic butter glaze.
- Brush the entire top surface of the assembled sliders generously with the garlic butter glaze.
- Cover the baking dish tightly with aluminum foil.
- Bake for 15 minutes covered. Remove the foil and bake for an additional 5 to 10 minutes, or until the cheese is fully melted and the tops are lightly golden brown.
- Carefully slice the sliders between the rolls. Serve immediately as hot Italian sliders.
Notes
- For extra flavor, you can add a thin layer of mayonnaise mixed with a dash of red wine vinegar to the bottom buns before adding the meat.
- These sliders are excellent for meal prepping; you can reheat leftovers briefly in the oven or microwave.
- Use high-quality deli meats for the best flavor in these mini Italian sandwiches.
Nutrition
- Serving Size: 1 slider
- Calories: 350
- Sugar: 6
- Sodium: 850
- Fat: 18
- Saturated Fat: 8
- Unsaturated Fat: 10
- Trans Fat: 0.5
- Carbohydrates: 25
- Fiber: 1
- Protein: 22
- Cholesterol: 55