
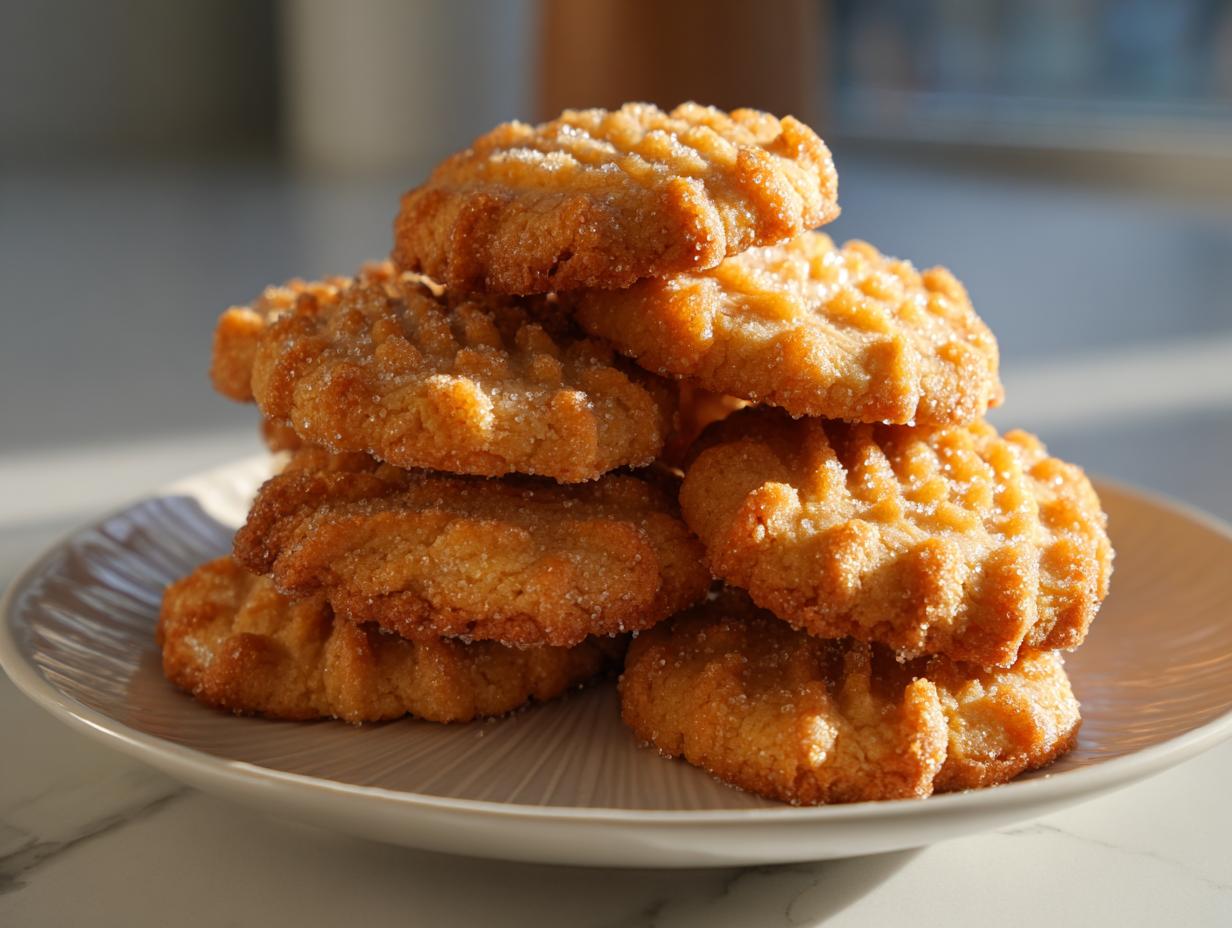
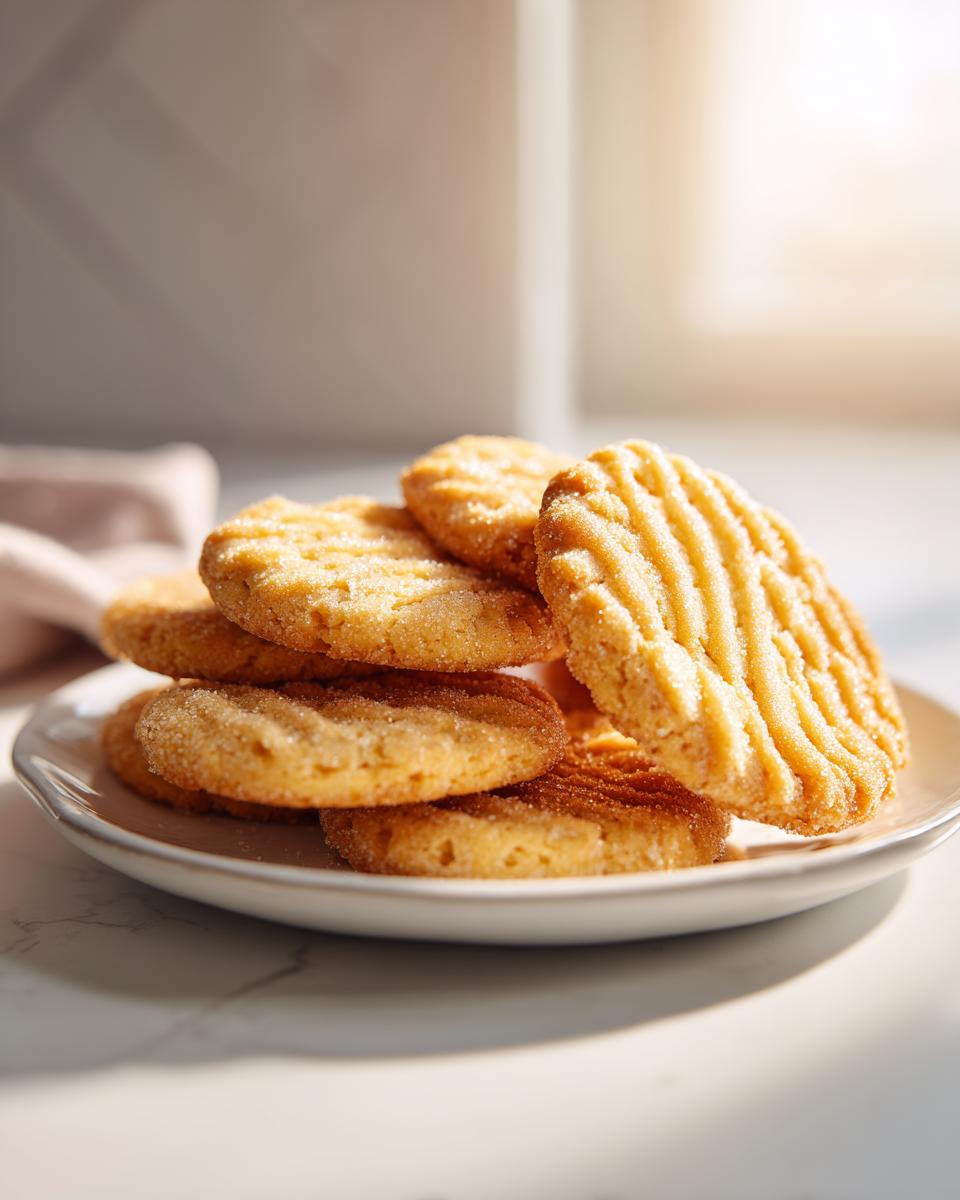
Oh, you know that feeling? When you open one of those classic blue tins, and those perfectly swirled, buttery cookies just *melt* the second they hit your tongue? That’s what we’re chasing today! Forget the store-bought versions; I’m sharing my absolute favorite butter cookie recipe—the way I was taught to bake by my grandmother back in Chicago. She always insisted that the best food comes from learning quality basics and putting a little heart into the mixing. That simple devotion to quality ingredients is why this recipe, which I call the ‘Authentic Danish Butter Cookies (Melt-in-Your-Mouth Style),’ has been a staple in my baking life, even through my busy marketing days. Trust me, this is the real deal, yielding textures that are simply divine.
- Why This Classic Butter Cookie Recipe Delivers Homemade Cookie Perfection
- Gathering Your Basic Cookie Ingredients for the Best Butter Cookies
- How to Prepare This Easy Homemade Cookies Recipe Step-by-Step
- Tips for Success with Your Danish Butter Cookie Recipe
- Serving Suggestions for Your Rich Buttery Desserts
- Storage and Reheating Instructions for Homemade Butter Cookies
- Frequently Asked Questions About Making Butter Cookies
- Estimated Nutritional Data for This Butter Cookie
- Share Your Homemade Cookie Perfection
Why This Classic Butter Cookie Recipe Delivers Homemade Cookie Perfection
If you’re looking for a cookie that feels truly special but uses just the basic ingredients you likely have, this is it. This butter cookie recipe isn’t about fancy additions; it’s about honoring the simple, core components. We aim for that ‘wow’ factor without needing complicated tools or techniques. It’s about finding pure magic in pantry staples. If you end up loving these, you might want to check out my recipe for raspberry cheesecake cookies next!
Achieving the Signature Melt In Your Mouth Cookies Texture
The secret to those wonderful Melt In Your Mouth Cookies is frankly, using a high ratio of fat—that lovely, softened butter—and making sure we don’t punch all the air out when we add the flour. That creaming step we do later is vital! It creates tiny pockets that allow the cookie to be delicate and tender, not hard or tough.
The Rich Buttery Desserts Flavor Profile
Because there aren’t many competing flavors here, the quality of your butter truly shines through. This is an Old Fashioned Cookies approach where we rely on the richness of good dairy and pure vanilla extract. You get that deep, satisfying flavor profile that screams quality without tasting overly sweet.
Gathering Your Basic Cookie Ingredients for the Best Butter Cookies
When it comes to making the Best Butter Cookies, you really can’t skimp on the foundation. This recipe relies on simple, Basic Cookie Ingredients, yet quality makes all the difference. Getting these components right is how we guarantee that rich, homemade feel. You’ll be amazed at what six simple items can achieve!
Ingredients for Your Tender Texture Cookies
- 1 cup unsalted butter, softened to room temperature
- 1/2 cup granulated sugar
- 1 large egg yolk (ensure no white is present)
- 1 teaspoon pure vanilla extract
- 2 1/2 cups all-purpose flour
- 1/4 teaspoon salt (fine grain preferred)
If you ever need a quick guide on using simple elements in a pinch, check out my tips for crispy potato chips!
How to Prepare This Easy Homemade Cookies Recipe Step-by-Step
Okay, now we get to the fun part! Making these butter cookie doughs is where you can truly feel the magic happening. Remember what I said about my grandmother? She hammered in the importance of technique here. Follow these steps, and you won’t just have cookies; you’ll have perfection. The chilling step is non-negotiable, folks—it stops gorgeous swirls from turning into flat puddles!
Creaming and Combining Wet Ingredients for Your Butter Cookie Dough
First things first, grab that softened butter and sugar. You need to cream these together until they look pale, light, and fluffy. Don’t rush this part; this is where we trap the air for that lovely texture later on. Once you see that fluffy cloud forming, mix in your single egg yolk and the pure vanilla extract until it just disappears into the buttery base. If you need a great recipe inspiration for something else creamy, you should peek at my chocolate chip cheesecake recipe!
Mixing Dry Ingredients and Forming the Dough
In a separate bowl, whisk your flour and salt together so everything is evenly distributed. Now, add those dry ingredients to your wet mix slowly, mixing on low speed. Stop mixing the absolute *second* you see the flour streaks disappear. Seriously, I mean it—stop! Overmixing is the enemy of Tender Texture Cookies, leading to tough results. As soon as the dough comes together into a soft mass, scrape it down, wrap it up tightly, and get it into the fridge for at least one hour. Patience pays off here!
Chilling, Shaping, and Baking the Butter Cookie
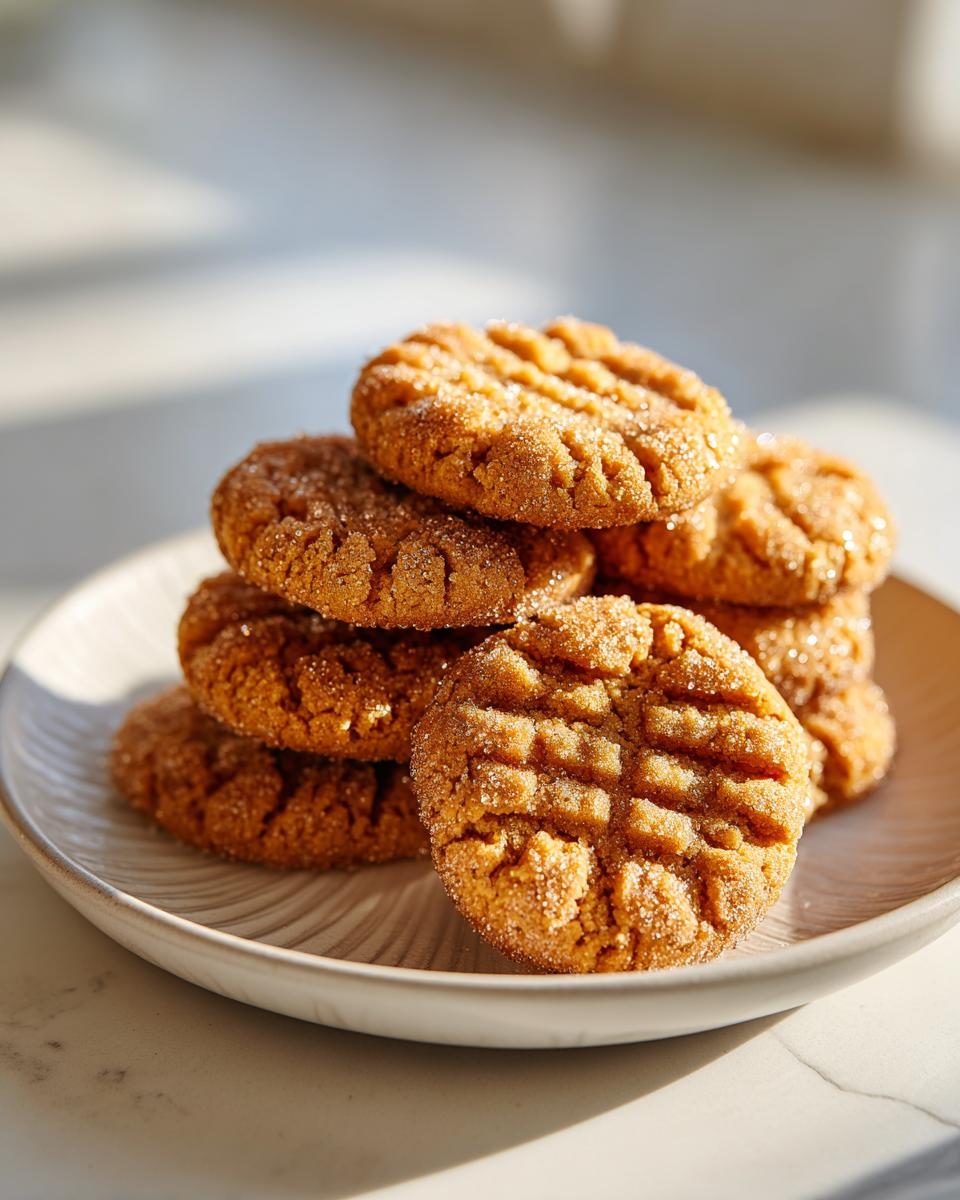
Once chilled, preheat your oven to 350°F (175°C) and line your baking sheets with parchment paper—it makes cleanup a dream. You can roll and cut shapes, or if you’re feeling fancy, use a cookie press for those beautiful swirls. Space them about two inches apart. Bake them for 10 to 12 minutes. If you see those edges turning just lightly golden brown, they are ready. For a slightly crisp edge, lean toward 12 minutes; for a softer bite, pull them at 10. Let them sit on the hot pan for five minutes before moving them to a rack to cool completely. If you want to see how another baker approaches similar flavors, this guide shows some great technique!
Tips for Success with Your Danish Butter Cookie Recipe
Getting that authentic, delicate texture in your Danish Butter Cookie Recipe comes down to a couple of little details I learned the hard way! These are simple checks that ensure your cookies don’t spread into sad little pancakes. If you nail these points, you’ll be achieving true homemade cookie perfection every time. For another great baking success, I highly recommend looking at my easy one-bowl chocolate cake recipe!
Ingredient Temperature and Handling
I can’t stress this enough: your butter needs to be softened, but NOT melted. If it’s greasy or warm to the touch, the dough will be too soft, and those gorgeous swirls you pipe will flatten immediately! That chilling we do later is just as critical. Make sure that dough gets a solid hour, or even two, in the fridge. It firms up the butter just enough to hold its shape beautifully during baking, which is the make-or-break step for that signature look. You can see wonderful processing tips over at this hub, too!
Flavor Variations for Vanilla Butter Cookies
While this recipe shines because of its pure buttery goodness, sometimes you want a little twist. For lovely Vanilla Butter Cookies, you can bump up that vanilla extract to 1 1/2 teaspoons, as the recipe notes suggest. Or, if you want something bright, try adding just a half teaspoon of fresh lemon zest to the creamed butter mixture. That little bit of citrus really wakes up the flavor profile without overpowering the butter!
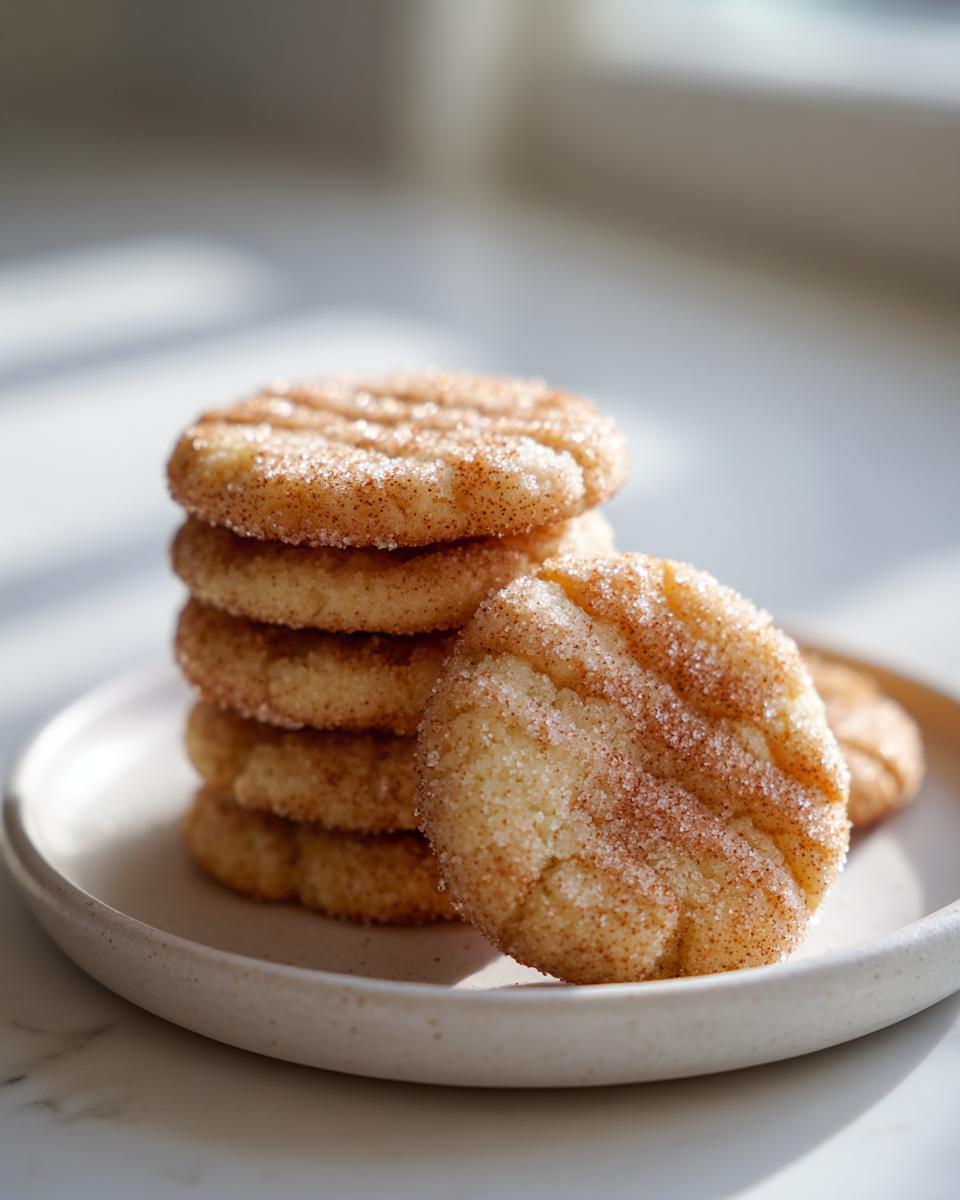
Serving Suggestions for Your Rich Buttery Desserts
Now that you have these incredible, tender butter cookie creations, how should you serve them? These are the perfect Teatime Treats! I love stacking them high on a nice cake stand with a cup of strong black tea or even a delicate herbal blend. They are also absolutely fantastic as a simple accompaniment for coffee after dinner.
If you’re doing a holiday platter, don’t forget the optional chocolate dip—it looks so fancy! For a fun crowd-pleasing beverage pairing, I always suggest my easy champagne punch. If you are looking for inspiration on elegant, crisp cookies that pair well with tea, definitely take a look at how they handle French butter cookies!
Storage and Reheating Instructions for Homemade Butter Cookies
Because these are such delicate, soft-baked butter cookie creations, how you store them is truly important if you want them to last more than five minutes on the counter! Pop them into a completely airtight container. And I mean *airtight*—humidity is our enemy here because it turns that tender texture slightly soft and chewy when we want them to stay melt-in-your-mouth.
They are perfectly good at room temperature for about a week, provided your container seals well. If you need to make these way ahead for a party, you can freeze them! Layer cooled cookies between sheets of wax paper in a freezer-safe container. They thaw perfectly just sitting on the counter for an hour. For simple storage of other shelf-stable goodies, I always keep my quick pickled carrots in the fridge, but these cookies prefer the pantry!
Frequently Asked Questions About Making Butter Cookies
I know when baking something this classic, questions always pop up! We want that ideal texture, right? Here are a few things readers often ask me about perfecting these butter cookies. If you’ve just tried this recipe, I’d love for you to compare your results to others by checking out some tips on other melt-in-your-mouth Danish recipes!
Can I use salted butter in this Classic Butter Cookie Recipe?
That’s a great question about the Classic Butter Cookie Recipe! You absolutely can use salted butter, but you have to adjust the added salt. Since the recipe calls for 1/2 cup of sugar, if you use salted butter, I suggest cutting the added salt down to just a tiny pinch—maybe 1/8 teaspoon—or skipping it entirely. Taste your butter first! If your salted butter is naturally very salty, just leave out the added salt completely. Don’t worry, you can always grab my easy soda bread recipe for another simple baking project next time!
How do I make these cookies crisp-edged instead of soft?
This is all about bake time, plain and simple. Remember how I said they bake around 10 to 12 minutes? If you want that slightly crisp edge—which I love for presentation—bake them for the full 12 minutes until the edges look just a shade more golden brown. The interior will still be incredibly tender because of all that butter, but the edges get that nice snap. If they are softening up after cooling, try storing them with a slice of bread in the container to absorb excess moisture.
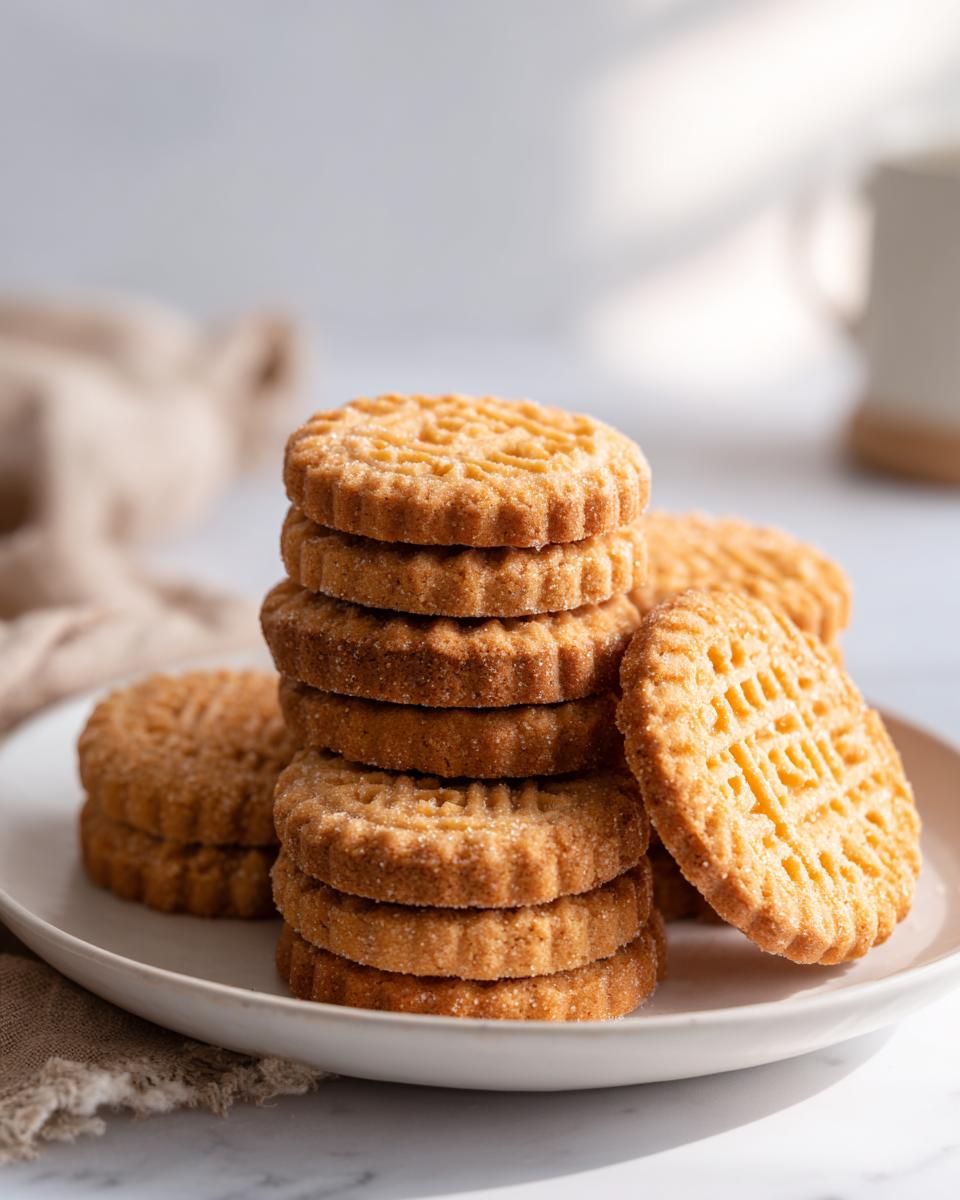
Can I use a cookie press for these Easy Homemade Cookies?
Yes, please do! These are practically tailor-made for a cookie press if you want those traditional, beautiful swirled shapes. The main thing to remember when using a press for these Easy Homemade Cookies is that the dough needs to be very cohesive but still soft enough to push through the mechanism. If your dough is too cold after chilling, it might crack around the press tip. If that happens, just let that section of the dough sit on the counter for 5 or 10 minutes to soften up just slightly before pressing again. It’s amazing how forgiving this dough is!
Estimated Nutritional Data for This Butter Cookie
When we talk about indulging in true butter cookie goodness, we know we are reaching for something rich! Because every oven and every scoop is a little different, please keep this information in mind: these numbers reflect standard ingredient sizing and calculation methods. I can’t guarantee they match your exact batch, but they give you a great benchmark for these Rich Buttery Desserts!
Based on a yield of 3 dozen cookies, here is what one serving (one cookie) looks like:
- Serving Size: 1 cookie
- Calories: 110
- Fat: 7g
- Saturated Fat: 4g
- Trans Fat: 0g
- Unsaturated Fat: 3g
- Cholesterol: 25mg
- Carbohydrates: 11g
- Sugar: 6g
- Fiber: 0g
- Protein: 1g
- Sodium: 35mg
You can see just how much flavor fits into 110 calories! It shows that sticking to these Simple Dessert Recipes doesn’t mean missing out on incredible taste.
Share Your Homemade Cookie Perfection
I put my heart and soul into making sure this recipe results in the *best* butter cookie you’ve ever had, and now I’d absolutely love to hear from you! Did you press them into swirls, or did you cut out shapes? Let me know in the comments below how your batch turned out. If you snapped a picture of those beauties, tag us on social media—we love seeing your homemade cookie perfection in action! Need to reach out with a specific question? You can always hit me up on the contact page!
PrintClassic Melt-in-Your-Mouth Butter Cookies
Make these classic butter cookies for a rich, buttery flavor and a tender texture that truly melts in your mouth. This simple recipe delivers homemade cookie perfection perfect for teatime or gifting.
- Prep Time: 20 min
- Cook Time: 12 min
- Total Time: 92 min
- Yield: 3 dozen cookies 1x
- Category: Dessert
- Method: Baking
- Cuisine: American
- Diet: Vegetarian
Ingredients
- 1 cup unsalted butter, softened
- 1/2 cup granulated sugar
- 1 large egg yolk
- 1 teaspoon pure vanilla extract
- 2 1/2 cups all-purpose flour
- 1/4 teaspoon salt
Instructions
- In a large bowl, cream the softened butter and granulated sugar together until the mixture is light and fluffy.
- Beat in the egg yolk and vanilla extract until just combined.
- In a separate bowl, whisk together the flour and salt. Gradually add the dry ingredients to the wet ingredients, mixing on low speed until a soft dough forms. Do not overmix.
- Shape the dough into a log, wrap it in plastic wrap, and chill in the refrigerator for at least 1 hour.
- Preheat your oven to 350°F (175°C). Line baking sheets with parchment paper.
- Remove the dough from the refrigerator. You can either roll the dough out and cut shapes or press the dough into a cookie press fitted with your desired tip for classic swirls.
- Place the cookies about 2 inches apart on the prepared baking sheets.
- Bake for 10 to 12 minutes, or until the edges are lightly golden brown. For a crisp edge, bake closer to 12 minutes.
- Let the cookies cool on the baking sheet for 5 minutes before transferring them to a wire rack to cool completely.
Notes
- For the best melt-in-your-mouth texture, ensure your butter is properly softened but not melted.
- If you prefer a more pronounced vanilla flavor, use 1 1/2 teaspoons of vanilla extract.
- These cookies are excellent dipped halfway in melted chocolate for an added treat.
- Chill the dough thoroughly; this prevents the cookies from spreading too much during baking.
Nutrition
- Serving Size: 1 cookie
- Calories: 110
- Sugar: 6g
- Sodium: 35mg
- Fat: 7g
- Saturated Fat: 4g
- Unsaturated Fat: 3g
- Trans Fat: 0g
- Carbohydrates: 11g
- Fiber: 0g
- Protein: 1g
- Cholesterol: 25mg