
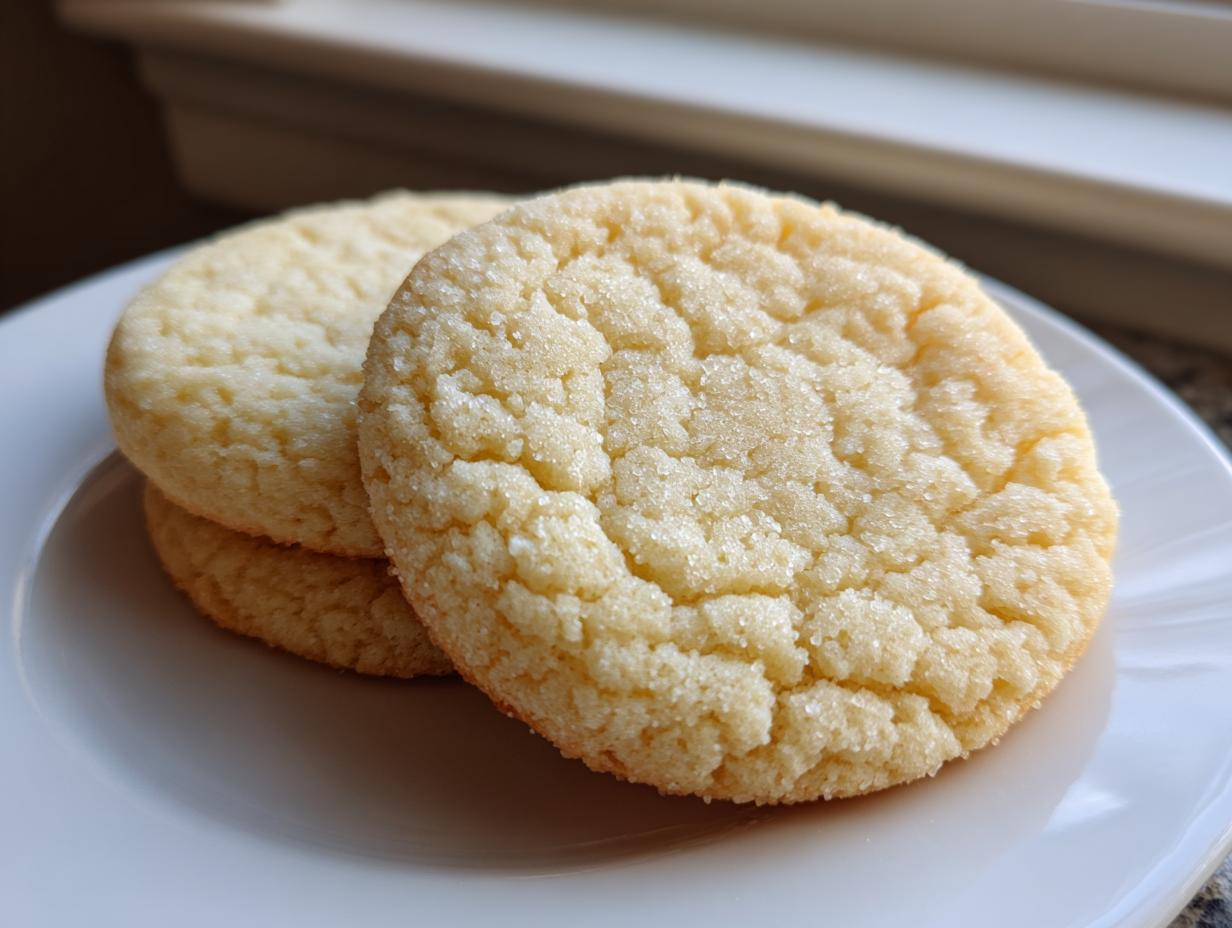
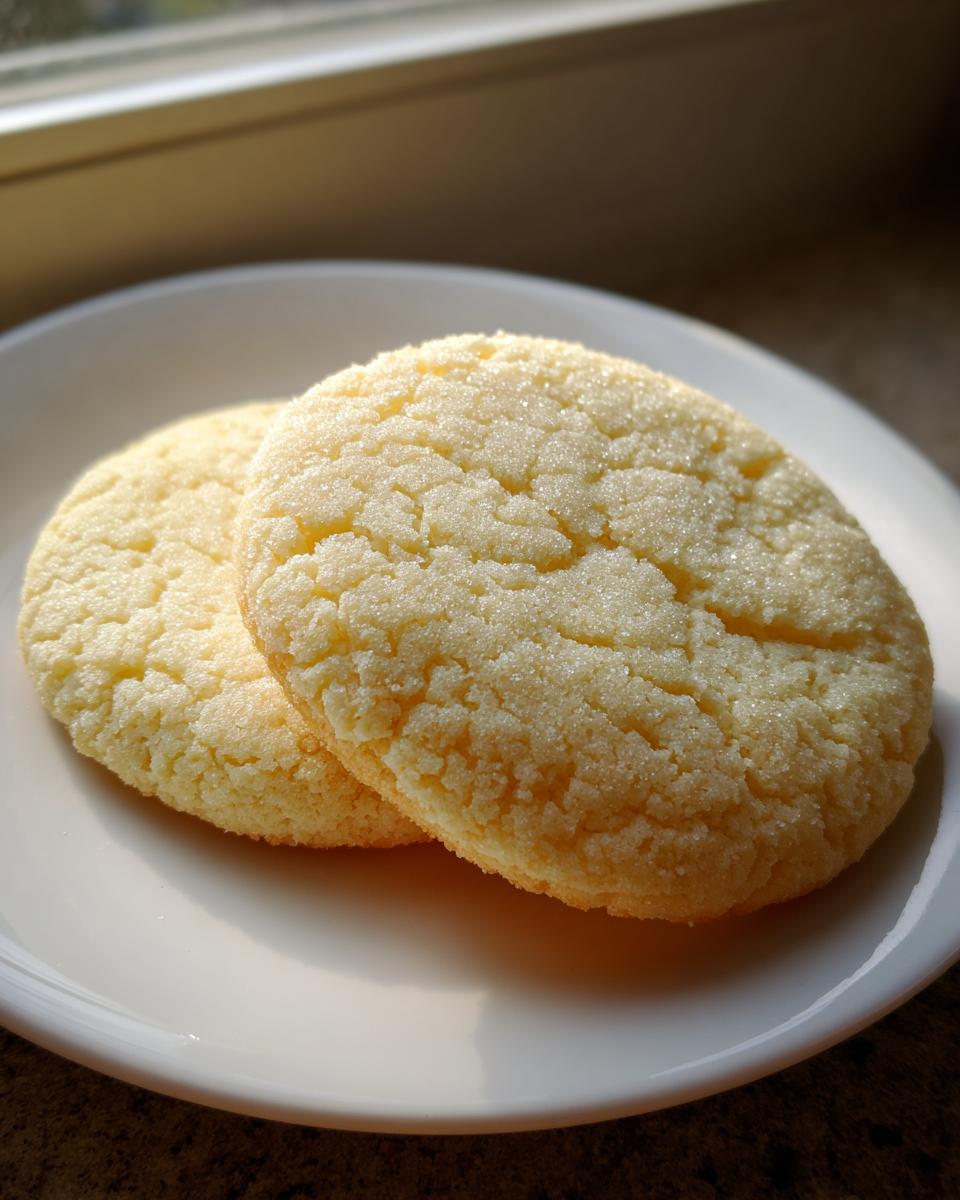
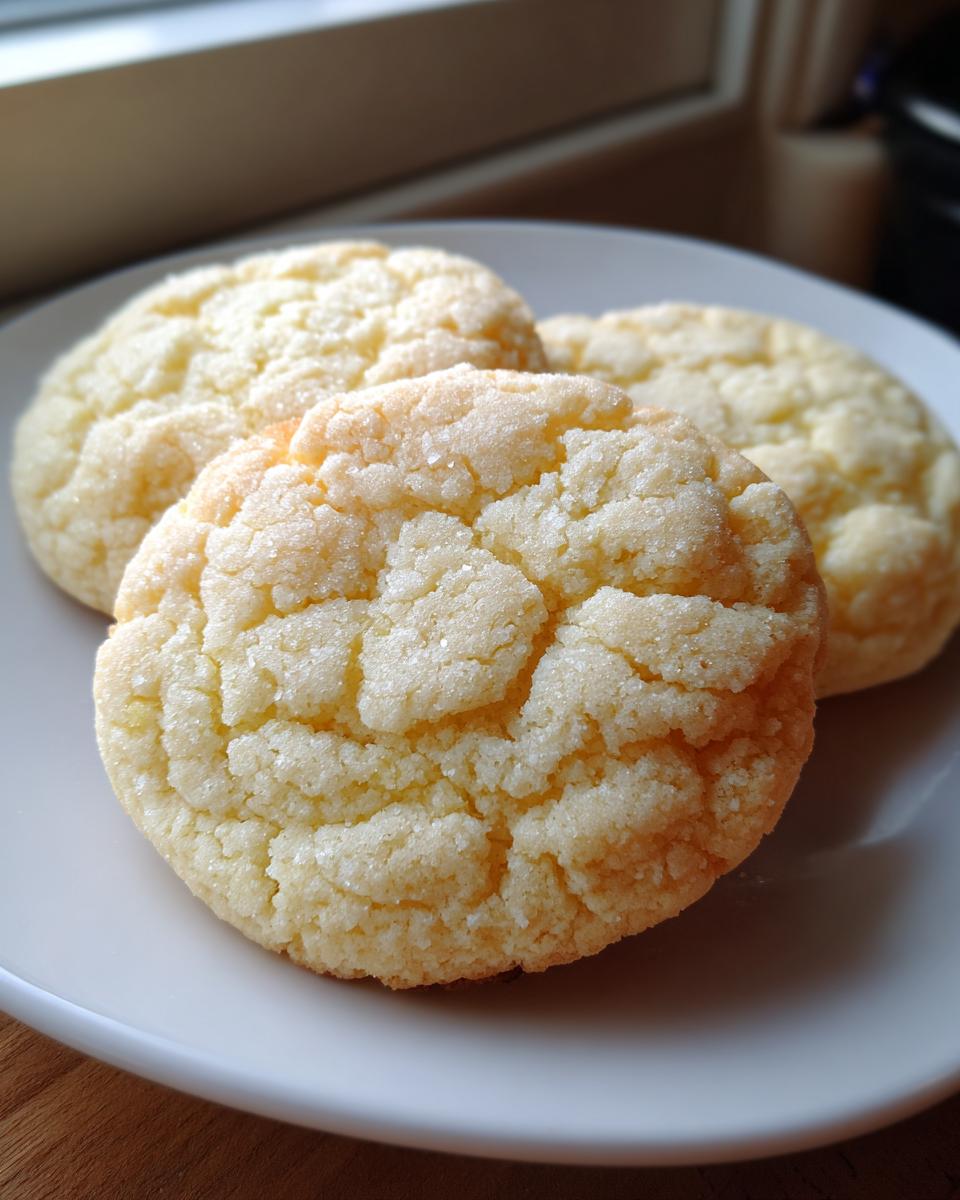
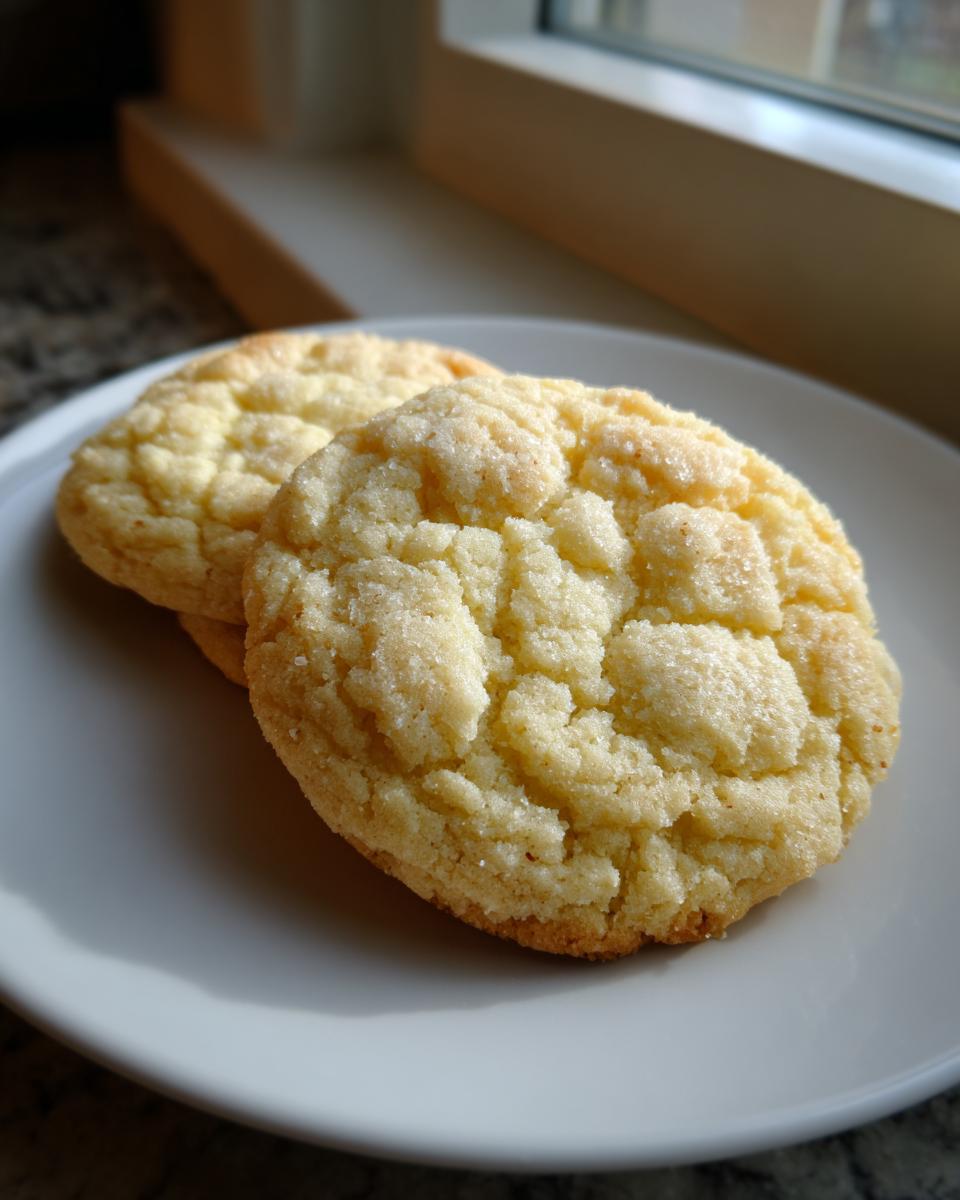
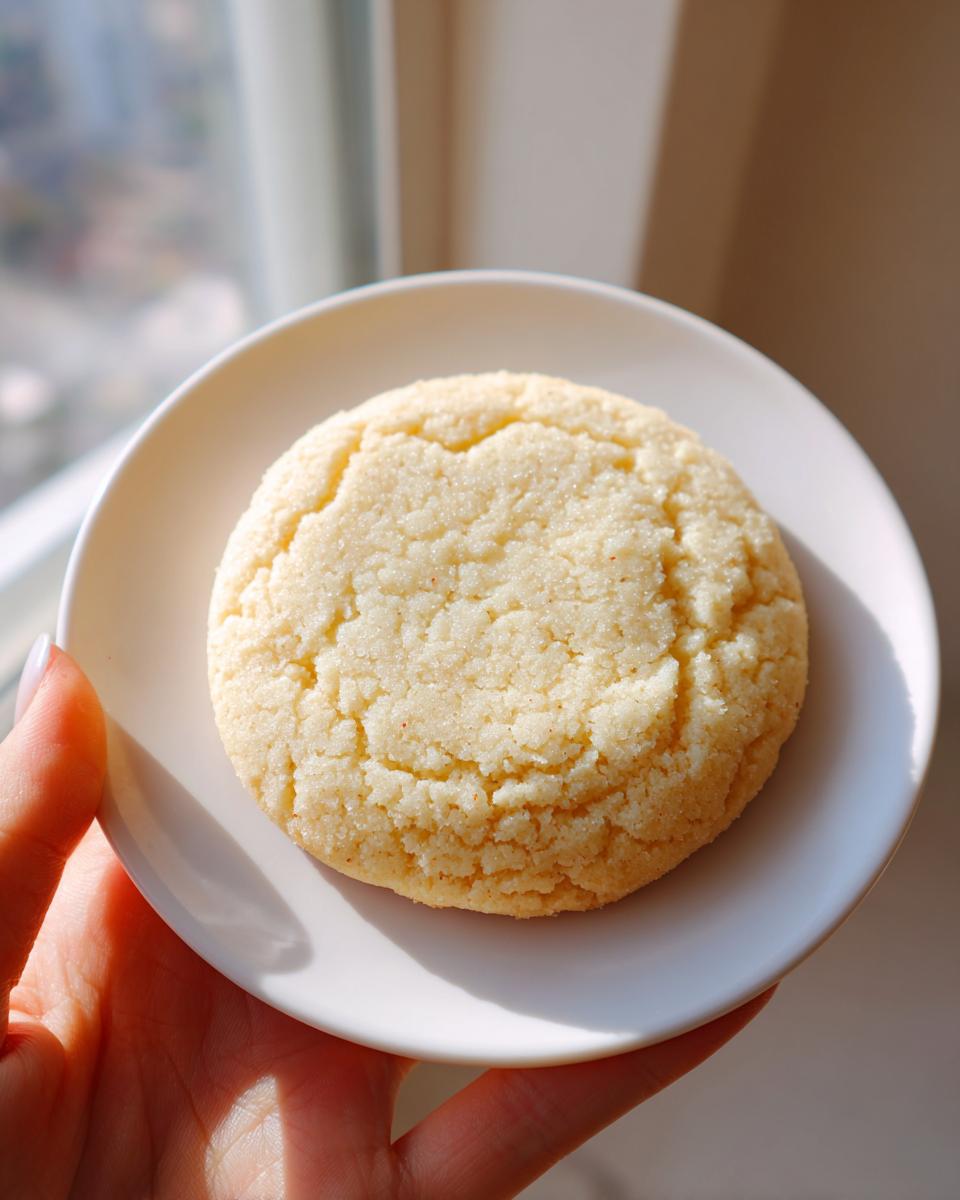
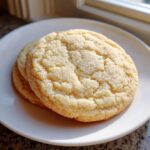
Oh, sugar cookies. Who hasn’t been there? You mix up the dough, you cut out the cutest little stars or Santas, and then BAM—they bake into sad, puffy circles that look like they’ve melted in the sun. It’s the absolute worst, especially when you’re baking for an event and need that perfect shape. Well, my friends, I spent years perfecting the recipe my grandmother taught me, making sure every single batch delivered that perfect, buttery snap alongside a gorgeously **soft sugar cookies** center. This version is the ultimate secret weapon; they hold their shape like a champ but still give you that comforting, melt-in-your-mouth feel. If you want to see my earlier thoughts on getting that perfect sturdy bake, check out my guide on the best sugar cookie recipe for soft cut-outs. Sharing food is how we connect, and these reliable cookies are here to bring the joy (and the pretty shapes!) to your table.
- Why This Recipe Guarantees Perfect Soft Sugar Cookies Every Time
- Ingredients Needed for Soft Sugar Cookies
- How to Prepare The Ultimate Soft Sugar Cookies
- Baking Tips for Bakery Style Soft Cookies
- Ingredient Notes and Substitutions for Soft Sugar Cookies
- Decorating Your Decorateable Soft Cookies
- Storage and Reheating Instructions for soft sugar cookies
- Frequently Asked Questions About Soft Sugar Cookies
- Share Your Soft Sugar Cookies Creations
Why This Recipe Guarantees Perfect Soft Sugar Cookies Every Time
You might be wondering, what makes this recipe different from the ten others you’ve already tried? Honestly, it took me ages—and probably three failed batches during my first holiday season trying to impress people—to nail this exact ratio. The goal wasn’t just decent cookies; it was making **bakery style soft cookies** that truly melt in your mouth while still being sturdy enough for a tiny rolling pin shape. It all comes down to the fats and the chilling, period. For anyone who wants to check out a similar approach focusing on pure buttery flavor, I love looking at the tips shared over at classic butter cookie recipes!
Achieving a Tender Center Cookies Texture
The key to that beautiful chewiness? We use a slightly higher ratio of butter and sugar combined with just the right amount of leavening. That means when you cream them properly, you introduce air. This structure is what gives you those wonderful **tender center cookies**. We aren’t aiming for a cakey look; we want density achieved through rich ingredients, not excess baking powder. It’s this delicate balance that keeps them soft for days.
Secrets to No Spread Cut Out Cookies
If you are sick of rolling out perfect shapes only to have them balloon in the oven, this is your solution. The absolute non-negotiable step here is chilling the dough for a full two hours—don’t rush it! For thinner shapes, I even chill the cut-out cookies again on the sheet for ten minutes before they even see the oven door. This sets the shape, giving you flawless **no spread cut out cookies**. I learned the hard way; you can trust me on this chilling step! If you want the absolute best shape retention guide, check out the techniques discussed at Cooking by Carla.
Ingredients Needed for Soft Sugar Cookies
I always keep my ingredient list straightforward because I want you to feel totally confident walking into the kitchen. There’s nothing fancy here—just high-quality staples that work together beautifully to make those soft sugar cookies.
You will need exactly one cup of unsalted butter, and please make sure it’s actually softened, not melted! We are combining that with 1 and 1/2 cups of granulated sugar. For our wet ingredients, grab two large eggs and one full teaspoon of vanilla extract. Yes, the good stuff matters here!
When it comes to the dry stuff, we are using 3 and 3/4 cups of all-purpose flour. To get that slight lift and tenderness, you’ll mix in 1 teaspoon of baking powder and, very importantly, 1/2 teaspoon of salt to balance out all that buttery sweetness. See? Perfectly simple, no weird specialty items needed!
How to Prepare The Ultimate Soft Sugar Cookies
Alright, let’s get our hands dirty! This is where the magic really happens for those **soft sugar cookies** that stay thick and tender. I want you to follow these steps exactly, especially the part about not getting too aggressive with your mixing bowl! If you want some insight into getting intensely flavored baking down, take a peek at my tips over on homemade syrups, even though we aren’t using syrup here, the core idea of ingredient layering holds true.
Mixing the Dough for Chewy Sugar Cookies Recipe
First things first: you have to cream that butter and sugar until it’s genuinely light and fluffy—think pale yellow for about three minutes with an electric mixer. Don’t cheat here; those air pockets are what give the final product that great structure. Next, drop in your eggs, one by one, making sure each one is fully incorporated before adding the next, followed by your vanilla. Separately, whisk your flour, baking powder, and salt together, and then, this is crucial for **chewy sugar cookies recipe** perfection, add those dry bits slowly to the wet mix while running the mixer on low. Stop talking to your kids the second it comes together. Don’t overmix! Seriously, stop mixing as soon as you see no more flour streaks.
Chilling and Rolling Out Your Soft Sugar Cookies
Now we rest the dough! Divide the batch in two, wrap them tight, and send them straight to the fridge for a minimum of two hours. Trust me, this resting period is what prevents spread and keeps them thick, which is non-negotiable for that bakery style texture. When you are ready to roll, work with one disk at a time on a lightly floured surface, rolling everything out to about 1/4 inch thick. If you plan on using tiny cutters, pop the shapes onto the baking sheet and chill them for another ten minutes before they head into that preheated oven! If you skip cooling the cut-outs, I can’t promise they won’t just whisper away into puddles. For more tips on avoiding cookie disaster spots, I always refer back to the great advice provided by The Food Charlatan.
Baking Tips for Bakery Style Soft Cookies
Okay, the oven is preheated to 375°F (that’s 190°C, folks!) and the smells starting to fill my kitchen are just heavenly—that perfect blend of butter and vanilla, you know? Now, here is where people often ruin their **bakery style soft cookies**: they overbake them looking for a deep golden color. Don’t do it!
We want to pull these cookies off the sheet when the edges are *just* starting to look golden brown, but the center still looks slightly pale and maybe even a tiny bit underdone. Trust me on this one, they continue cooking on that hot pan for a few minutes after you pull them out. That slight pale center is the exact assurance you need for that guaranteed melt-in-your-mouth texture. If you want to see how others manage that perfect bake time, check out the wonderful advice over at She Is Baking.
After that critical five minutes sitting on the baking sheet, you gently slide them over to the cooling rack. If you try to move them too soon, they might look perfect but they’ll snap! Allowing that initial rest period is what lets them set up properly to achieve the ideal soft and chewy result.
Ingredient Notes and Substitutions for Soft Sugar Cookies
Look, I believe in accessibility, but some ingredients are sacred when you are aiming for that perfect soft texture in **soft sugar cookies**. I always stress using unsalted butter. Why? Because butter is your main source of flavor, and that way, I get to control every speck of salt going into the dough. You absolutely can use margarine if that’s all you have, but let’s be real—it won’t give you that rich, perfect buttery flavor that makes these cookies famous!
And let’s talk extract. While vanilla is what we call for, don’t be afraid to experiment once you have the base recipe down! You can swap out some of that vanilla for almond extract for a more complex flavor profile, or even a tiny dash of lemon extract, which brightens up the butter beautifully. For the most reliable results, stick to real butter, and don’t skimp on the good vanilla—it makes a difference, trust me. For other recipes where ingredient quality really shines, check out my thoughts on classic butter cookie recipes.
Decorating Your Decorateable Soft Cookies
Now that you’ve achieved the perfect bake on your **soft sugar cookies**, the fun part begins: decorating! I know you want to grab that icing the second they come out of the oven, but please, wait until they are completely cool. If you try to put any icing—even a simple glaze—on a warm cookie, you’ll end up with a sad, runny mess, and we worked too hard for that!
Because this recipe creates wonderfully sturdy **decorateable soft cookies**, they can handle a slightly thicker frosting. Royal icing is fantastic for sharp lines and hard finishes, especially if you are aiming for intricate designs. However, if you want to maintain that soft, melt-in-your-mouth texture throughout, a simple buttercream or a thin dusting of powdered sugar is often the route I take. For the very best tips on keeping the cookie soft while icing, I always recommend looking at the decorating guide provided by Recipes by Ava.
If you’re looking for ideas for homemade toppings that won’t overwhelm the cookie base, I’ve got a few easy sauces you can whip up quickly over on my post about easy homemade chocolate syrup recipes—though chocolate glaze might need to be slightly thicker for these!
Storage and Reheating Instructions for soft sugar cookies
The best part about these **soft sugar cookies** is that they don’t dry out overnight—they actually seem to get a little more tender the next day! You want to keep them at room temperature. Don’t go sticking them in the fridge; that always seems to make them tougher, even if they have icing.
Just make sure they are totally, completely cool before you put them into an airtight container. I can usually keep a batch perfect for about four days this way. Seriously, reheating isn’t even necessary; they are made to be eaten just as they are at room temperature! It’s all about that easy, comforting texture we worked so hard to achieve.
Frequently Asked Questions About Soft Sugar Cookies
I know when I’m baking something important—maybe for a holiday swap or just a stressful week when I need a dependable, comforting treat—I have a million questions buzzing in my head. That’s why I put together this little FAQ section covering all the worries I used to have when tracking down the **best vanilla sugar cookies** that actually worked!
Can I make these thick sugar cookies without chilling the dough?
Oh, honey, please don’t skip the chilling! If you try to roll out this dough when it’s warm, you will end up with flat, sad puddles, not our beautiful **thick sugar cookies**. The chilling does two things: first, it lets the flour fully hydrate so your cookies absorb less moisture in the oven, ensuring they stay soft. Second, chilling solidifies that high butter content. When the cold butter hits the hot oven, it melts slowly, which is what keeps the cookies from spreading out wide. It’s the secret to making **easy homemade cookies** that still look professional!
What makes these the best vanilla sugar cookies?
It really comes down to using good quality vanilla extract and using the right amount of it—one whole teaspoon! That pure vanilla flavor is what cuts through the richness of the butter and makes the cookie taste classic and wonderfully balanced. We aren’t relying on heavy citrus or spices; we want the simple, buttery, vanilla goodness to shine through. That perfect creamy balance of fat, sugar, and that specific amount of extract is what elevates these from good to the **best vanilla sugar cookies** you’ll make all year. If you love a good pure flavor base, you might also enjoy my recipe for easy sugar cookie bars which use a similar foundation.
Share Your Soft Sugar Cookies Creations
Honestly, seeing your baking adventures is the best part of my week! I started Bring Dish because I believe food is about connection, and nothing makes me happier than knowing one of my tried-and-true recipes—like these reliable **soft sugar cookies**—ended up on your family table, possibly getting covered in sprinkles while you laughed about something silly.
Did you try these out for a holiday, or just because you needed a wonderfully buttery afternoon treat? I truly hope you loved how they held their lovely shape! Please, please leave a star rating right down below and tell me in the comments how they turned out for you. Telling me if they achieved that “melt-in-your-mouth” goal is the highest compliment you can give! I can’t wait to see your wonderful creations and hear about the people you shared them with. If you’re curious about my own mission in the kitchen, you can always read more about my philosophy here.
PrintThe Ultimate Soft & Chewy Sugar Cookies That Hold Their Shape
This recipe delivers wonderfully soft, chewy sugar cookies that melt in your mouth. You get thick, bakery-style cookies that hold their shape perfectly for cutting out and decorating, ensuring flawless results every time you bake.
- Prep Time: 30 min
- Cook Time: 10 min
- Total Time: 160 min
- Yield: 3 dozen 1x
- Category: Dessert
- Method: Baking
- Cuisine: American
- Diet: Vegetarian
Ingredients
- 1 cup unsalted butter, softened
- 1 1/2 cups granulated sugar
- 2 large eggs
- 1 teaspoon vanilla extract
- 3 3/4 cups all-purpose flour
- 1 teaspoon baking powder
- 1/2 teaspoon salt
Instructions
- In a large bowl, cream together the softened butter and granulated sugar until the mixture is light and fluffy. This takes about 3 minutes with an electric mixer.
- Beat in the eggs one at a time, mixing well after each addition. Stir in the vanilla extract.
- In a separate bowl, whisk together the flour, baking powder, and salt.
- Gradually add the dry ingredients to the wet ingredients, mixing on low speed until just combined. Do not overmix the dough.
- Divide the dough in half. Wrap each half tightly in plastic wrap and flatten into a disk. Chill the dough in the refrigerator for at least 2 hours, or up to 2 days. Chilling is key for no-spread cookies.
- Preheat your oven to 375°F (190°C). Line baking sheets with parchment paper.
- On a lightly floured surface, roll out one disk of chilled dough to about 1/4 inch thickness. Cut the dough into your desired shapes using cookie cutters.
- Place the cut-out shapes onto the prepared baking sheets, spacing them about 1 inch apart.
- Bake for 8 to 10 minutes. The edges should look lightly golden, but the centers should still look slightly pale.
- Let the cookies cool on the baking sheet for 5 minutes before transferring them to a wire rack to cool completely. Decorate once fully cooled.
Notes
- For the softest texture, do not overbake the cookies. Pull them out when the edges just begin to set.
- If you are cutting out thin shapes, chill the cut-out cookies on the baking sheet for 10 minutes before baking to prevent spreading.
- This buttery sugar cookie recipe stays soft for days when stored in an airtight container at room temperature.
Nutrition
- Serving Size: 1 cookie
- Calories: 150
- Sugar: 14g
- Sodium: 95mg
- Fat: 8g
- Saturated Fat: 5g
- Unsaturated Fat: 3g
- Trans Fat: 0g
- Carbohydrates: 19g
- Fiber: 0g
- Protein: 2g
- Cholesterol: 35mg